


Hey there 👋 We heard you need some help setting up Placid + Zapier?
Here are all infos and a complete walkthrough to help you get your automation up and running. If you need more assistance,
What can I do with the Placid Zapier integration?
We offer an officially maintained Zapier app to connect Placid to your nocode workflows. You can generate images, videos & PDFs with it. In a Zap you can use data from other apps (like Airtable, Typeform, etc. and fill them into the dynamic layers of your Placid template.
Add the Zapier integration to your Placid project
First, you will need to set up a Placid project with a Zapier integration. Create a new project in Placid, or add the integration to an existing one in the project settings.
Create a template
You can design custom templates for your creatives with our drag and drop editor.
A template is a bit like cloze text: You define the basic layout, and decide which elements should be filled dynamically with content during your Zapier workflows later.
You can flexibly decide which type of creative you want to generate from your template later: All templates support image, PDF and video generation.
The template below could be filled with a product title, a price and an image, coming from e-commerce apps like Shopify. The product visual could also be a video! You're completely free to create custom templates that fit your data.
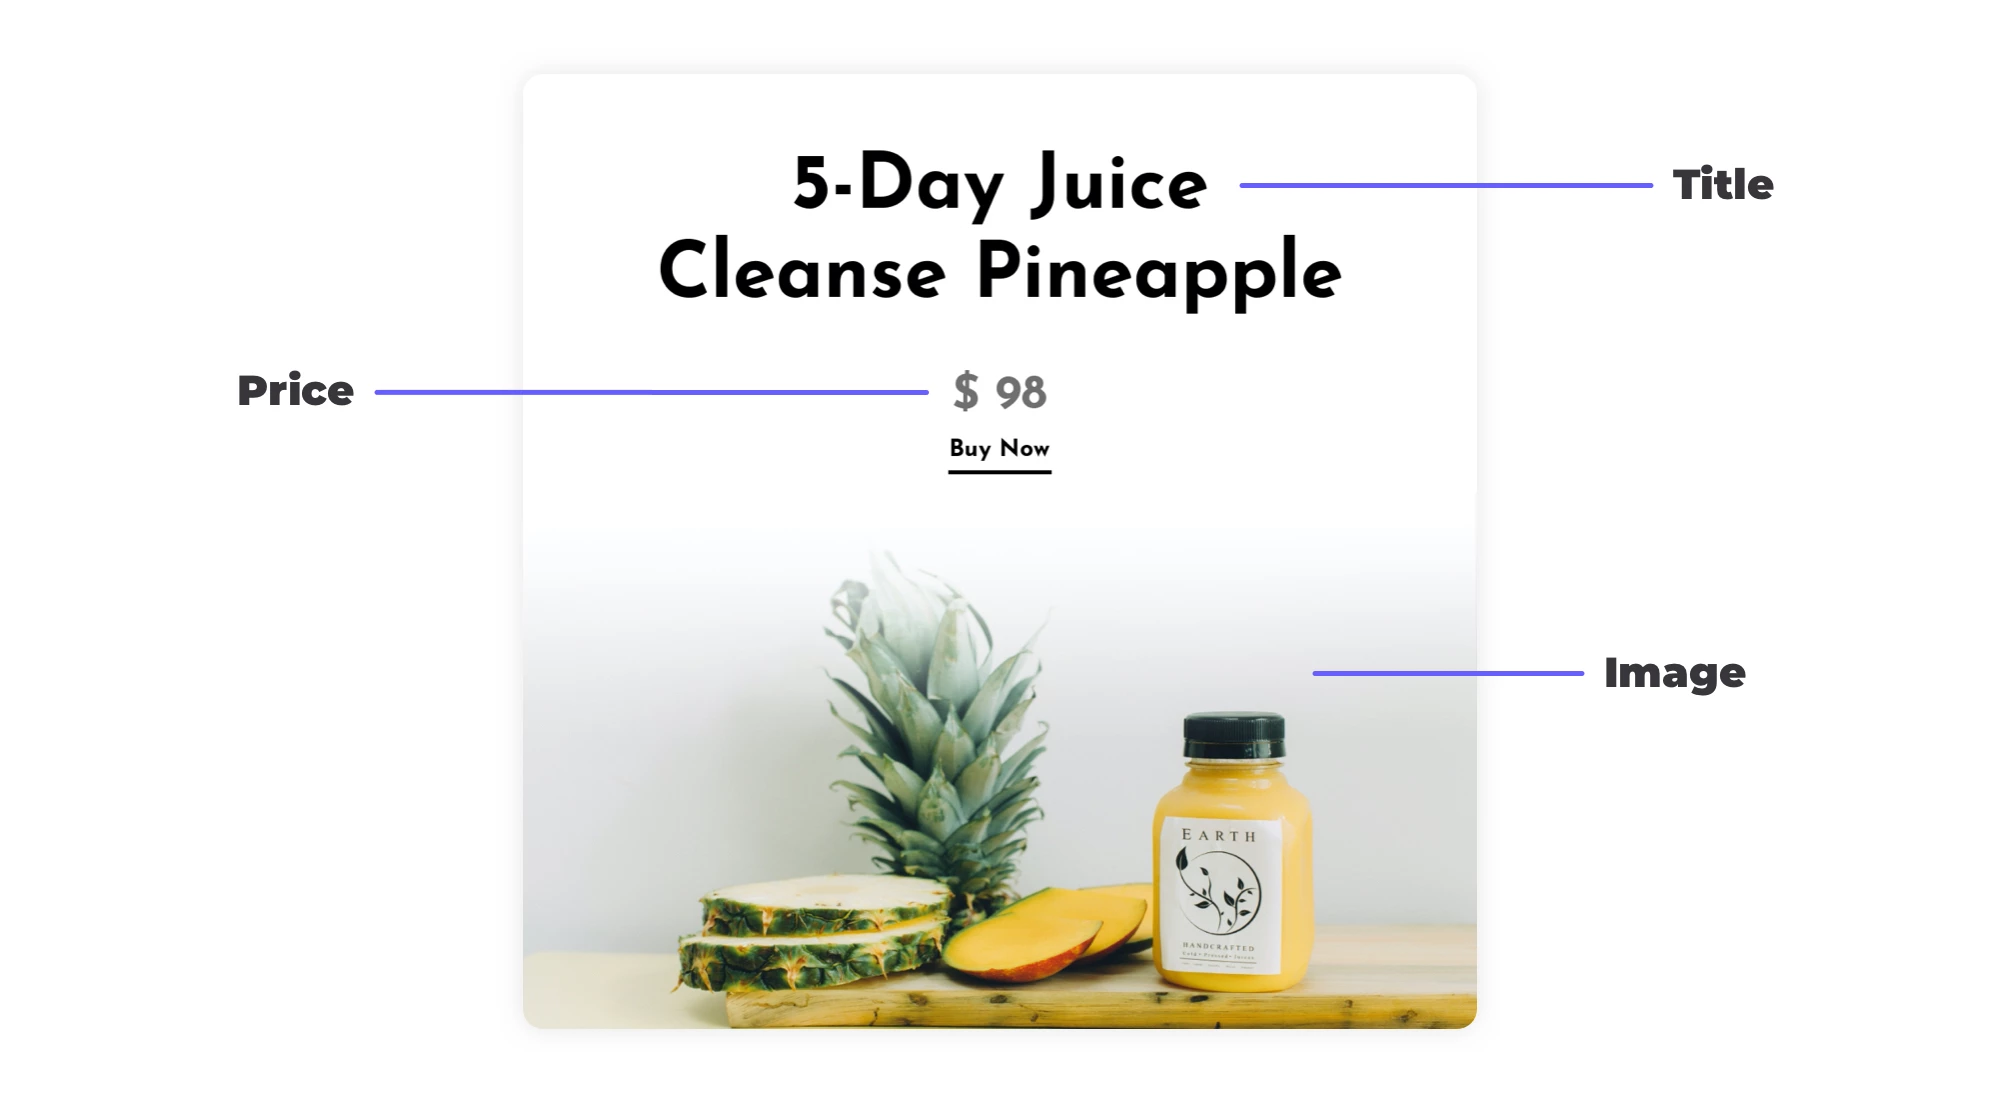
Design templates for the type of visuals you want to create in the Templates tab, and customize them to fit your brand.
Tips:
- Define meaningful layer names
- Uncheck the option Element is dynamic in the layer settings if that layer will not contain dynamic content (e.g. your logo)
- Fill your layers with meaningful defaults, because these will be the fallbacks we use if your Zapier workflow does not send any values
Video templates
If you're designing a template for video creation, there are some additional things you should know about. You might want to read our dynamic video guide to learn more about how to set it up.
There are different ways to generate videos with your templates:
- Fill a picture layer with a video file
- Generate videos with layer animations (using the animation settings in the editor)
- Fill a text or picture layer with multiple values so the video will transition through them (for example like a slideshow with multiple photos)
- Combine clips from different templates (e.g. for intros or outros)
You can find some dynamic video examples in our guide to show you demos of these use cases.
Connect Placid's Zapier app
Login to Zapier and connect to the Placid Zapier app to use it in your workflows. Zapier will then prompt you to allow them to access your Placid account. You will need an API key from your Placid project to continue.
You get the token by either going to the API Token tab in your project, or by clicking the integrate button on a template.
Create a Zap
Now is the time to think about what you want to automate. Zapier connects to many apps like Typeform, Slack, Dropbox, Twitter,.. The possibilities are endless!
Create a new Zap and set up your custom workflow.
Set up a trigger event
Zapier's trigger event decides when your automation will be run. This could for example be triggered whenever there is a new RSS item in a feed, a new message is posted to a Slack channel, or a user submits a response to your Typeform.
Add a Placid action
Next, you're going to add Placid to your workflow, choosing one of our actions:
- Create Image to generate images
- Create PDF to generate PDFs with one or multiple pages
- Create Video to generate videos with one or more clips
- Convert files to URLs to convert a file to a media URL you can fill into a Placid picture layer in your workflow (e.g. if you received an image via Webhook first)
After you select your template, you will see all of the dynamic layers of your template and the content and attributes you can change via Zapier (e.g. to fill a picture layer with an image).
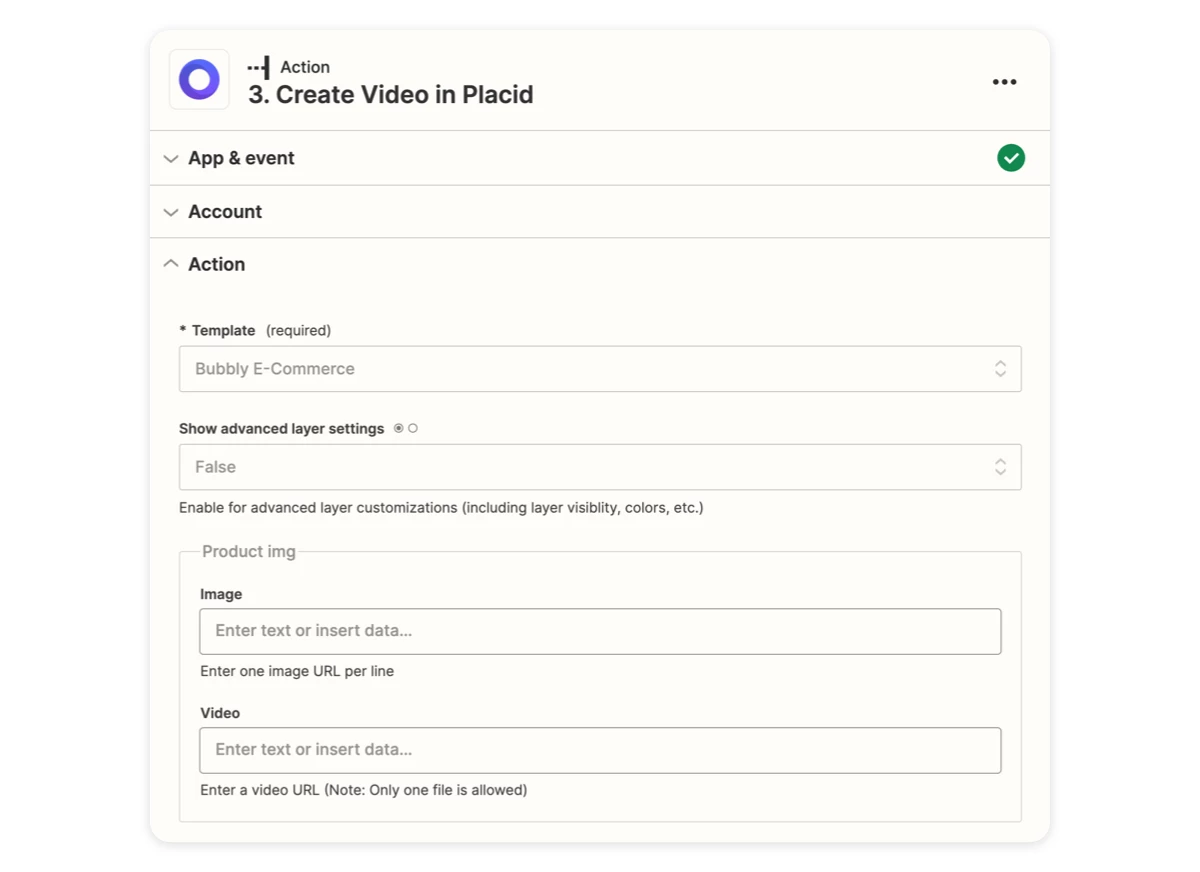
Fill them with the data you got from your trigger event – e.g. a specific Typeform response, your RSS item's title,..
Complete your workflow
Now you can use your generated creative in the rest of your workflow. Add more actions to e.g. post it to Twitter, send it to your Dropbox or send it directly via email.
Publish your Zap
If you want your zap to generate creatives for you, you will need to publish it. Once it's published, Zapier will run all your action steps every time your trigger event occurs.
We have created some tutorials that you can watch and/or read to see how to use Placid in your Zapier workflow:
- How to automatically create PDF event tickets from Typeform data with Placid & Zapier
- How to create personalized Year in Review campaign visuals with Placid & Zapier
- How to create a slidewhos video from static photos with Placid, Airtable & Zapier
We always love to see what creative workflows our customers come up with. Don't hesitate to share with us