Managing courses, webinars and (online) events is becoming easier and more accessible to anyone thanks to all the great tools on the market. We hope we can add another one to your toolkit: With Placid, you can generate branded marketing assets in automated workflows.
In this tutorial, I'm going to show you how to automatically generate personalized tickets for all participants of your event and send it to them after they sign up. No coding skills needed - everything is done with nocode tools.
We're going to use Typeform to collect our attendant's email addresses and names. Then Zapier, we're going to connect the Typeform with Placid using the workflow automation tool Zapier to create ticket PDFs, and use the Email by Zapier function to send them out.
You'll need accounts for Typeform, Zapier and Placid. You can sign up for a free Placid trial, if you don't have an account already. We're building a multi-step Zap connecting 3 actions in one workflow. To use this in production you'll need a paid Zapier account.
Video Tutorial
Set up a Placid project
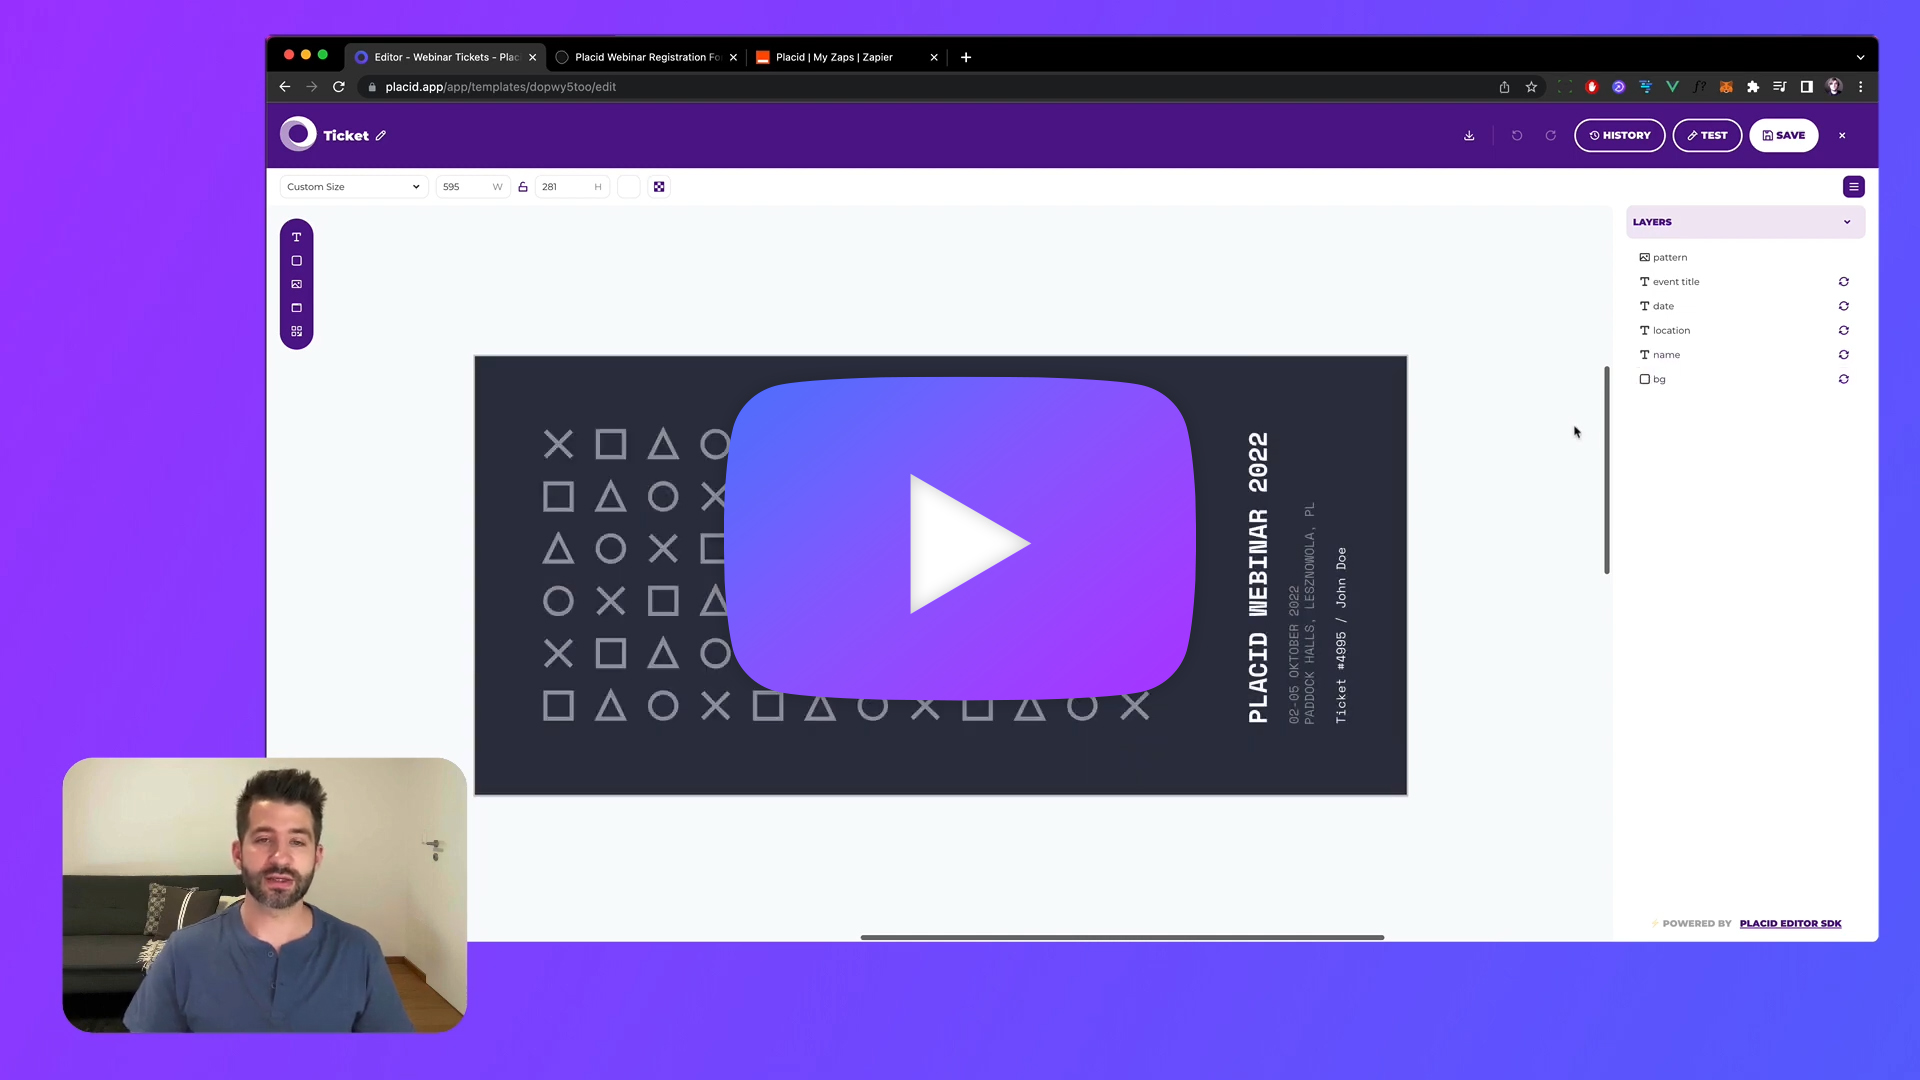
To start, you'll need a Placid project with a Zapier integration. You can create a new project (Projects > Add new project) or add the integration in an existing project (in the project settings or the Add integration function in the sidebar).
Create a Placid template
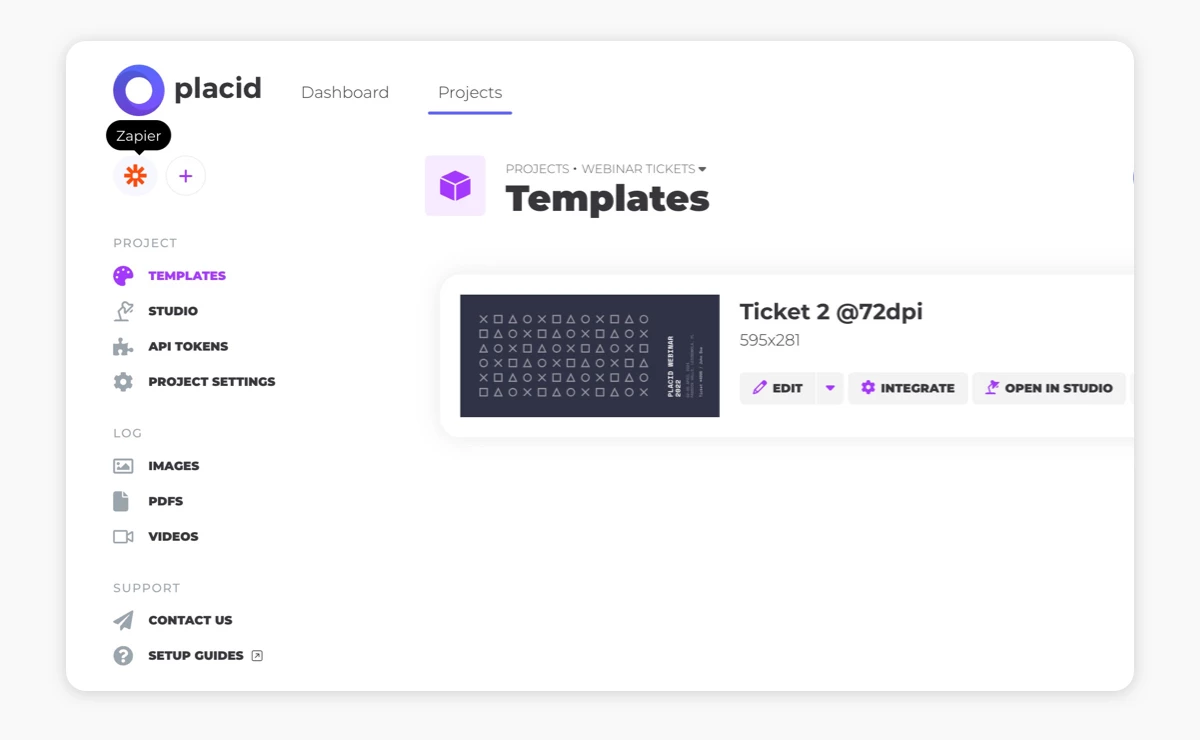
Switch to the Templates tab in the menu and create a new template for your ticket. We offer some preset designs for tickets that you can use (like I did), or you can create a custom design. We're using the resolution 595x281 (the DIN Long format at 72dpi).
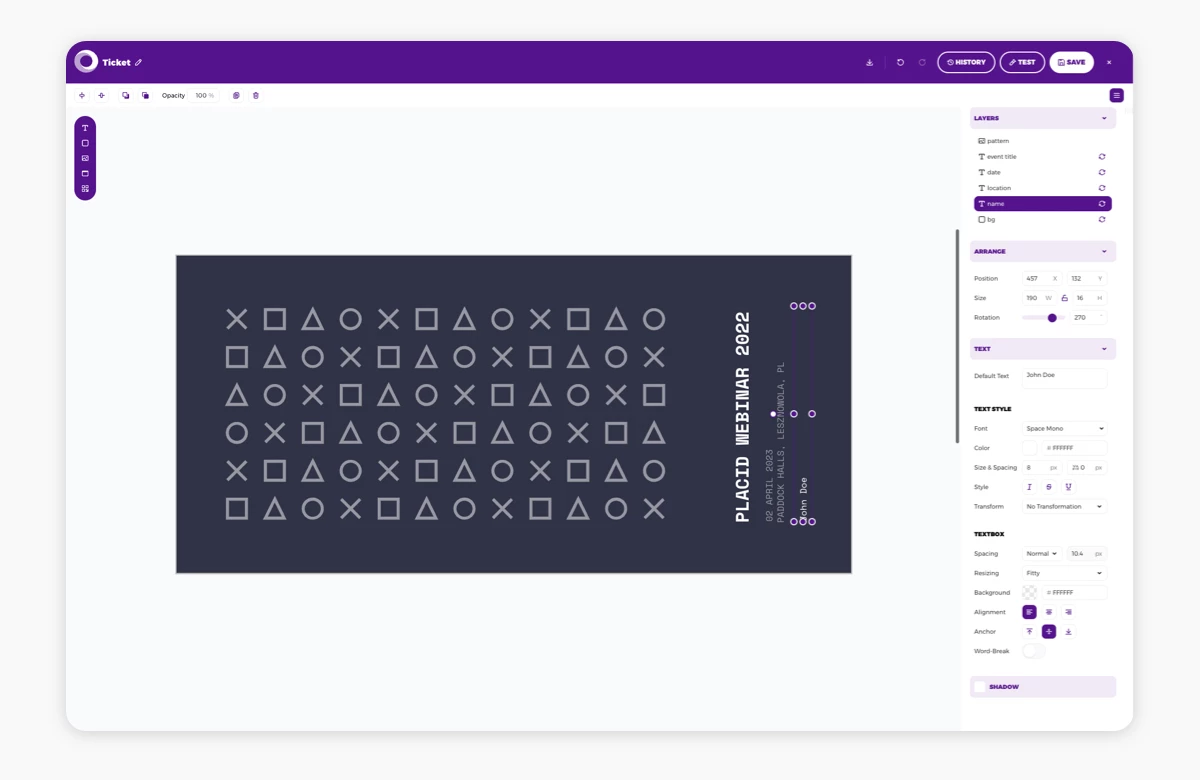
In my template, I have created some dynamic text fields. These can later be filled with data (e.g. the names of the people signing up to our event) to auto-generate personalized variations from this design.
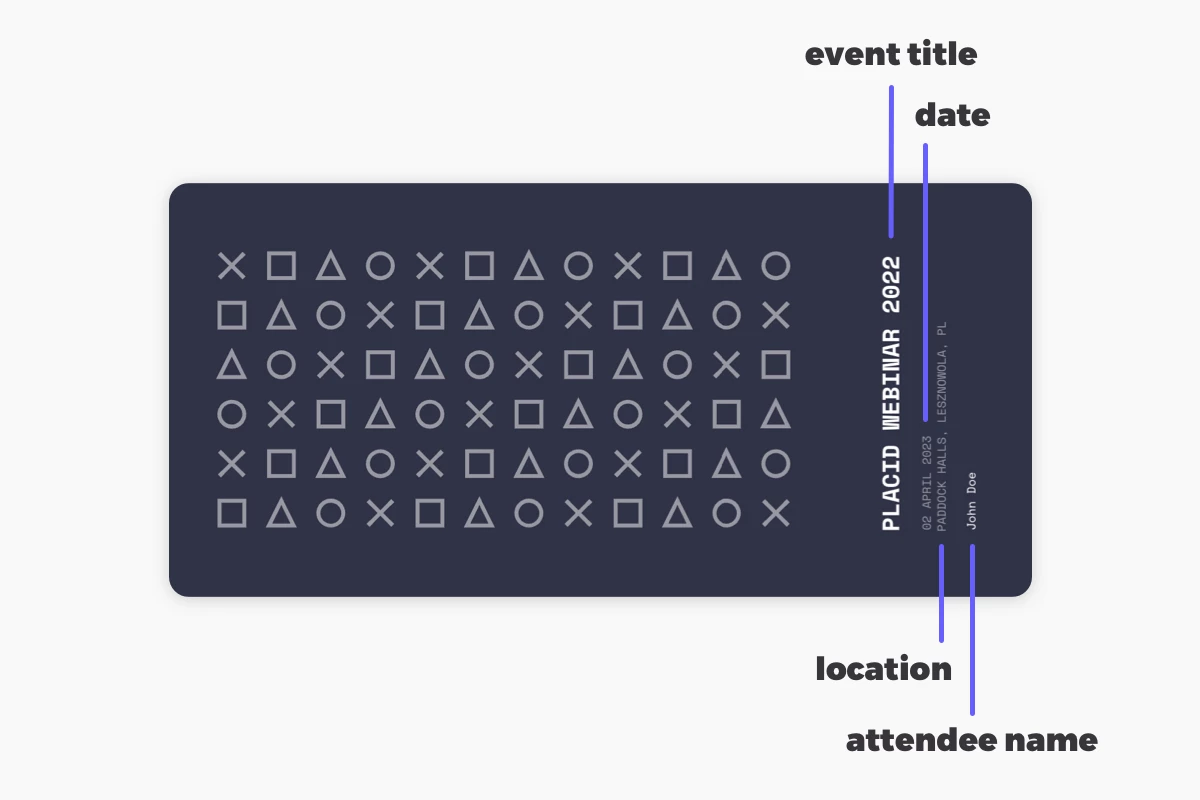
In this tutorial, I'm going to fill the name layer with the attendant's names we're collecting in our Typeform.
Set up your Typeform
For this tutorial, I created a short Typeform using one of their templates. It's asking for a name & email address to sign up for my example webinar. You could create a more sophisticated form as well of course!
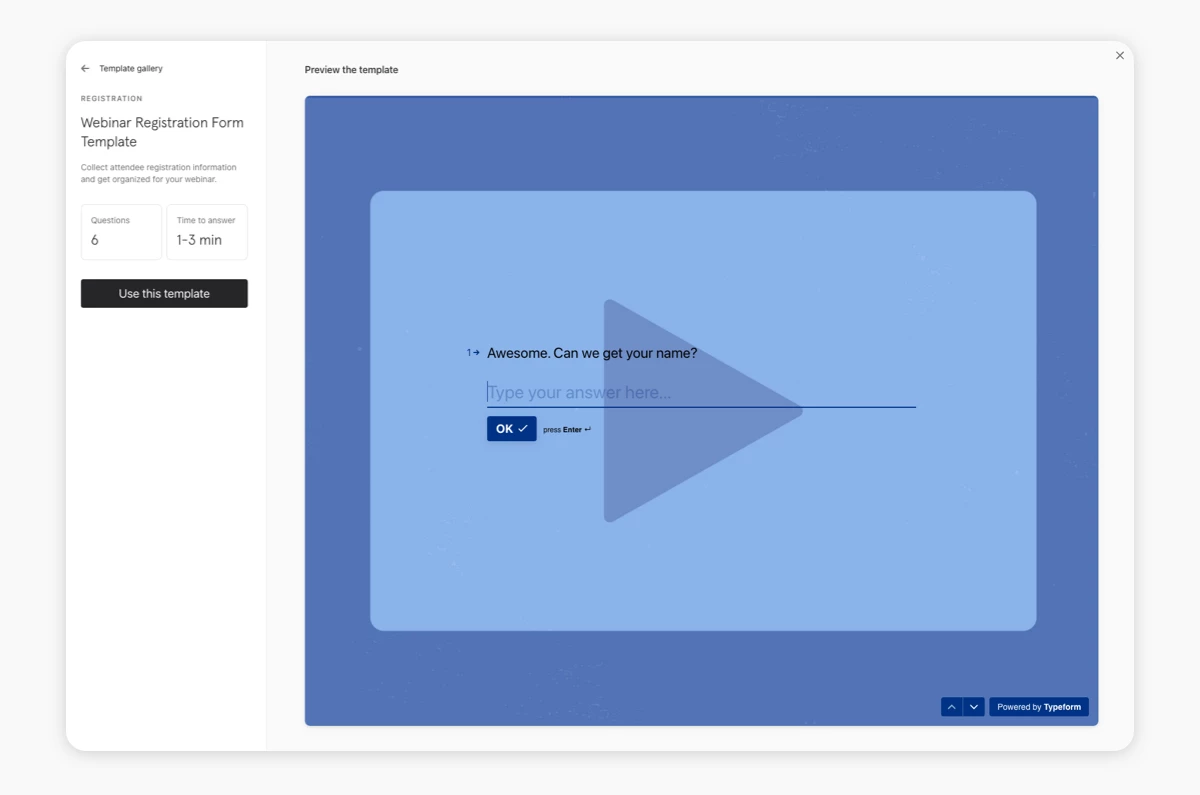
If you need help setting up a form, head over to this article on how to create your first Typeform for a step-by-step instruction.
Make sure your form is published to continue. For testing purposes, it would be ideal if you completed the Typeform with your own name and email address once. Then you'll get a personalized PDF yourself in a few minutes when we're done with the setup 😉
Create a Zap
Now we're ready to create our Zap in Zapier – the automated workflow that will:
- Create a PDF for every Typeform submission and
- Send the PDF to the participant
Add a Typeform trigger event to activate the workflow
The first step when creating a Zap is to define a trigger event that kicks off the workflow any time it happens.
We're going to choose the Typeform app and select a New Entry event that triggers whenever our form is submitted. We can then choose our account and form.
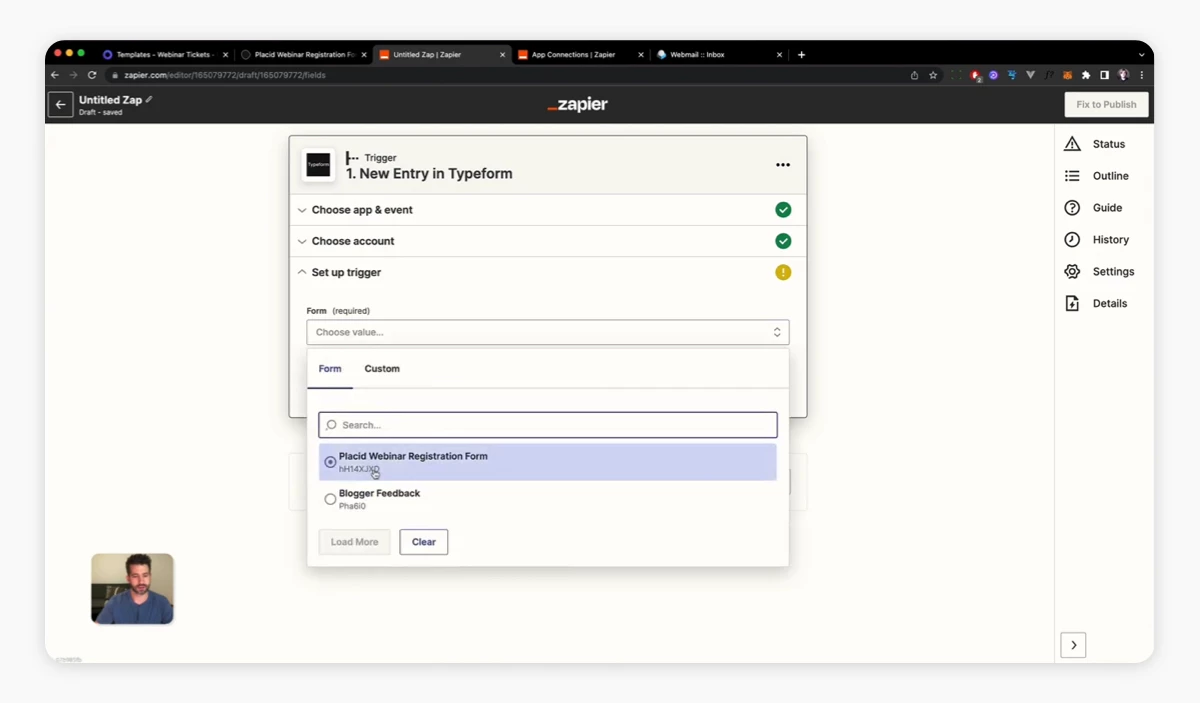
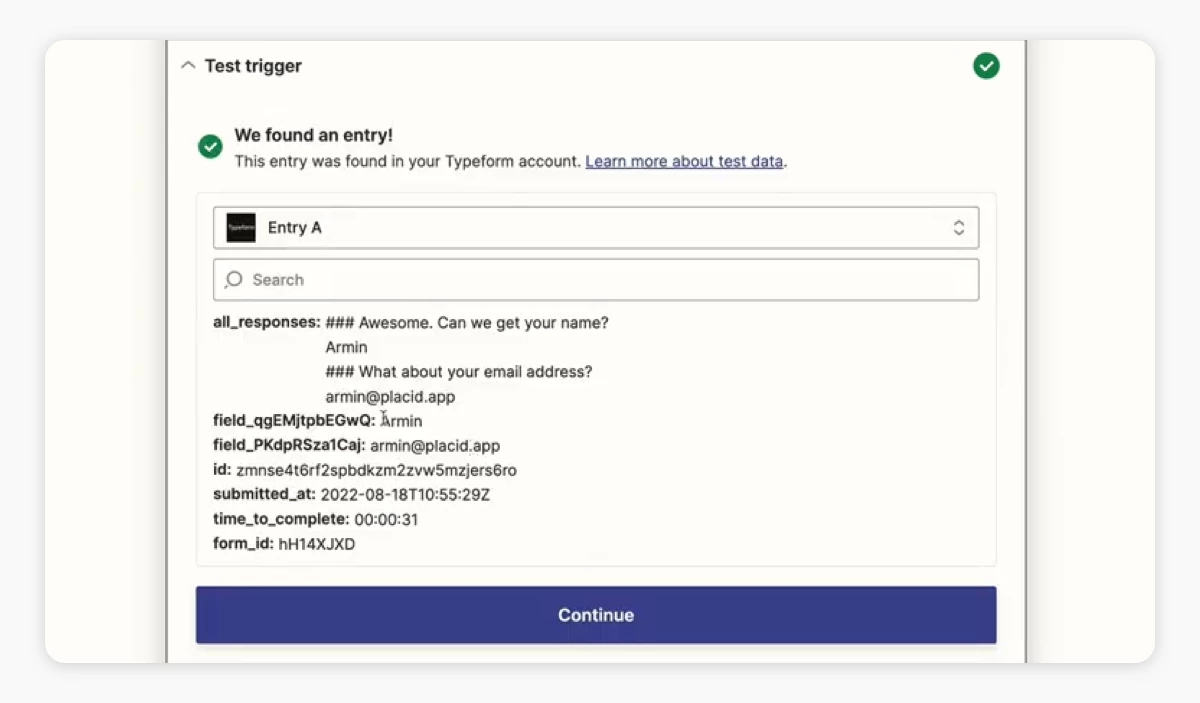
When you test that event, you should get back a dataset of existing submissions (probably only your own name and email address at this point).
Add a Placid event to create your PDF
Add an event to your Zap and choose the Placid app. Select a Create PDF event.
You'll need your Placid API key to connect your account. You'll find it in your Placid project by clicking on the Integrate button on your template. Copy it and paste it in your Zap settings.
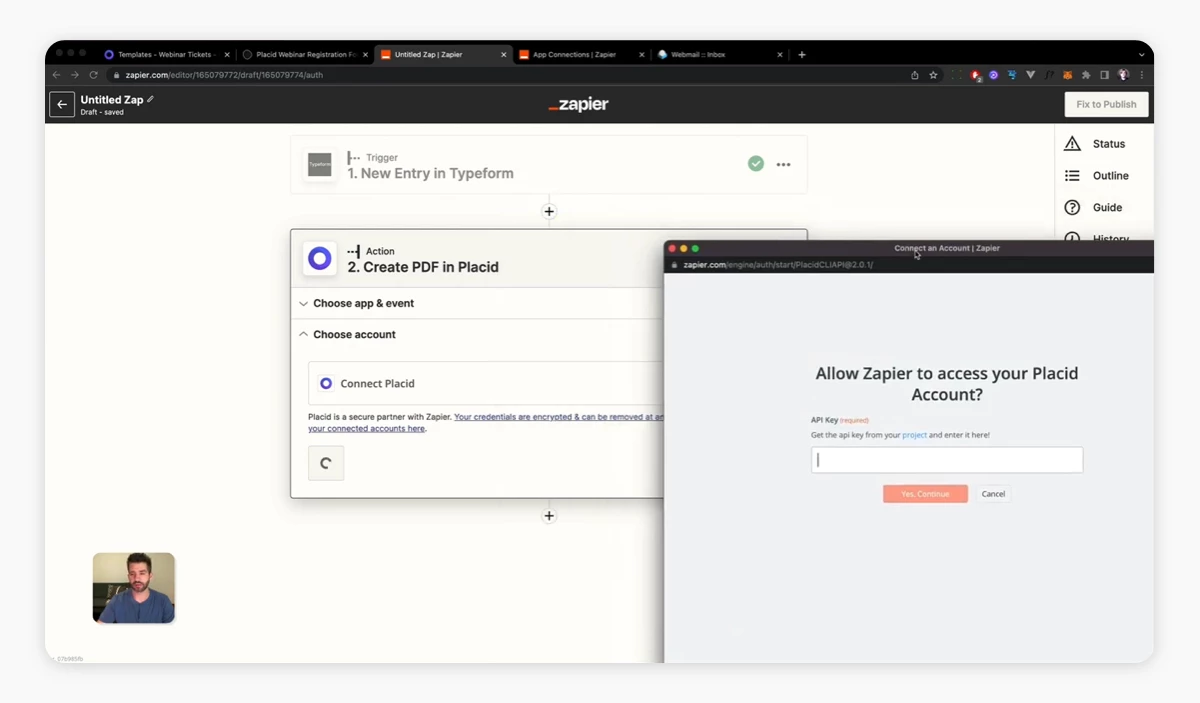
Choose the ticket template and you'll see a form displaying all the dynamic layers of it. You can now go to work and fill them with the data from your Typeform. I chose the text field of the name layer and chose the question / answers for the participant's name in the form submission.
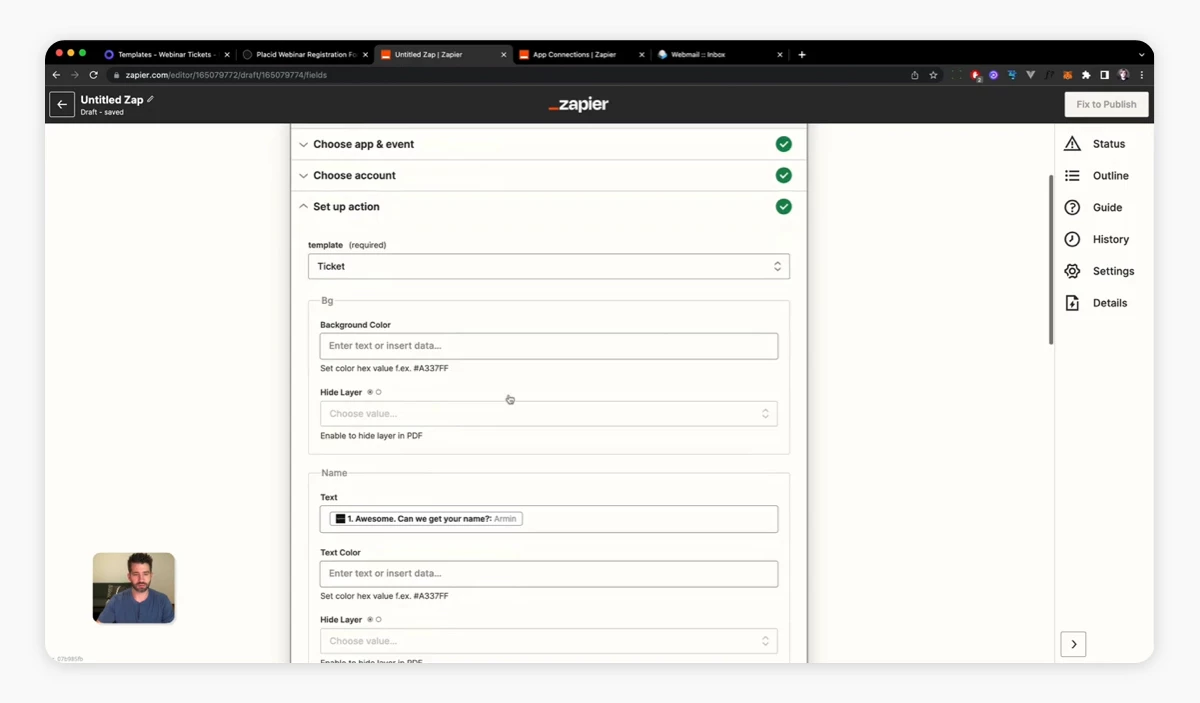
Now you'll already create your first PDF: Using the Test & Review function you will get back a URL of a generated, personalized PDF file using your branded template and the data from your Typeform.
Add an Email by Zapier event to send the ticket
Add another event to your Zap and choose Email by Zapier. Select a Send Outbound Email event.
Now you can set up your email:
- Choose the e-mail address data from your Typeform in the To field
- Enter a subject, body and From name
- Add the generated PDF as an attachment by choosing the PDF URL in the Attachment field (Zapier will automatically attach the PDF file itself)
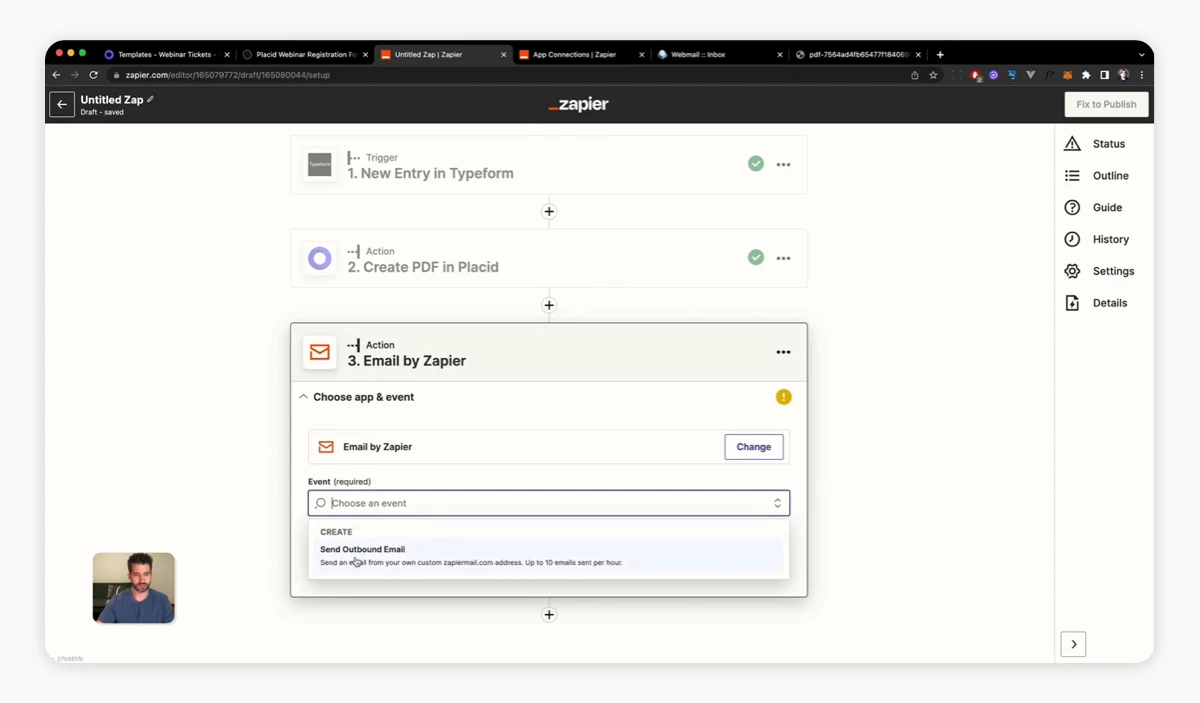
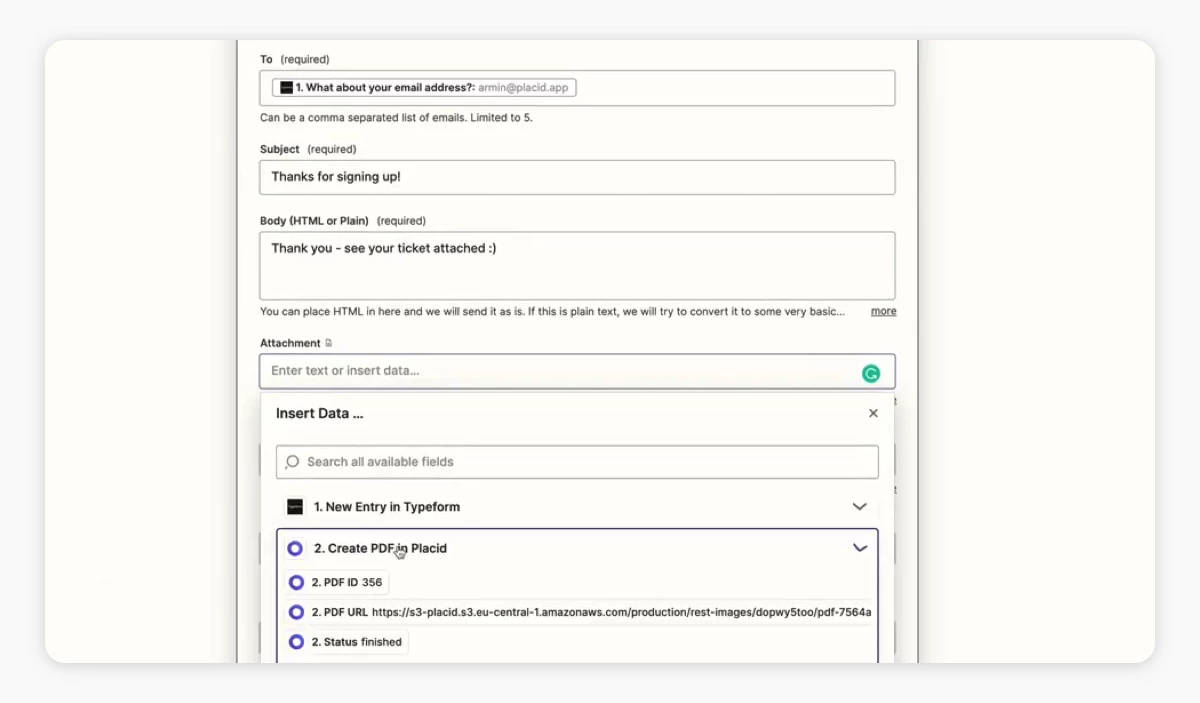
If you Test & Review this step now, you're going to get your personalized PDF sent to the email address you specified in your Typeform test entry 🎉
Publish your Zap
Now the only thing that's left is to publish your Zap, and direct people to your Typeform to sign up for your event!
What's next?
This tutorial shows an automation that uses a name and e-mail address from a Typeform submission to personalize event assets. But you can be creative to set up more automated workflows that fit your business:
- Personalize more attributes of your template layers based on answers to your Typeform (eg. add dates for the specific events your customers choose, or even customize colors / images on the ticket dynamically)
- Add QR-codes or barcodes for access control at in-person events
- Connect more tools for integrated workflows (e.g. automatically enroll users to your courses on Teachable, Podia or else; send the data to a Google sheet to analyse it later)
- Send your participants a certificate for their attendance
- Send them a personalized image via email they can use to share your event
I hope you got an impression of how flexible you can use our creative automation toolkit Placid. Create, generate and automate your marketing and social media assets - no matter if you need PDFs, images or videos.
If you need help with a specific setup,


