


Creating video content for social media has become much more accessible over the last years. There are now many editing tools with drag & drop video timelines, which makes it a lot easier for social media managers to put together a branded video post.
We want to make it even more convenient by adding automation to the mix. In another tutorial, we showed you how you can turn static photos into video content, using a Placid Studio form. Now we're going to add an automated workflow and animations:
In this tutorial we're going to automatically create video posts with photo slideshows using Placid, Zapier & Airtable!
What we're going to create
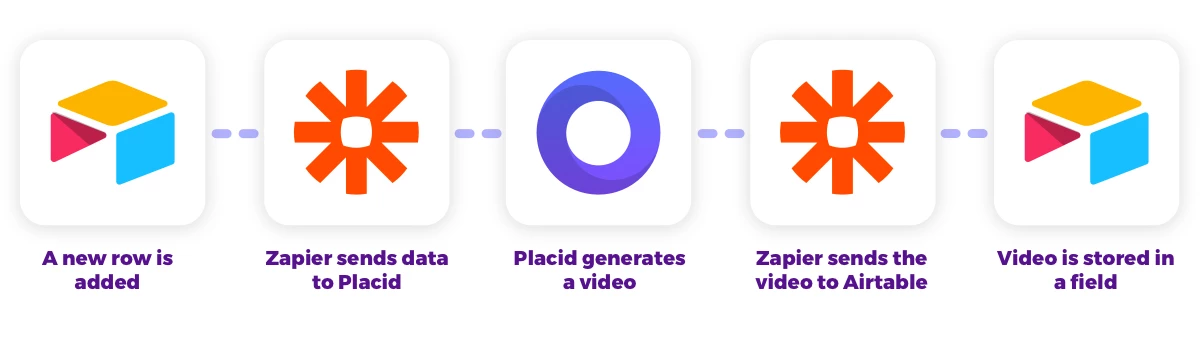
Our workflow will take a tagline and some photos from an Airtable dataset, automatically generate a video slideshow and save it back to our Airtable.
The end result will look like this, using a branded dynamic template for our video:
To follow along, you will need accounts for Zapier and Airtable (their free plans will work), and Placid.app.
Video Tutorial
Set up a Placid project
First, we're going to set up a project on placid.app.
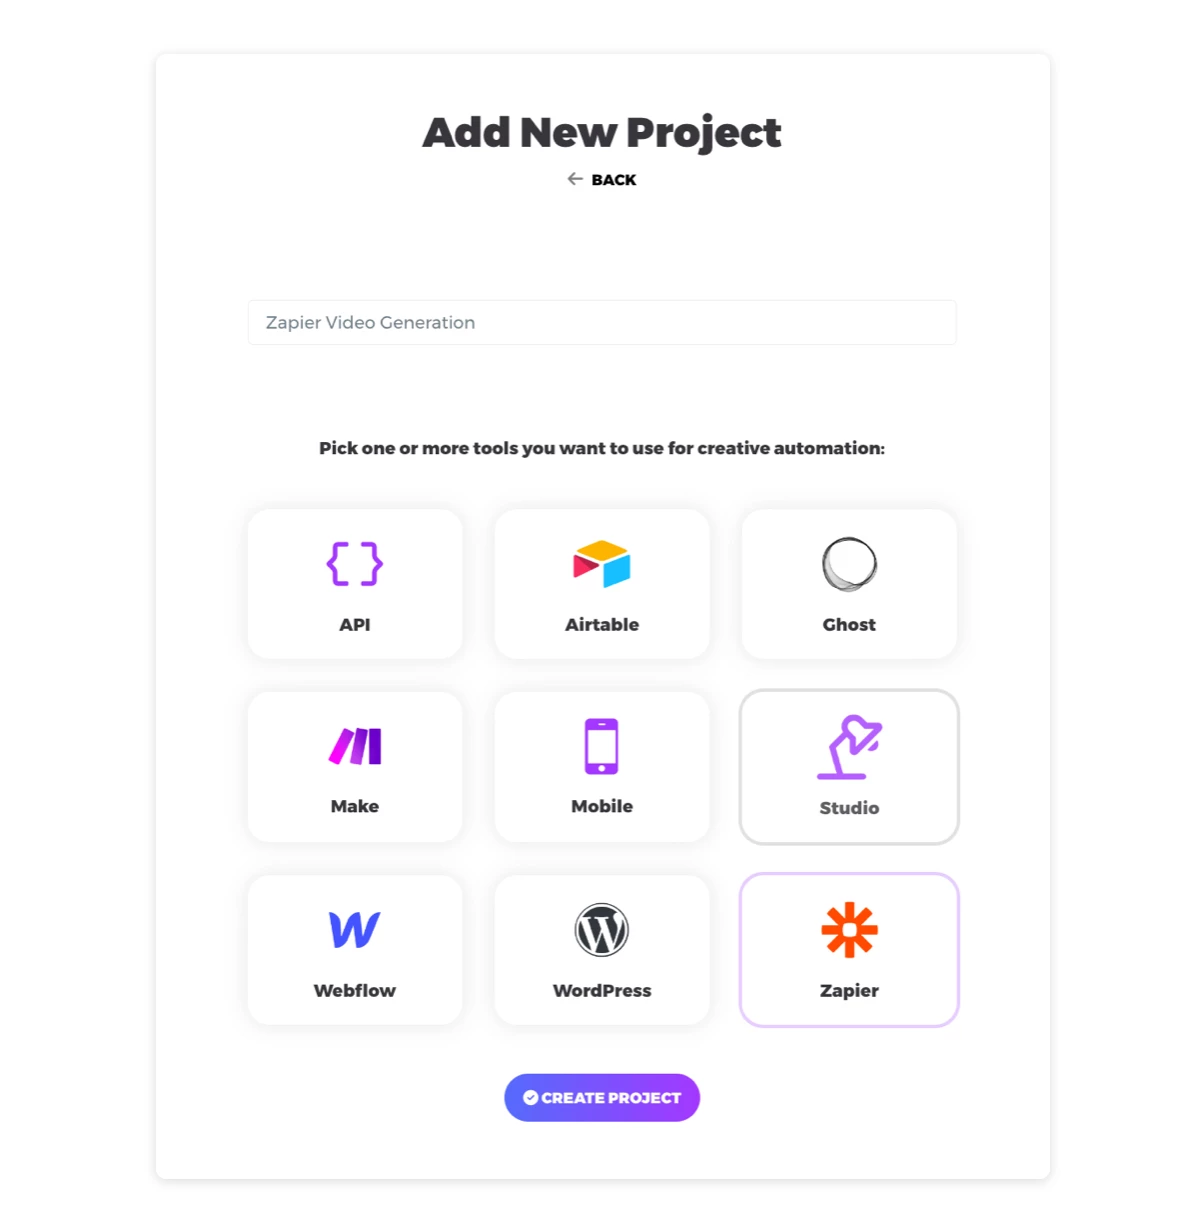
Add the Zapier integration to an existing Placid project in the project settings, or create a new one under Projects > Add new project.
Create your video template
In the Templates tab of our project, we can now create a new template for our video. We chose one of our preset designs in a square size for social media feeds, but you can create a custom design with our drag & drop editor as well.
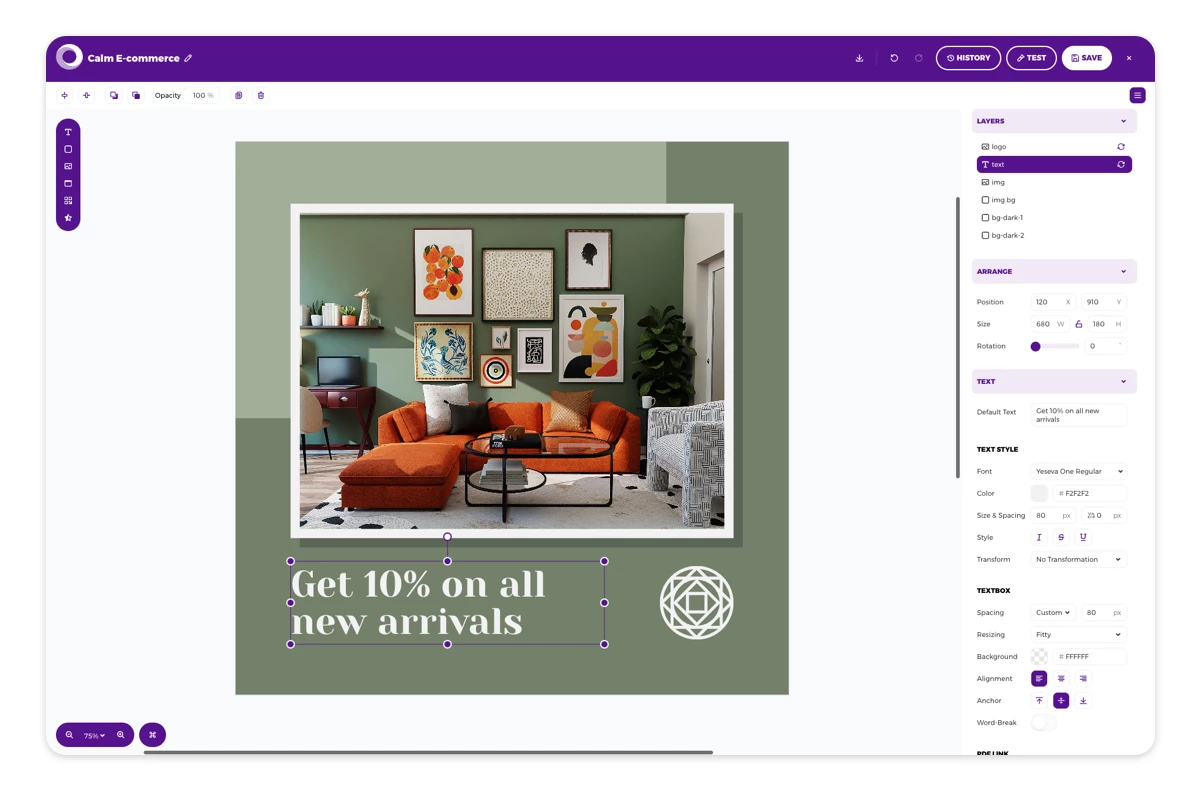
The template contains 🔄 dynamic layers that can be filled with content from our Airtable later. We're filling in a dynamic tagline into the text layer, and photos into the image layer for our slideshow.

This template can now already be used to create either static images or PDFs or videos. Here's how that would look like:
Adding animations
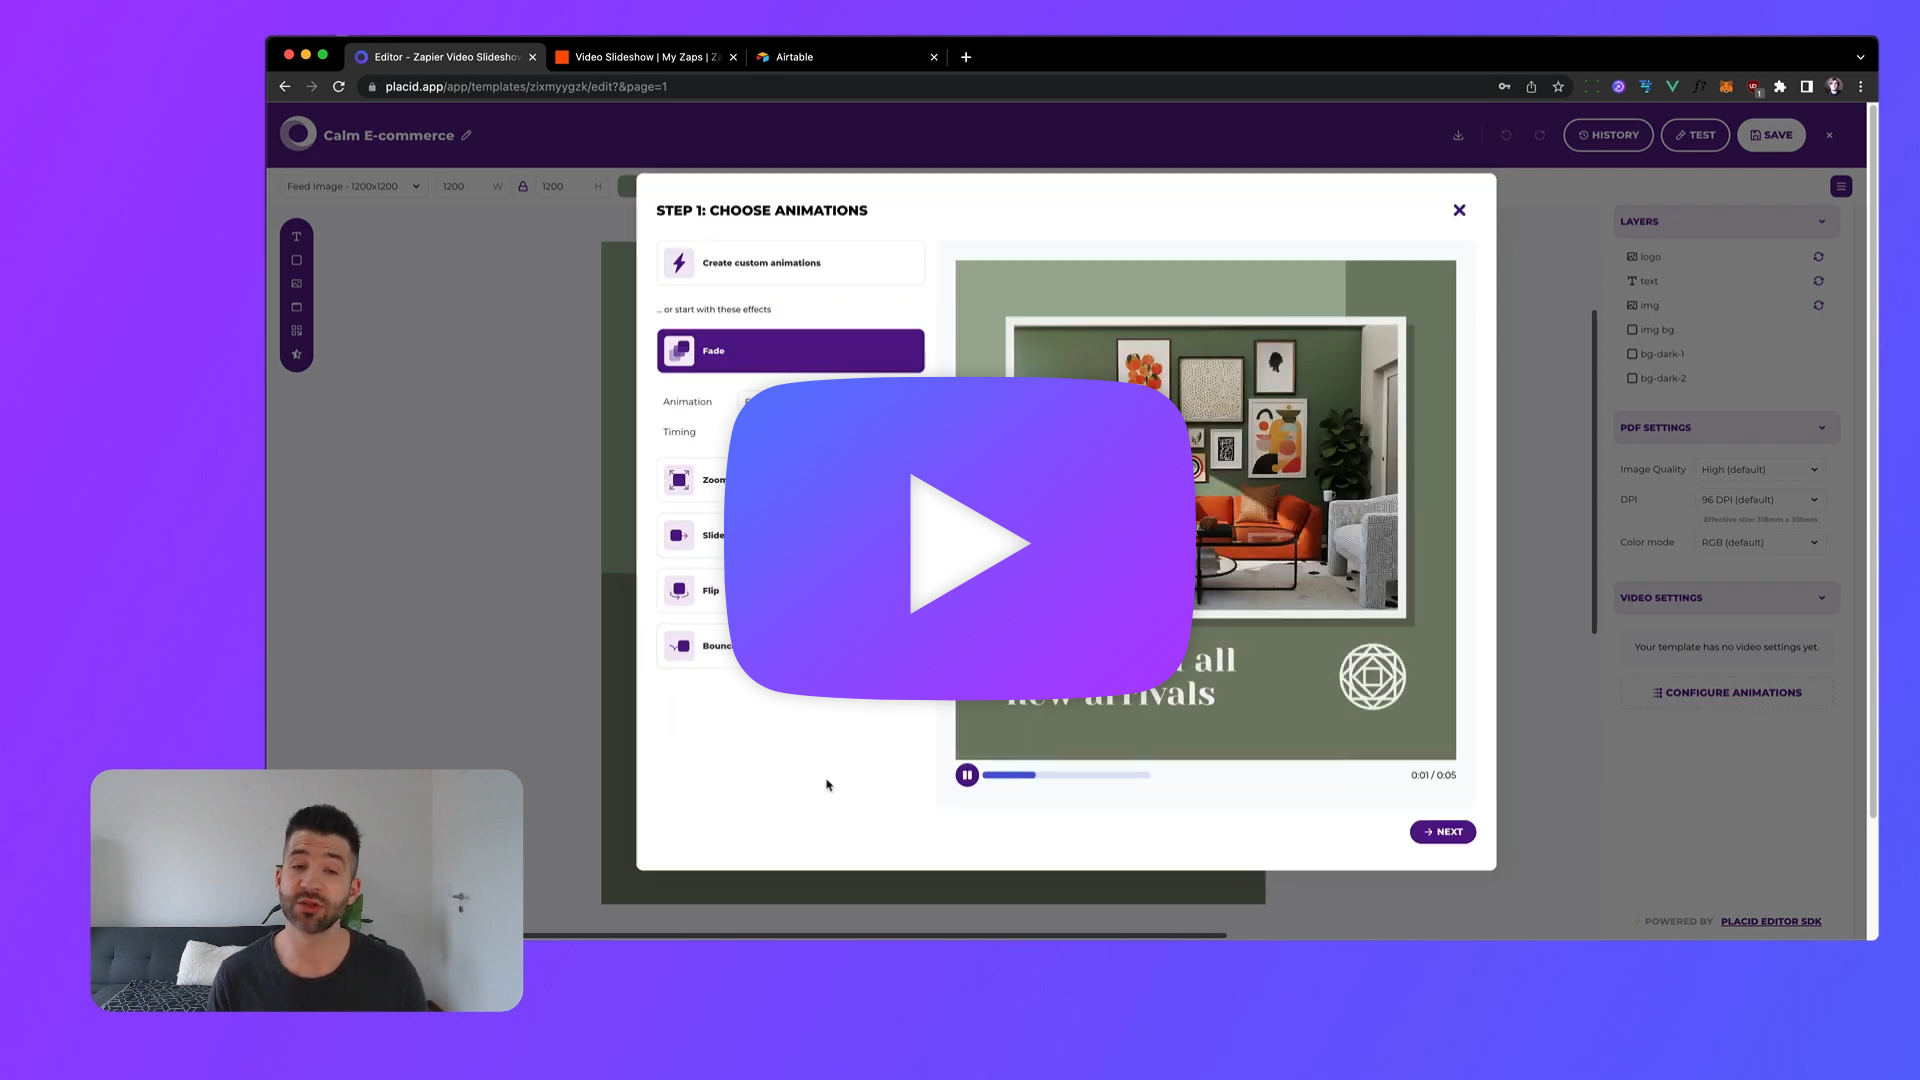
That already looks good, but we're going to add some more animations now. Open the animation settings (Video settings > Configure animations) to get some suggestions for effects.
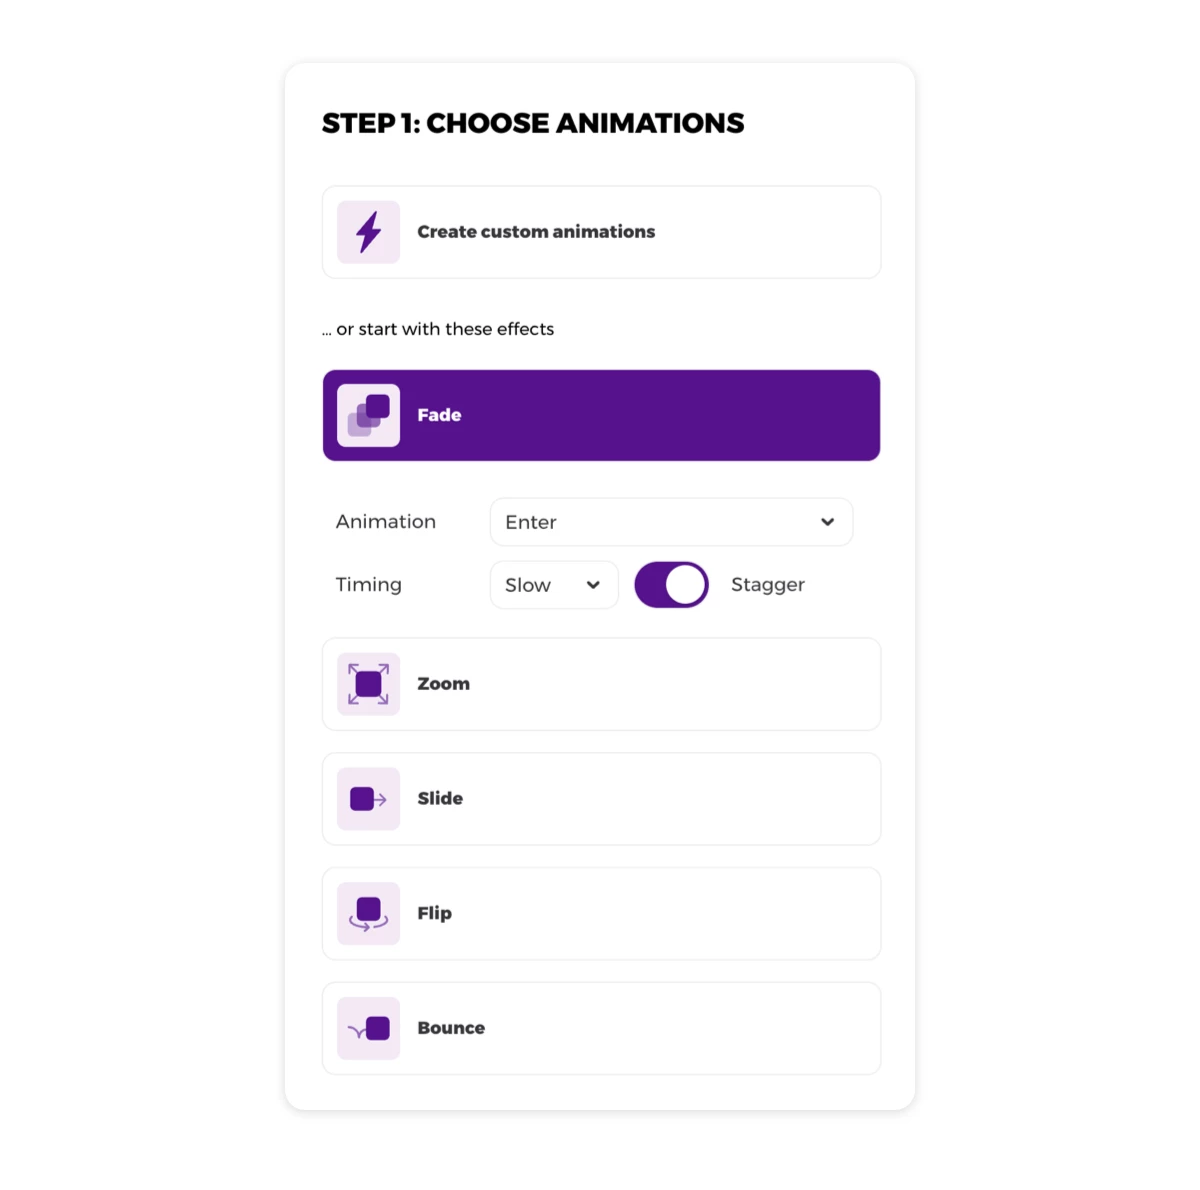
They are a nice starting point, adding a staggered animation to all layers. You can finetune the animations or change them completely. I chose a fade in for enter animations in the first step.
In the second step, I customized the entry animations:
- Logo: Slide in right, Slow, Ease out, 750ms delay
- Text: Slide in up, Slow, Ease out, 600ms delay
- Image & Image BG: Fade In, Slow, Ease out, 400ms delay
- Background Shapes: Fade In, Medium, Ease out, 150ms delay
Additionally, I set the active animation and value transition for the Image layer:
- Active: Ken Burns, Auto duration
- Value Transition: Cross fade
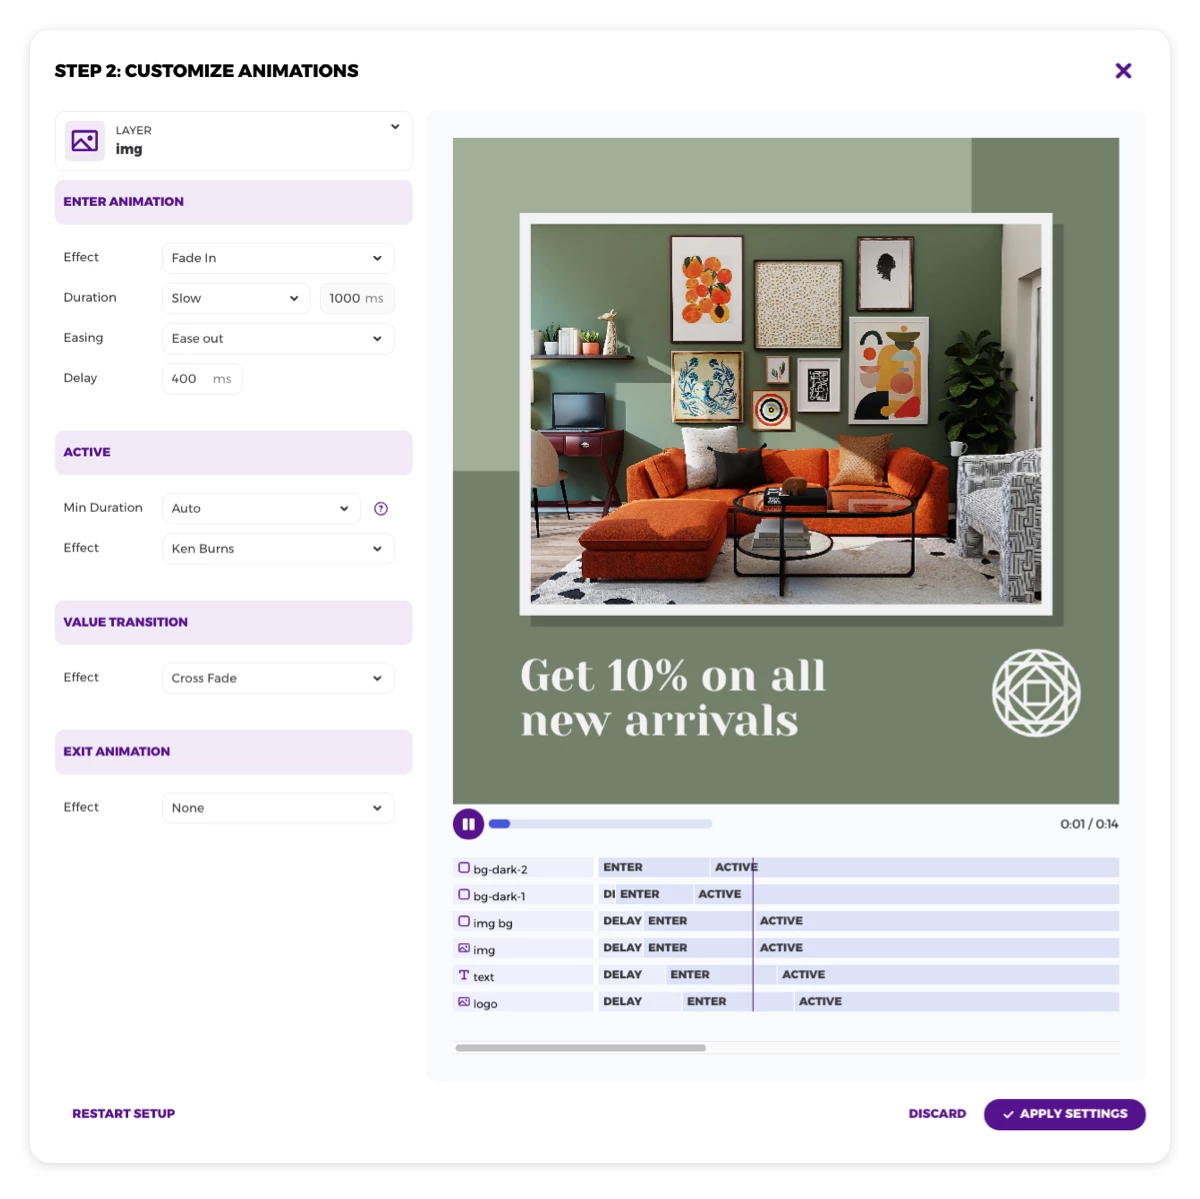
These settings add animations to the image while it is visible (a Ken Burns zoom effect), and make sure that our slideshow has a fade between the photos.
If you want to learn more about how animations work in Placid, you can read our video guide!
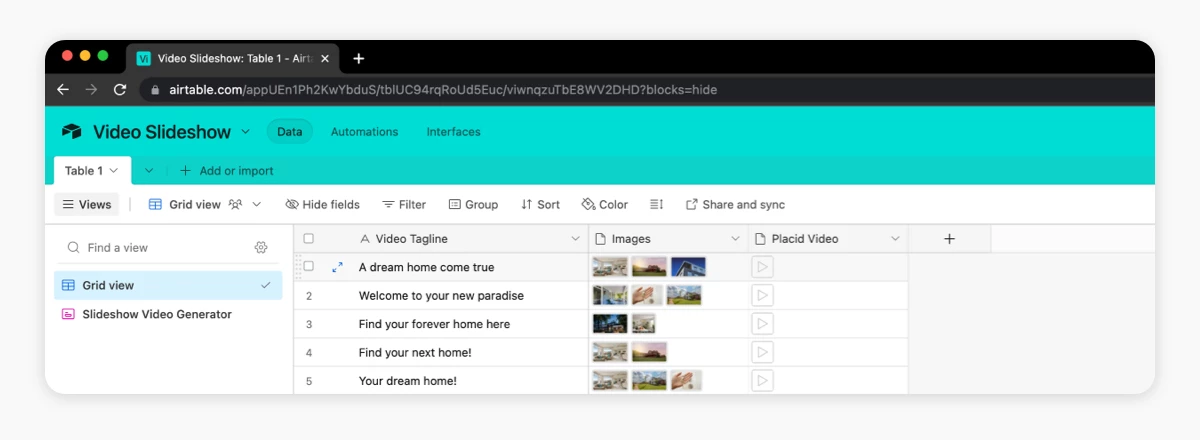
Set up your data in Airtable
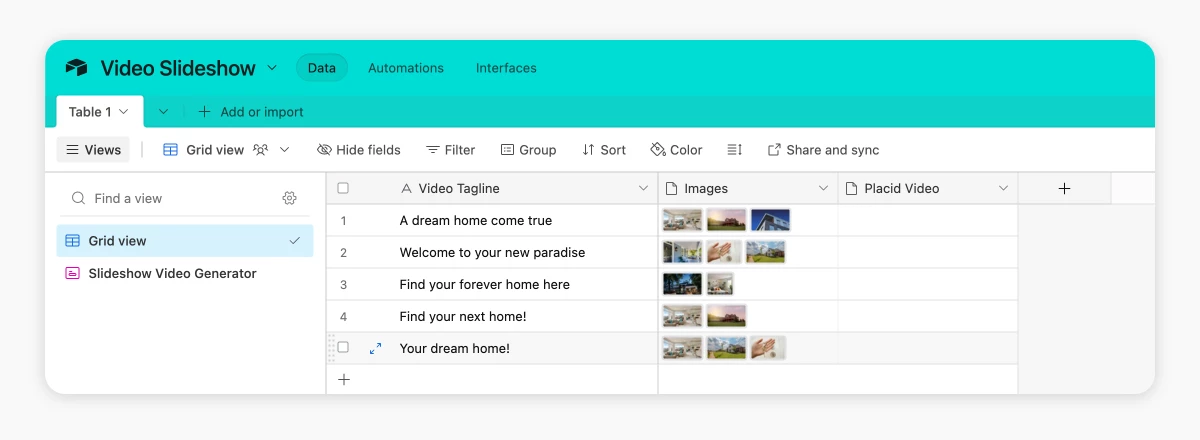
Now we're going to prepare our video-generating Airtable base! We added three fields to a table:
- Video Tagline (Text) to fill into our Text layer
- Images (Attachment) for a photo slideshow in our Image layer
- Placid Video (Attachment) for our generated video
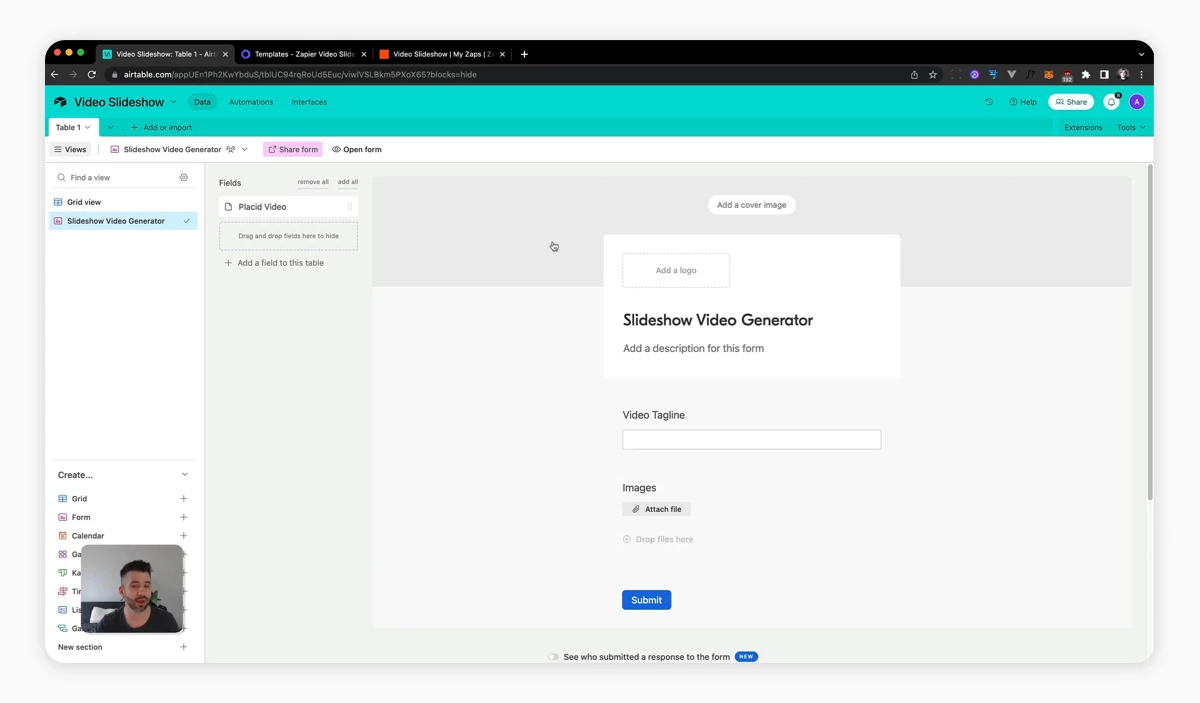
I also created a Form view titled Slideshow Video Generator, with fields for the tagline and images. (I hid the Placid Video field.) This form could be shared with team members, or bookmarked for a quick way to add rows and generate videos.
Set up your Zaps
Now we're going to connect everything with Zapier, creating our automated video generation workflow! We're going to set up two Zaps for this.
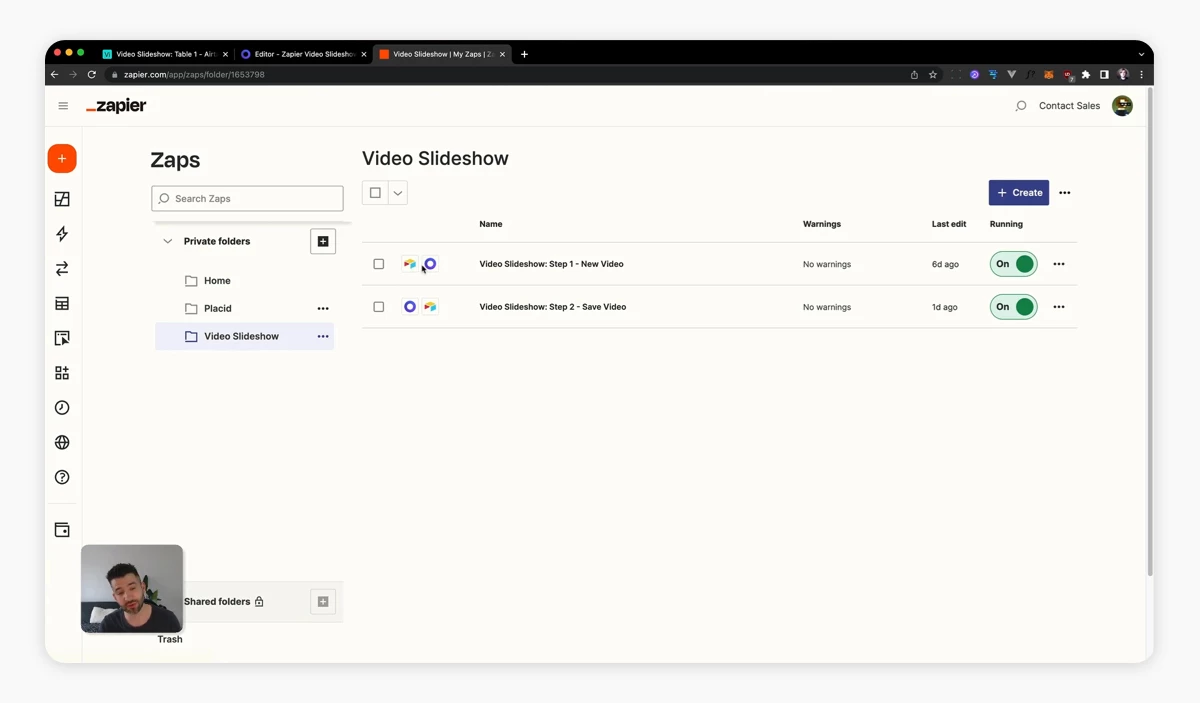
First Zap: Generate a video when a new row is added to your Airtable
The first Zap will take the data of a new Airtable record and generate a video. To set it up, add a new Zap that gets triggered by every new record in your Airtable.
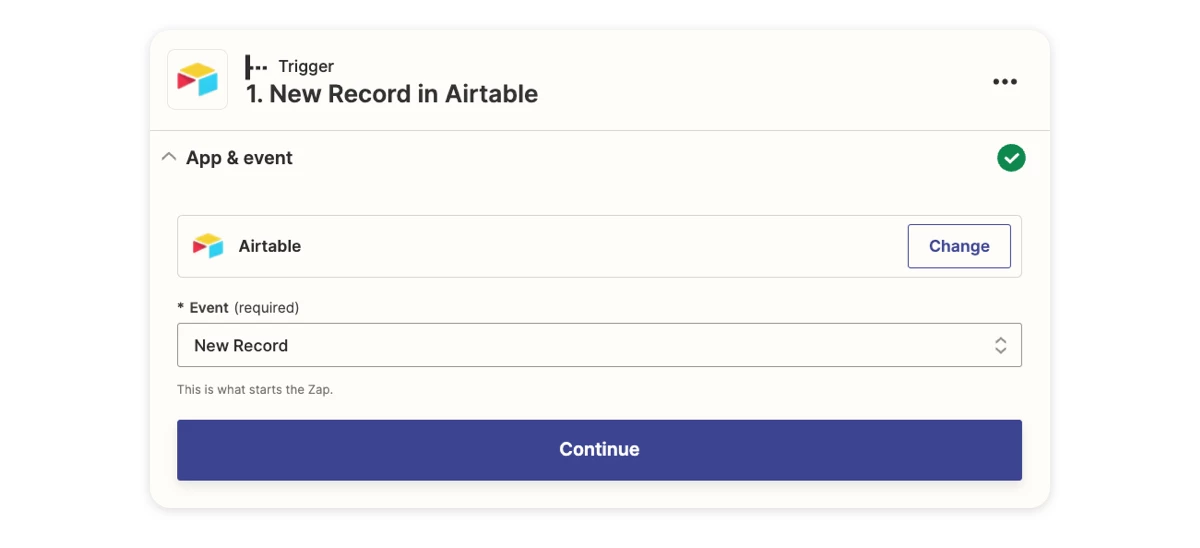
Connect your Airtable account and choose the base and table you set up before.
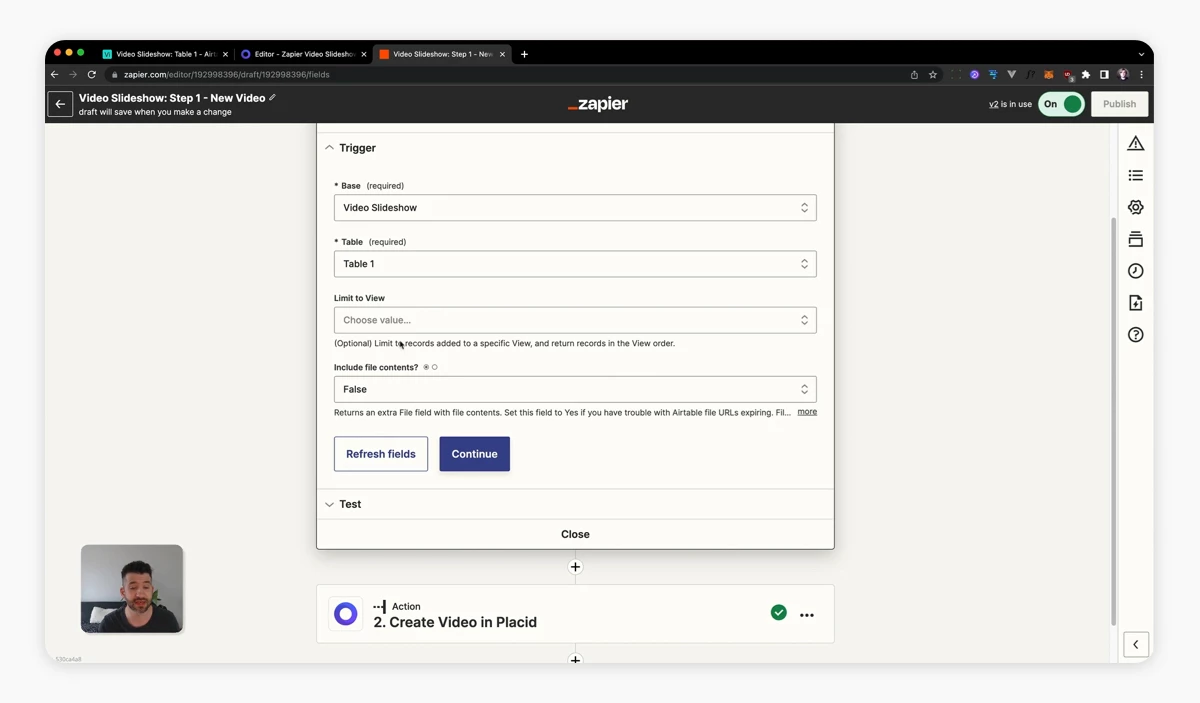
Now, we're going to add a Placid Create video action as the next workflow step. Connect your Placid account and project using the project's API Key. Then choose your video template. You will then see fields for the 🔄 dynamic layers in this template.
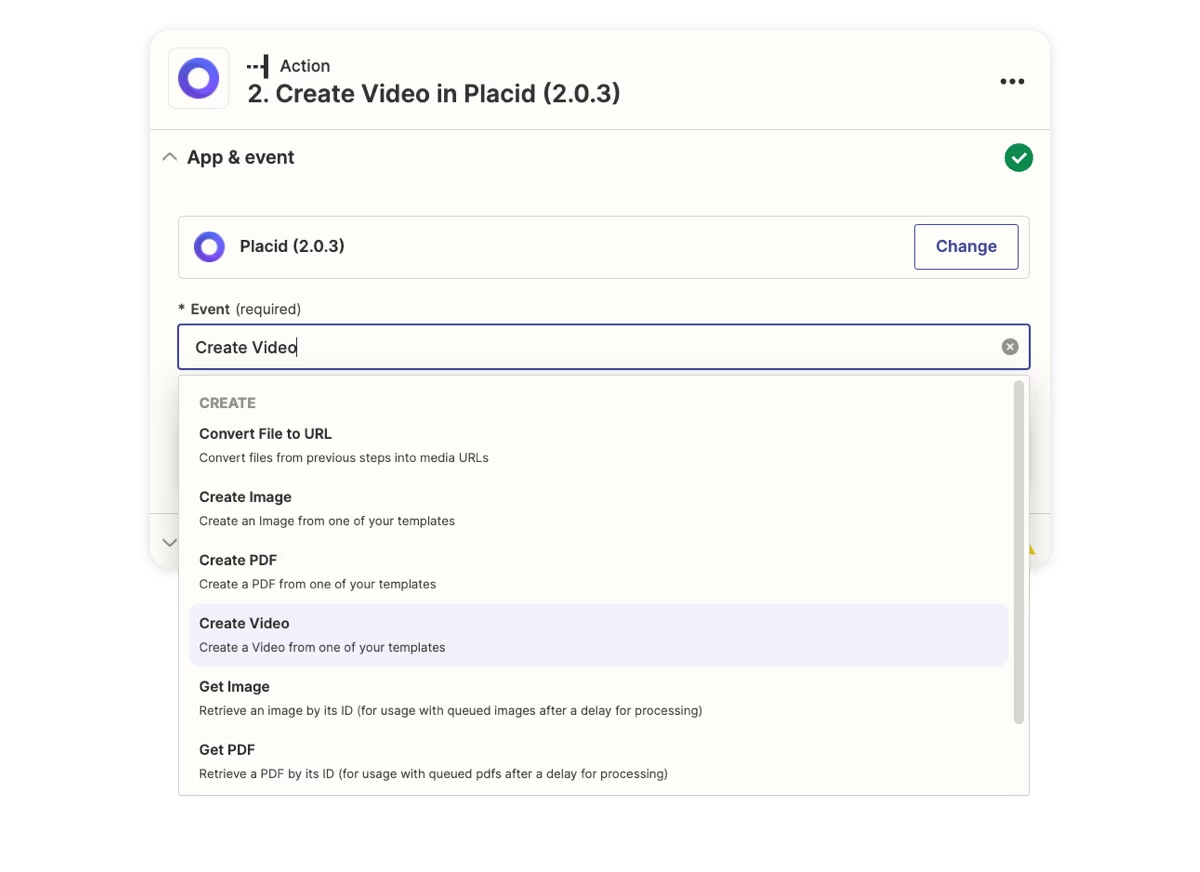
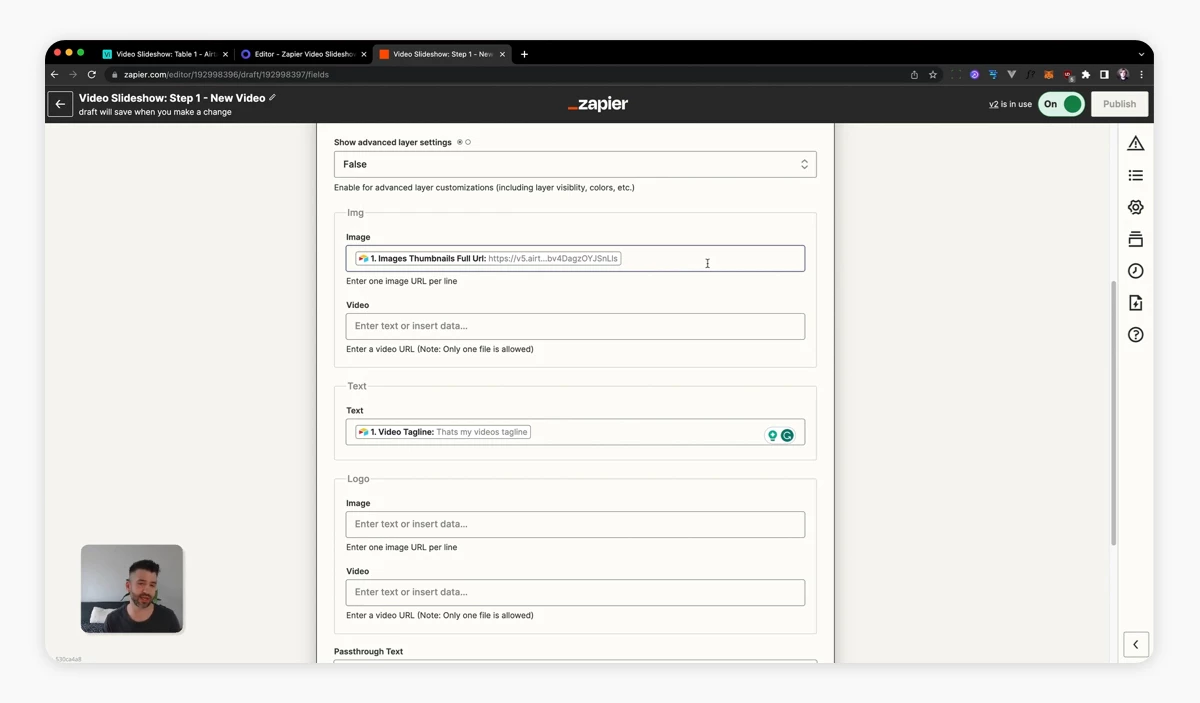
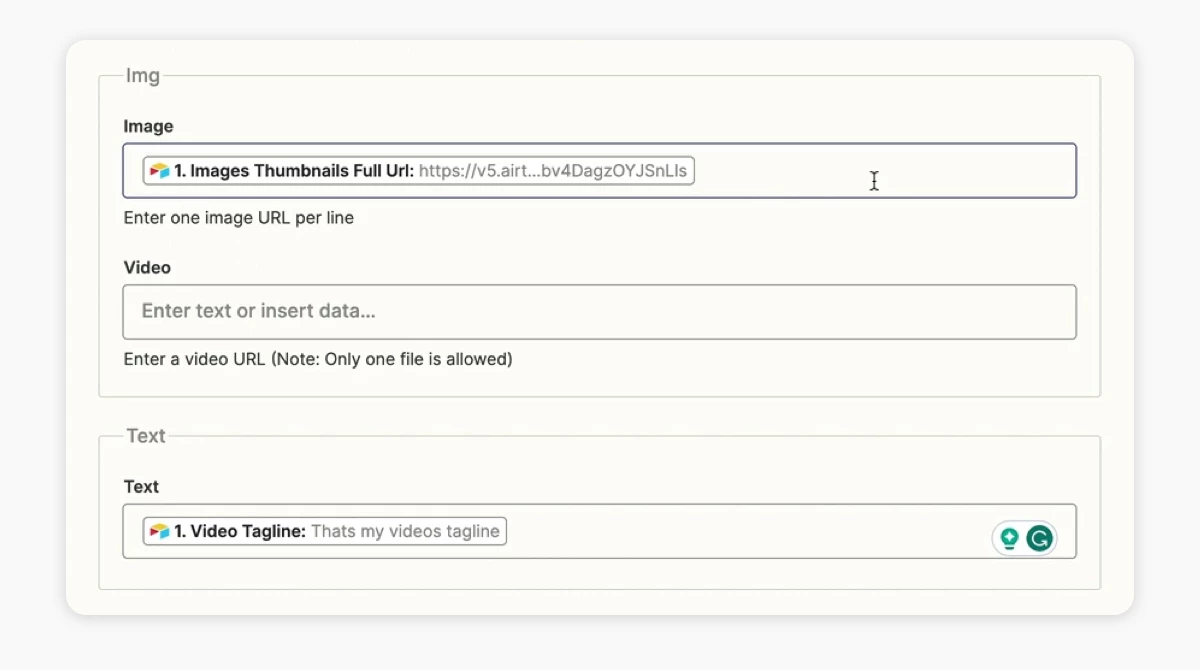
We can now fill data from Airtable step into the fields: Fill the Airtable Video Tagline field into the text field of the Text layer, and the Airtable Images Thumbnails Full URL into the image field of the Images layer.
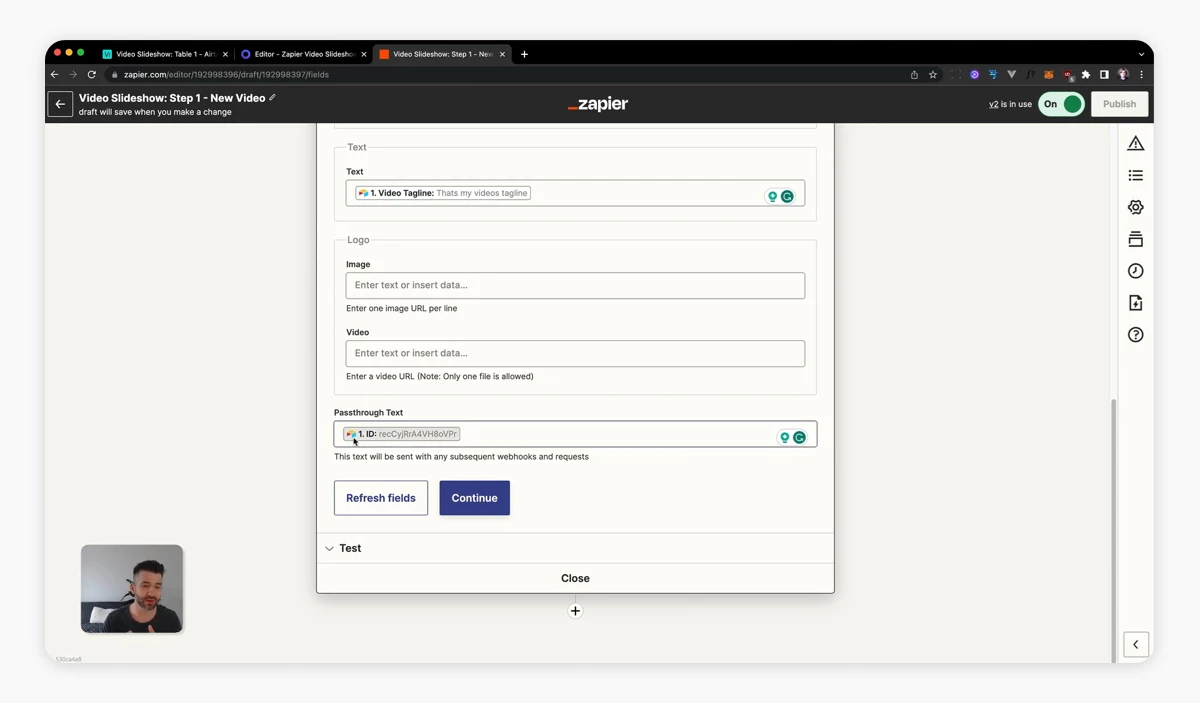
To prepare our workflow for the second step, we also need to fill the Airtable Record ID into the Passthrough Text field. This makes sure our second Zap knows to which Airtable row it should send the finished video.
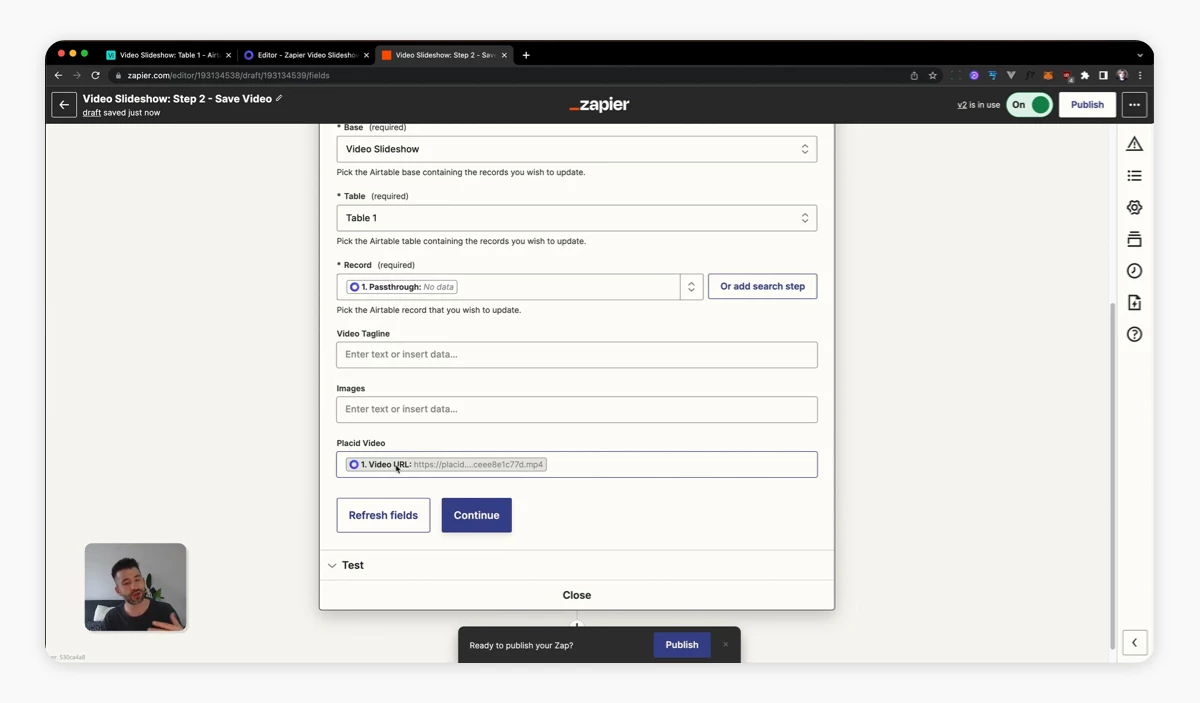
Second Zap: Send the video back to your Airtable when it's generated
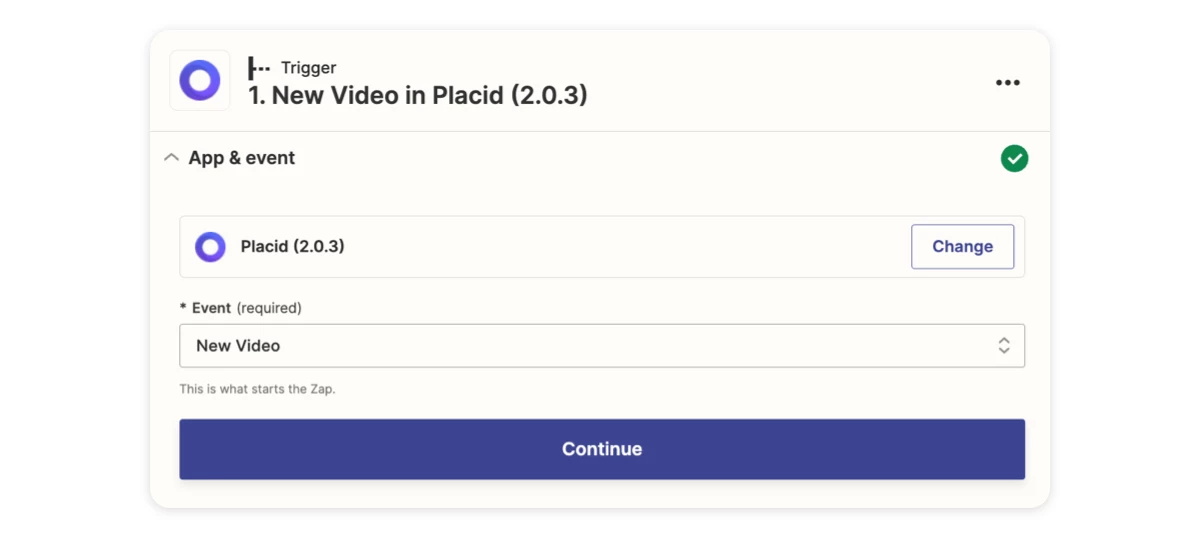
The second Zap will start once Placid is finished generating our video, and save it back to Airtable. To set it up, add a new Zap with the Placid New Video trigger.
Zapier will then receive the generated video, as well as our passthrough value of the record ID.
Next, we are going to add a Update record in Airtable action. Choose the base and table again. Then put the Placid Passthrough value into the Record field, and the Placid Video URL value into the Placid Video field.
Test your workflow
Now we're going to test our brand new video generation workflow! Add a new row of data to your Airtable to start it: Enter a tagline and upload 2 or more images. Remember it could take up to 15 minutes for the Zap to get triggered after adding a record if you're on a free plan. In case you're impatient, you can run the Zap manually instead.
If everything went well, you will see a new video in the Placid Video field of your Airtable.
Next steps
Now that you have the basic workflow set up, you can refine it to fit your needs:
- Add an approval process by filtering for Airtable records that have been marked as done
- Create more templates to auto-generate video variations for every record
- Add more automations for posting your video on social media
You can automate the creation of all your social media and marketing visuals, making sure all assets are on-brand. Investing a little bit of time setting up such a workflow will save you a lot of hours later.
If you want to start creating a custom workflow,