


If you want to manage how your WordPress pages look when shared on social media, you'll come across Open Graph (OG) metadata. Almost all platforms and messengers will use your Open Graph data to create their link preview cards. If they can't find any, they'll just use the content they think is relevant, and often display small link previews instead of nice large cards.
Many WordPress templates set the featured image as Open Graph images. This is already better than having no images at all, which would result in sad, small share previews on social media.
Apart from making sure you have large social cards, I already wrote about why it makes sense to watermark your social card images: It's important to make your content recognizable. People scroll through their feeds fast – if they like your brand, they will be more likely to click on your content if they can quickly recognize your logo or other brand elements on your social cards.

There are WordPress plugins like the popular SEO plugin Yoast available that let you upload dedicated Open Graph images and define titles and descriptions.
But with all of them you still have to design your images manually if you want to brand them, which is repetitive work. I think you have more important (and fun) things to do, so I want to show you how to automate the creation of your Open Graph images with our WordPress plugin.
No coding skills are required for this tutorial and it's not going to take us long. You'll need a WordPress instance and the admin permissions to install plugins yourself, and a Placid account. If you just want to try it out, you can use our free trial.
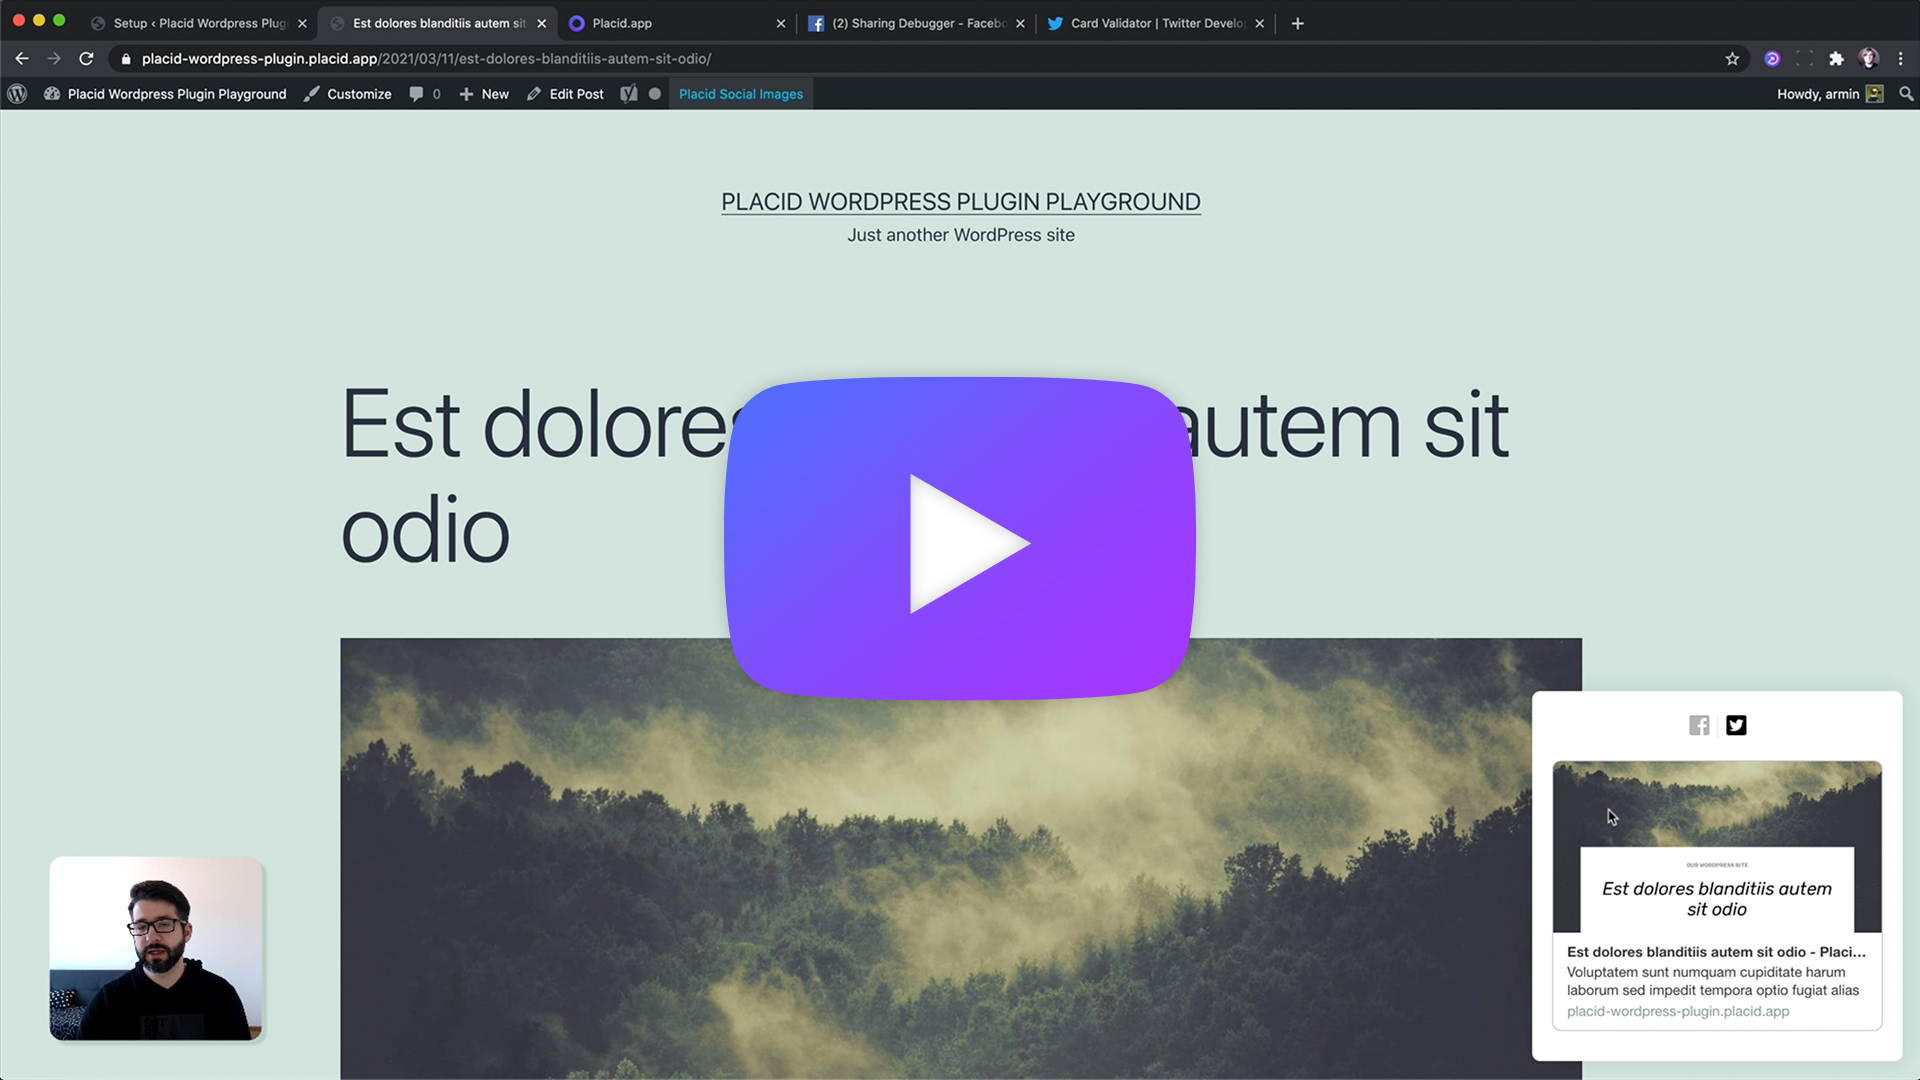
Video Tutorial
Create a Placid project
In Placid, create a new WordPress project to start your setup.
Change to the Plugin & License Key tab in the left menu of your Placid project. Download the plugin (a .zip file) and copy the license key you find on that page.
Install the Placid WordPress plugin
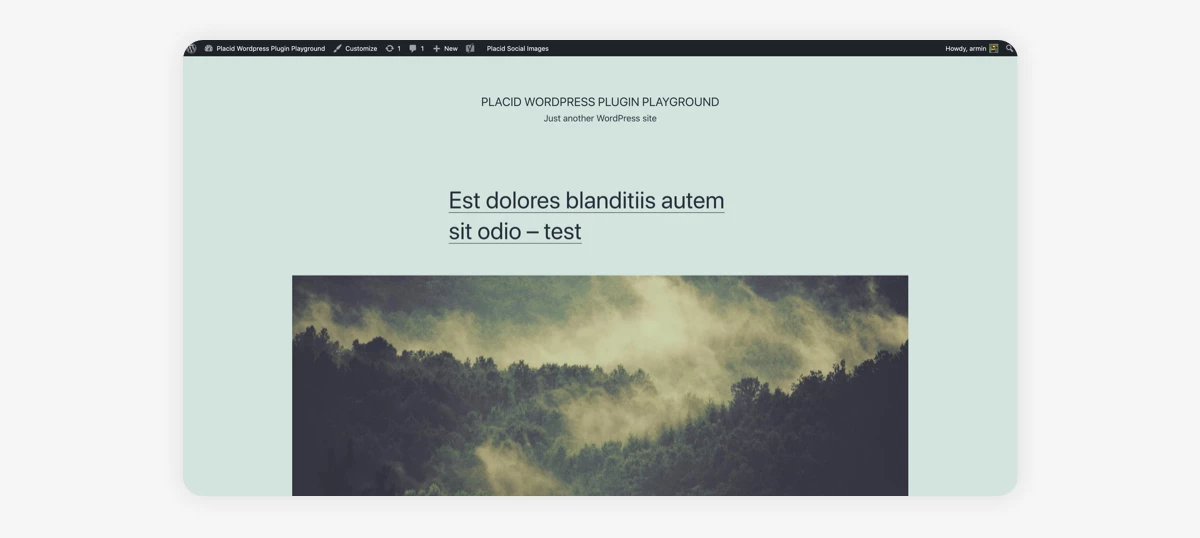
We're using a very minimalistic example WordPress blog instance for this tutorial.
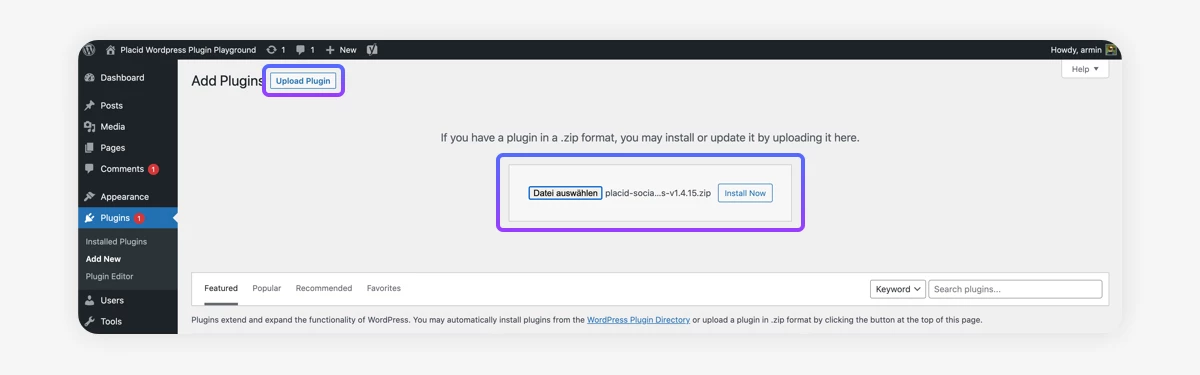
To start the setup of our generated Open Graph images, we need to install the Placid WordPress plugin first. Switch to your WordPress admin and add a new plugin. Click "Upload plugin" to upload the plugin as a file. Choose the .zip file you downloaded earlier and click "Install now".
When the install process is finished, you will find a new Placid images menu in the left sidebar of your WordPress admin.

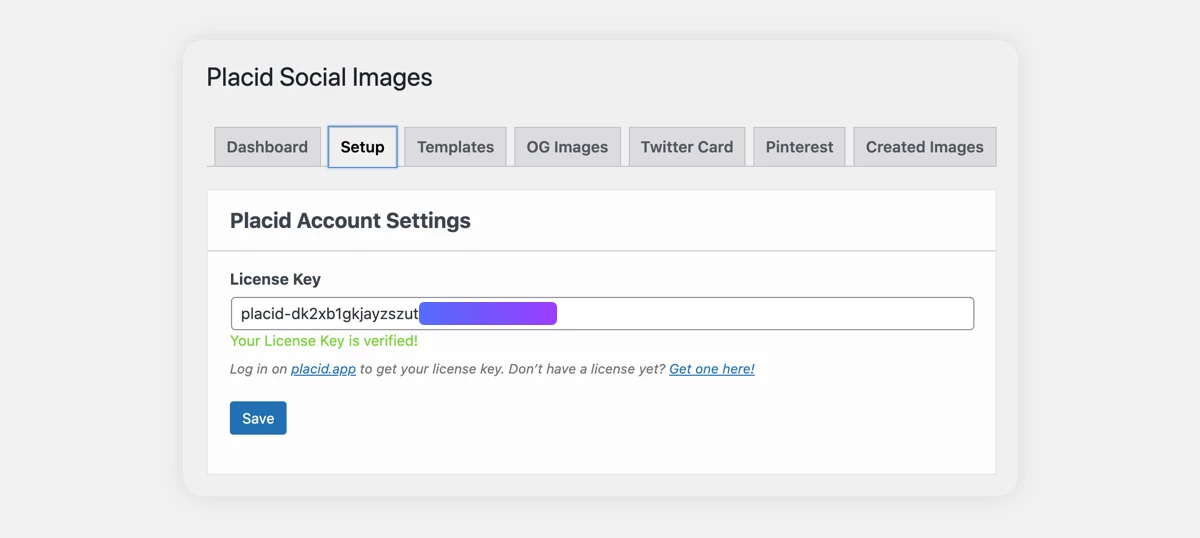
Go to the Setup menu within the Placid images menu and add your license key in the Setup tab.
Create a Placid template
Switch to the Templates tab and create a new Placid template.
For this tutorial, I used one of our preset designs. The text of the title and the photo in the background will later be dynamically replaced with data from our WordPress posts.

You can choose and customize different preset designs that ship with Placid, or you can design a completely custom template from scratch with our editor. I used the preset as-is, and just changed the default text of the subline to my demo blog's title ("Our WordPress Site" - a very creative name 😉).
Set up generated Open Graph images for your content
Switch to the Open Graph tab and activate the checkbox to automatically generate Open Graph images with Placid.
In this tutorial, we're going to set up one single template to be used as the default for the Open Graph images of all content of our WordPress site. (Our plugin is pretty flexible and also offers the possibilities to set up specific templates for different content types if you need it.)
So, in the next step we need to choose the template we created earlier in the default tab of the Open Graph settings.
Map content to your template
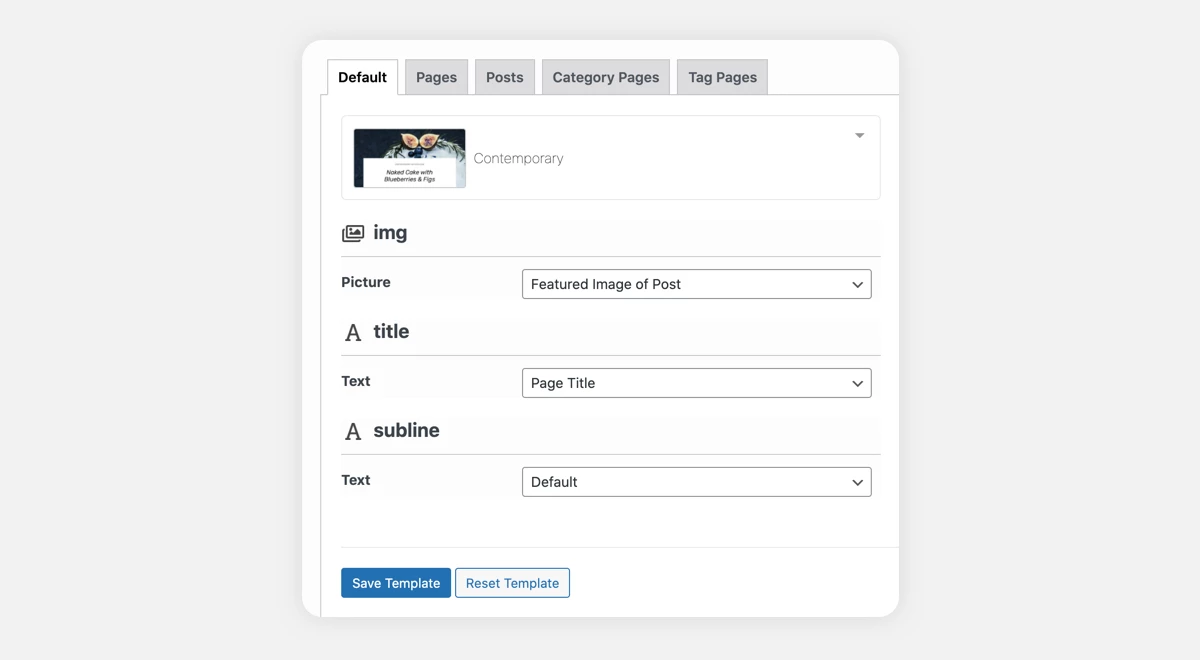
You will then see a list of all dynamic layers of the template. You can choose which content Placid should use to fill them: titles, featured images, your blog's name,.. There are various WordPress fields available to choose from.
In our template, we only have to map two layers:
- The image layer in the background should be filled with our Featured Image
- The title layer should be filled with our Post Title
Check your new Open Graph images
If you saved your settings, Placid is already going to generate and set your new images. You can check them in different ways:
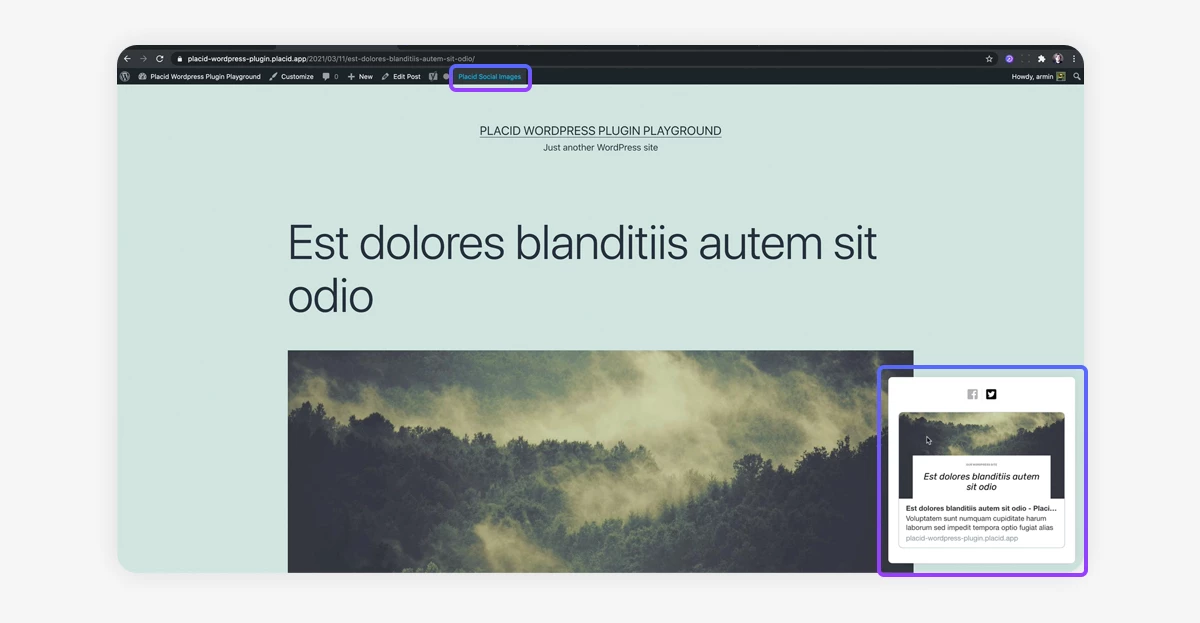
- Go to the preview of a content piece on your site and activate the Placid Social Image preview in the WordPress toolbar. You will get a preview window with Facebook and Twitter card previews.
- Go to the edit screen of your content piece and scroll to the bottom: A Placid module will show you a preview there and give you customization options.
- See all generated images in the Created Images tab in the Setup menu of the Placid Images WP plugin.
- Check the previews for different social platforms either on socialsharepreview.com or with tools like the Facebook Sharing Debugger or Twitter card validator.
For our example blog, they looked pretty nice 😊

Do you still see old images in the previews? If you have manually set up Open Graph images for your posts with another plugin or within your code, Placid will not overwrite them by default – but you can choose to remove existing og:image tags in the advanced settings of the Setup tab.
What's next: More social image automations
The WordPress share image plugin by Placid helps you automatically create all kinds of share images. If you found the auto-generation of Open Graph images for your WordPress site helpful, you can also set up automations for Twitter Cards or Pinterest images. Placid templates can also be used for on-demand asset generation: Create multiple Pinterest image variations, feed or story images & more with the click of a button directly in the edit screen of your posts and pages.
If you need help with a specific setup,