


We get flooded with content on social media. When was the last time you scrolled through your feed mindfully, really noticing who posted what? Probably a few years ago! We're all just content-consuming zombies now.
That's why we think it's super important that you make your content distinguishable. People should instantly recognize your articles when a link pops up in their feed. If they trust you and love your brand, this will help you getting their attention.
Make your articles recognizable
To help people recognize your articles as yours, you can do a few things to enhance your share images:
- Use a consistent style for photos or illustrations
- Use your brand's font and put your article title on your images
- Add your logo on your share images
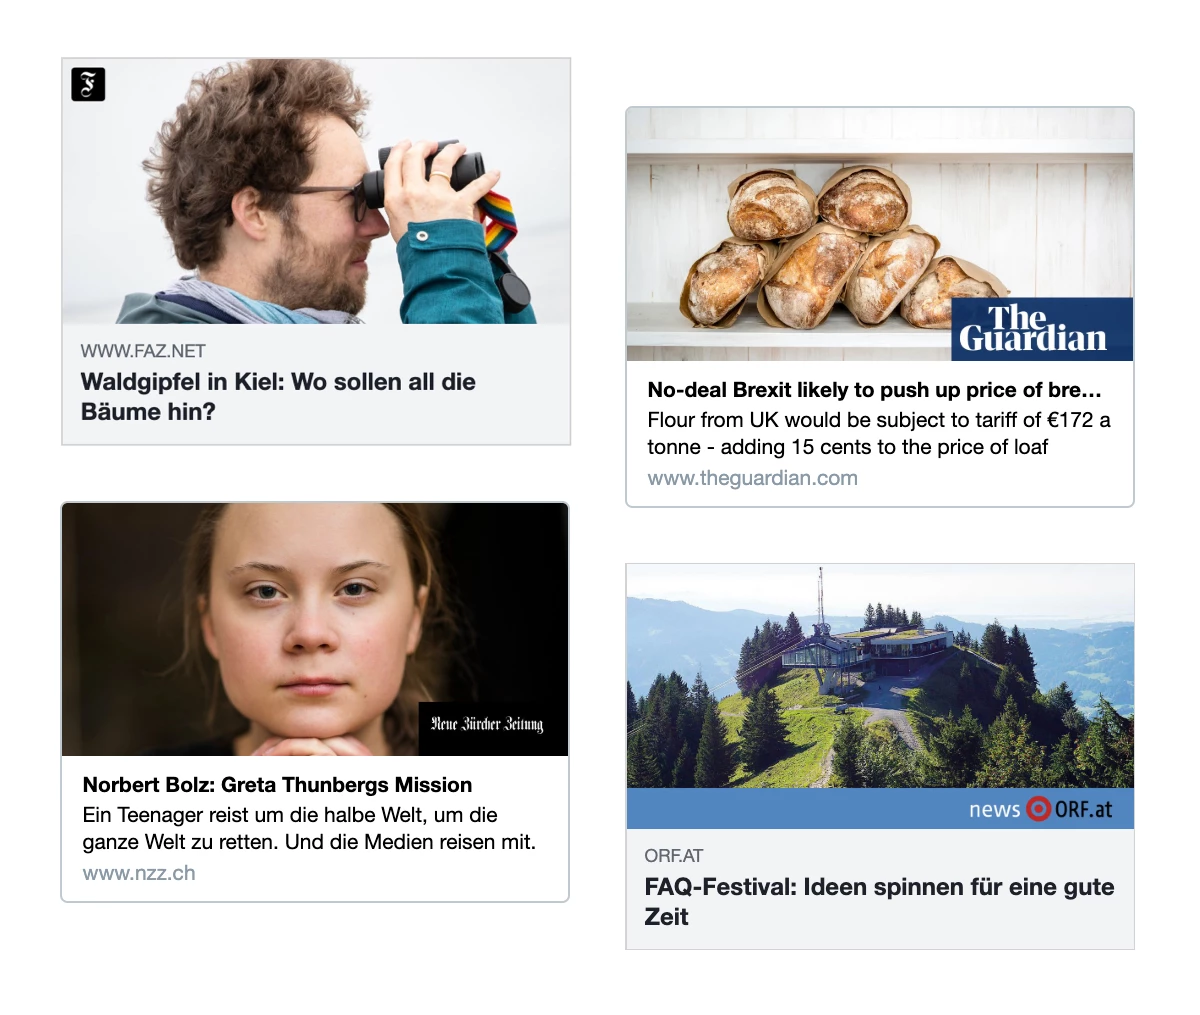
Many newspapers are starting to go with the third option and put their logo on their social share images. We love it!
Branded social card images are such an advantage, but creating them manually really sucks: It's tedious work and you have to update them when your content (or less often: your branding) changes. We developed our share image automation service Placid to avoid doing that. In this article we'll give you a short guide on how to automatically generate share images with your logo on top with it.
Workflow Summary
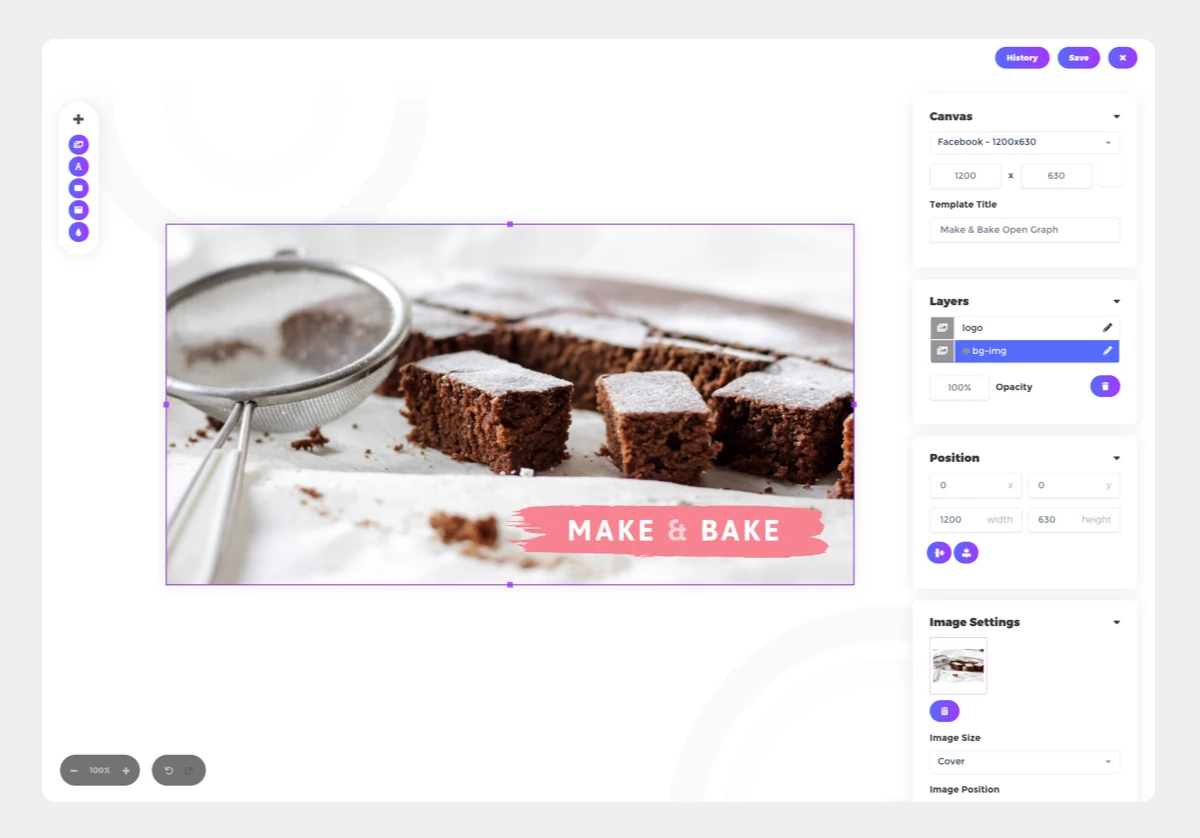
We're going to create images that look like this:

We'll add the logo of a ficticious baking blog – Make & Bake – on to the images of their articles.
We're going to create an example template that's suitable for Open Graph images (the images that Facebook and most other social media will display in a link preview when you share your articles).
Do I need coding skills for this?
In this article, we’re mainly showing you how to use our image generation API, so you’ll need a bit of coding experience. But Placid also offers nocode integration options!
Create a Placid project and template
If you haven't already, sign up for a Placid account, or login. Create a project for the integration option of your choice!
We're first going to create a template that has your logo on it. This will be like a blueprint for your share images. Create a new API project in Placid and add a new empty template. Set the canvas size to the recommended Open Graph resolution (1200 x 630).
Now we can start adding the elements that we need.
Add the background image
Add an image element and make it as big as the canvas (1200 x 630). Within the element settings, you can upload a default image that will appear if your article has no image – a fallback option. We named that layer "bg-img".
In the Image Settings, we set the image size to cover.
Add the logo
Add another image element and upload your logo. Play around with the size and position so it fits your design.
Click on the edit icon of the layer, name it logo and uncheck the dynamic option – we want the logo to stay the same on every share image!
The finished template
Voilà, your image template is ready! This is how it looks like in the editor right now.
Of course you can design your own template for your dynamic social card images. Add more dynamic or static images, text or decorative elements as you wish.
Integrate your template
The second step shows you how to use your template to generate images by integrating it on your site.
Generate images with the Placid URL API
In the template settings of your project, you can test your newly created template: Click on the test button on the template's card. In a popup, you can test how the share image will look like.
The popup shows the placid.app URLs for the share image you're previewing. The parameters define what content we'll use to generate your images. Try pasting different images to preview your share images and see how the URL of the generated images change.

If you want to embed the template on your site, click on the integrate button on the template's card and choose the URL API. It will show you embed snippets that look like this for Open Graph:
<!-- Facebook OG Image -->
<meta property="og:image" content="https://placid.app/u/xfis1?bg-img=%24DEFAULT%24"/>
<meta property="og:image:height" content="630"/>
<meta property="og:image:width" content="1200"/>
Add this to the HEAD section of the HTML of your pages and set the background image dynamically to f.ex. your article's header image with the parameters of your URL. Your parameter should end up looking something like this:
&bg-img=https://yourwebsite.com/image.jpgDepending on what stack you use, setting this dynamic parameter will be done differently. If you have no idea how to do this, we can help –
Add an image scraper action
Using the URL API, we recommend you make sure all the image URLs are called once, to make sure the images are ready when the crawlers of social media platforms come to pick them up. Placid offers an automation for that as well. In the Actions tab of your Placid project you can set up an image scraper action, where you can add the URL to your sitemap and let us regularly crawl all your pages for placid.app image URLs.
Alternatively: Use the Placid REST API or nocode integration options
If you prefer to use a more flexible REST API, please check our documentation for more info. (We also have PHP and Laravel API wrappers!)
You can also use our native integrations for Webflow, WordPress or Ghost if your site runs on that stack.
What next?
If you have integrated your template, the images will be created automatically for you. You can go and check them while browsing your site with our free tool Social Share Preview. We also offer it as a handy browser extension.
As every image is created from your template, you can just change your template if you have a new logo, or want to change how your Open Graph images look. Then we'll regenerate all the images for you - the power of automation 😊