


Email is such an important tool for communicating with your customers or community. Personalizing your mails with content that is relevant to them makes them even more effective.
There are a lot of email marketing tools available (like Mailchimp or Campaign Monitor) to create campaigns, but they are not as easy to integrate in existing processes with custom data sources. In this article, I'll be exploring the option of sending personalized emails with the nocode platform Make. That way, you can easily add email to your workflows.
Many customers of our creative automation toolkit create personalized visuals like images or PDFs with our Make integration and send them via email in a next step of their scenarios. I have helped a lot of them to set up their workflows, so I thought I'd recap the possibilities here!
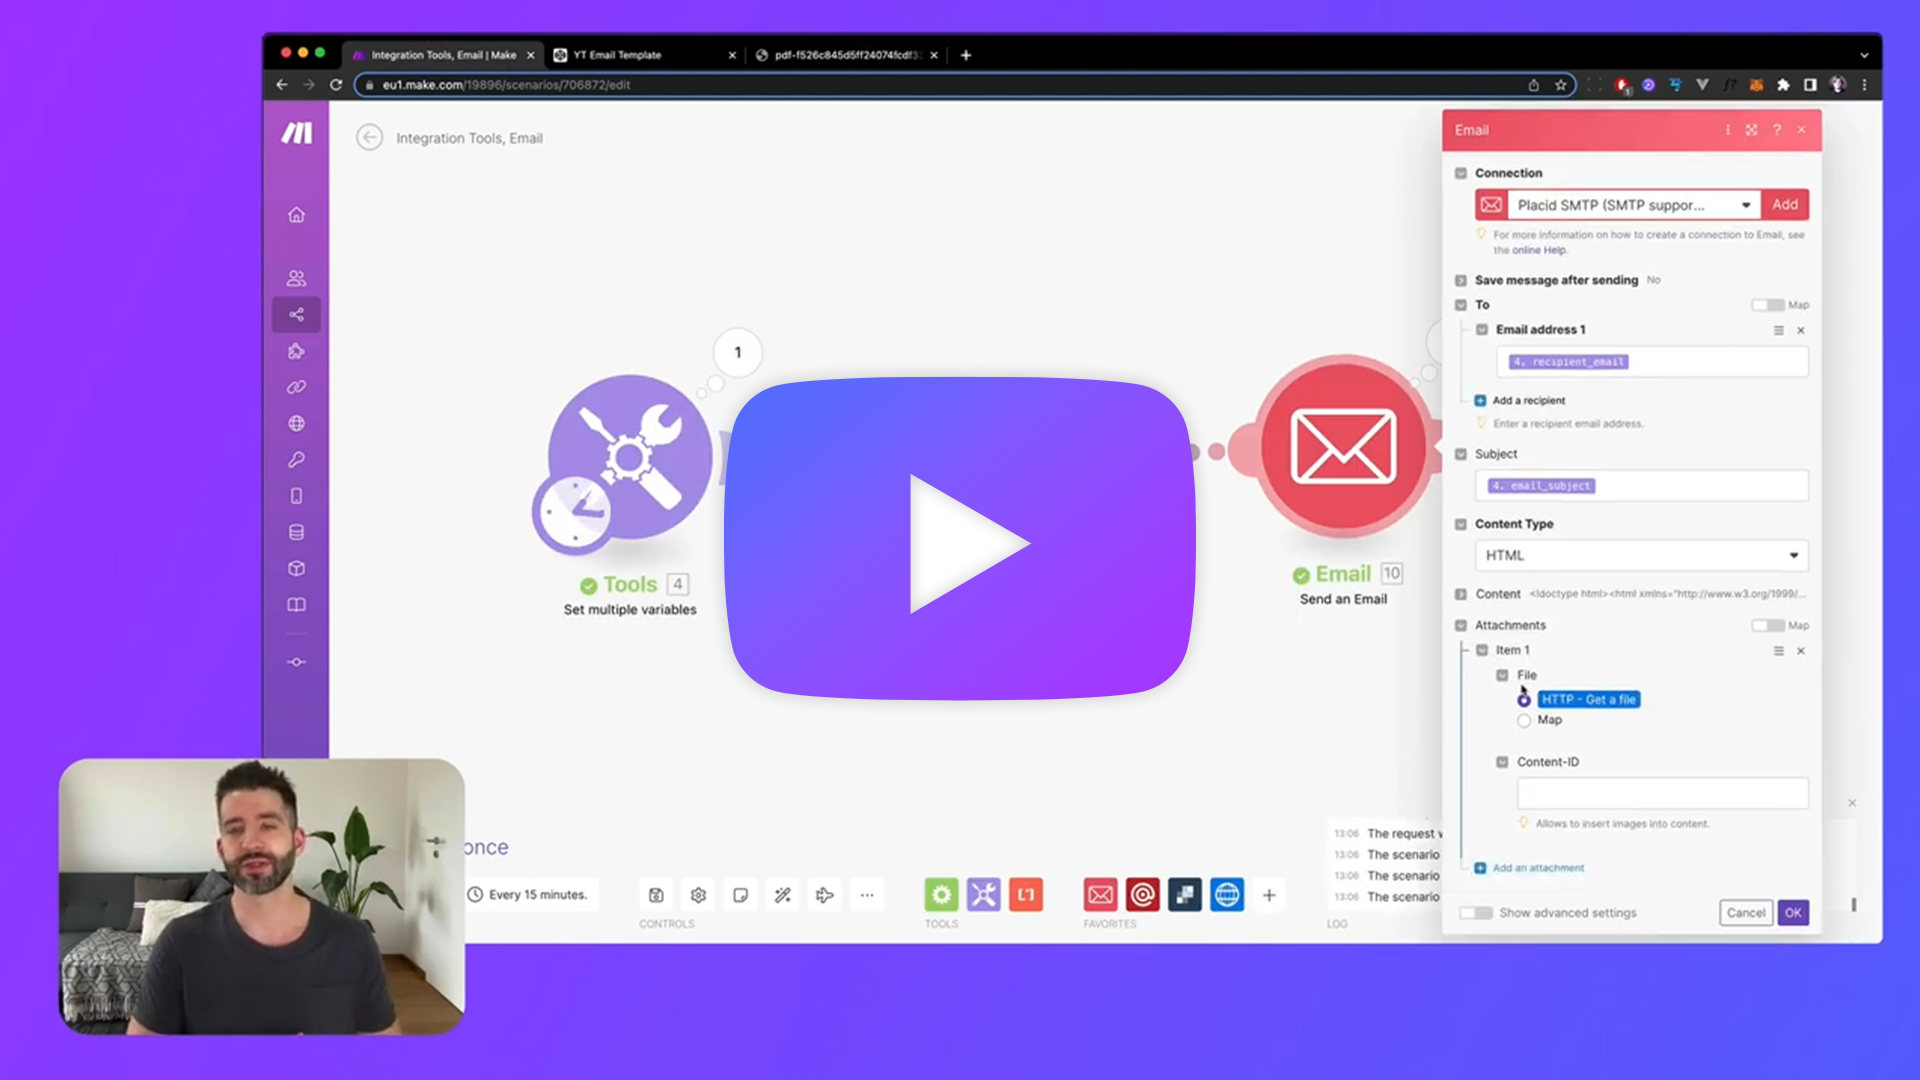
Video Tutorial
Set up your data
First, you have to make sure you have all the data you need available in your scenario. You will need the email addresses and names of your recipients, and any assets like (personalized) images or PDFs you want to include in your mail.
Your data could come from any other Make module:
- You could get your customer data from Shopify or any other CRM
- You could send your data to the scenario directly from your app via a webhook
- You could connect a Typeform and get the email and name data from submissions
- You could fetch any data from an Airtable with an Airtable module
- You could have generated a personalized image or PDF with a Placid module
If you want to create a test scenario, you can add a Tools module with a Set multiple variables action, and create example variables and their values there. This is what I did to keep this tutorial more general. I added these variables:
recipient_email(a test email address that I can access)recipient_name(my name)email_subject(a test subject line)product_offer_url(a link to a personalized image generated by Placid - use any image)product_offer_pdf_url(a link to a personalized PDF generated by Placid - use any PDF)


Add an email module
Next, we're going to add an email module to our Make scenario.
If you have an email account with SMTP available (e.g. Gmail), you can choose a simple Email module with a Send an Email action. In your email module, add a connection and put in your server address and credentials.
Make is going to send your emails just like if you were sending them manually, so you'll have to be a bit careful with the volume of emails you send here to avoid any spam issues.
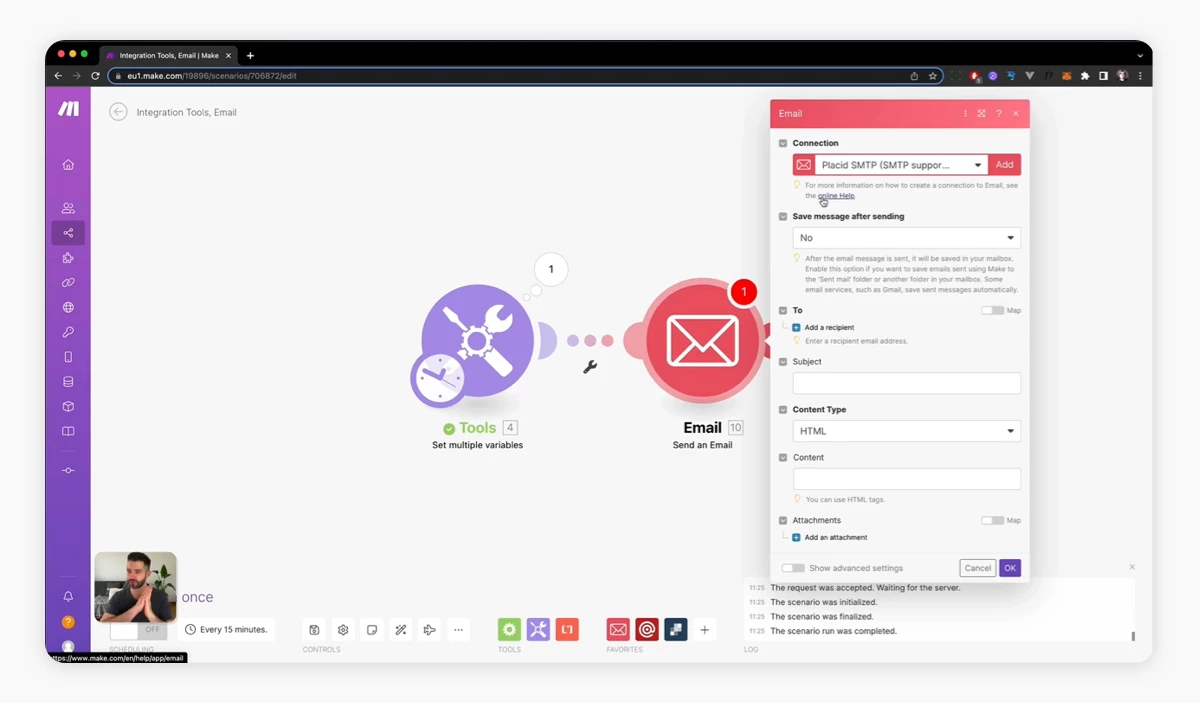
There are also modules available for email delivery services like SendGrid or Mailgun. The setup is pretty similar for all of them, and they have the same options available as we'll be using in the next steps.
Add personalized email content
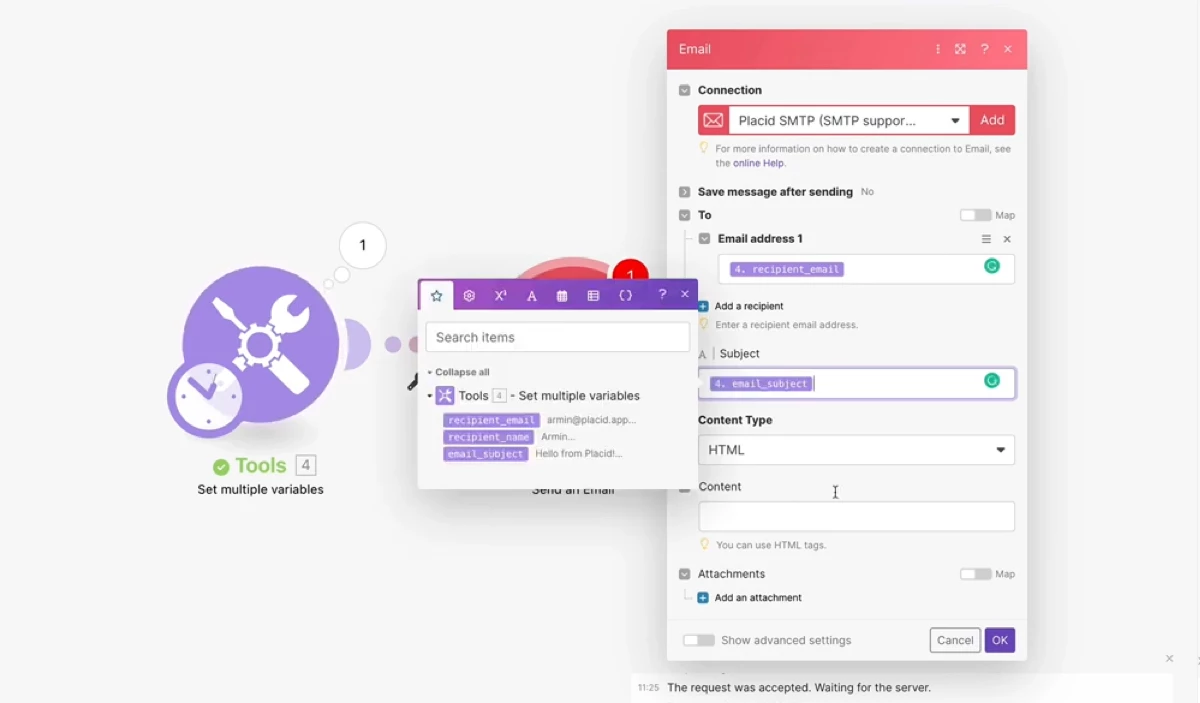
Now we can start adding our content and personalized elements to our email. Let's see how to use variables from our previous workflow steps to add personalized text, custom inline images and attachments!
First, we're going to set up the basics:
- Click Add a recipient and choose the variable with the email address of the recipient (
recipient_email) - Add your subject line by either typing it in manually, or using your variable (
email_subject) - If you want, you can customize the "From:" name and "Reply-to" email address
Content option 1: Plain text
To send an email consisting of just text, choose the content type "plaintext".
Paste in your body copy in the content field. You can use your variables to replace text snippets like the salutation. I used the recipient_name variable to write "Heya %NAME%!".

Content option 2: HTML emails
HTML emails are the fancy option. They can include links, images, HTML layout elements, your logo and custom styles. Unfortunately, email markup and styling is still a bit of a pain, and we'll have to create and handle plain HTML for our scenario.
Create your HTML email
Maybe you already have an email template? Awesome! Make sure you have the HTML markup at hand to copy-paste it into our module. It's best to have the content (body text, logo, links,..) you want to send already filled in, using a code editor of your choice.

If you're starting from scratch, you will need to create a template and HTML email first. We're using the email framework mjml for most of our emails. They offer some responsive email templates that are free to use. You can grab the HTML from their examples and adapt it to your brand and content to get started.
In any case, make sure all your images like your logo are hosted somewhere reliable. Testing and previewing your emails across clients would be a good idea too – there are tools like Email on Acid to help with that.
Copy-paste your HTML email into your Make email module
Set the content type of your email in your module to HTML. Paste your whole HTML code / template there.
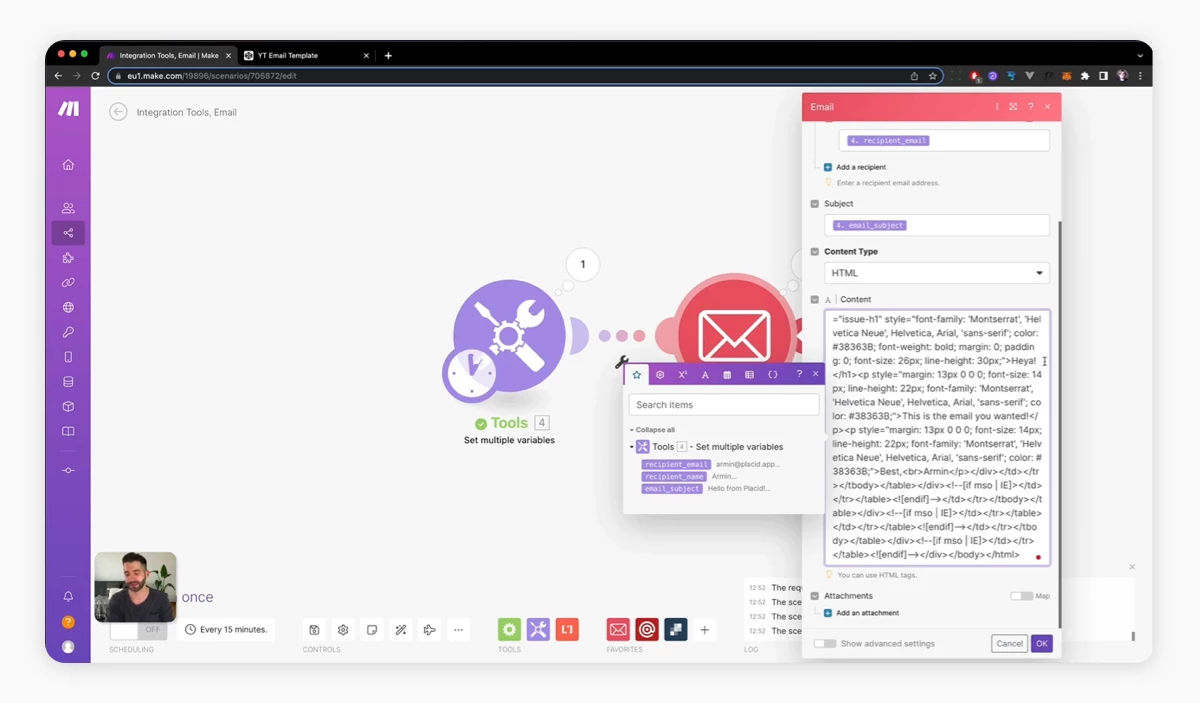
Replace text and images with personalized variables
Just like with the plain text email, you can replace text snippets or image URLs with your Make variables. I customized the salutation using recipient_name, and also put the image URL of the product_offer_url variable into the src attribute of an <img> tag in my HTML body.

Content option 3: Attachments
To add an attachment to our email, we will need another module that helps us to convert the file URLs we have in our variable to an actual file.
Add a HTTP module to your workflow before your email module, choosing the Get a file action. Put the variable containing the file link in the URL field – in my case product_offer_pdf_url.
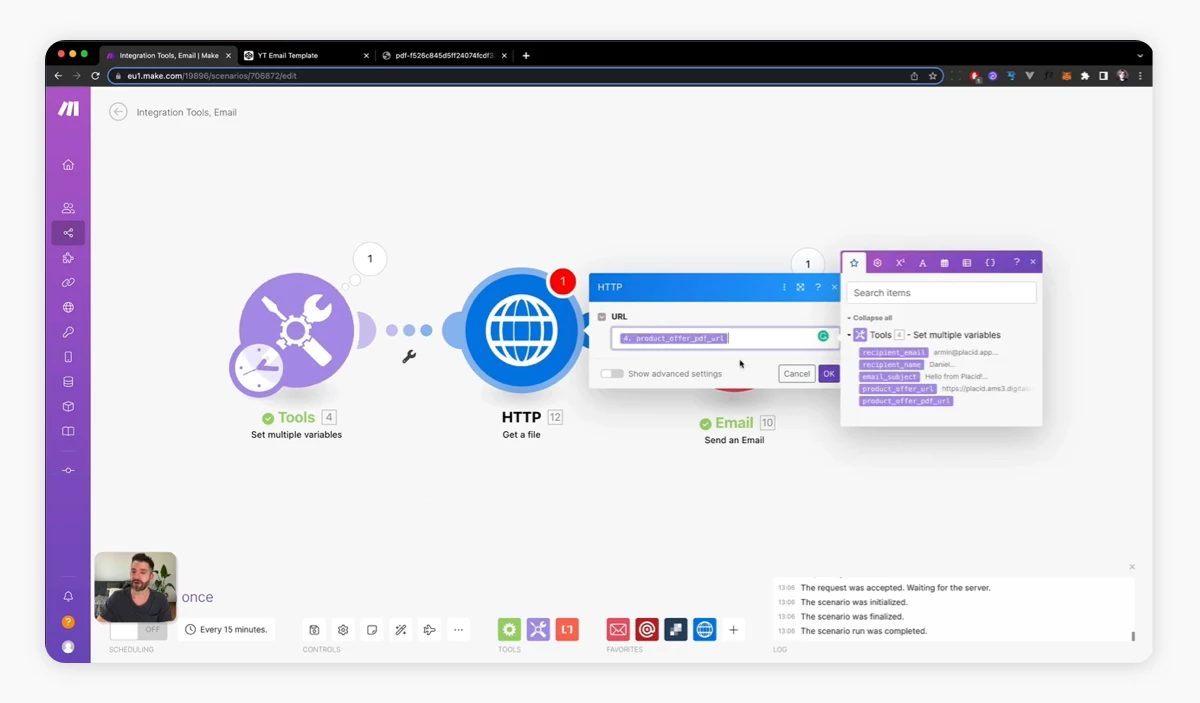
Now you can go back to your Email module, and click Attachments > Add item. It will default to the file you fetched via the HTTP module.

Test & publish your scenario
Now you can run your scenario. It should send an email to the email address you defined as the recipient_email variable.

Success? I hope so 😊 So you just sent your first personalized email from your Make scenario!
It's a great possibility to keep in mind for building smaller automations, or expand your existing ones. While HTML emails are a bit of a hassle to handle without a builder / UI, the flexibility makes up for that in my opinion.
Happy sending!