


You have the data for a personalized email campaign right there in your Airtable - but how to send it to your customers?
While there are a lot of email marketing tools available, they can be too powerful and quite expensive. Sending emails via Airtable automations is a super accessible alternative. I have suggested it to some customers of our creative automation toolkit in the past, so I thought I'd summarize how to work with it here.
Use it for your campaign, or to automate a part of your business!
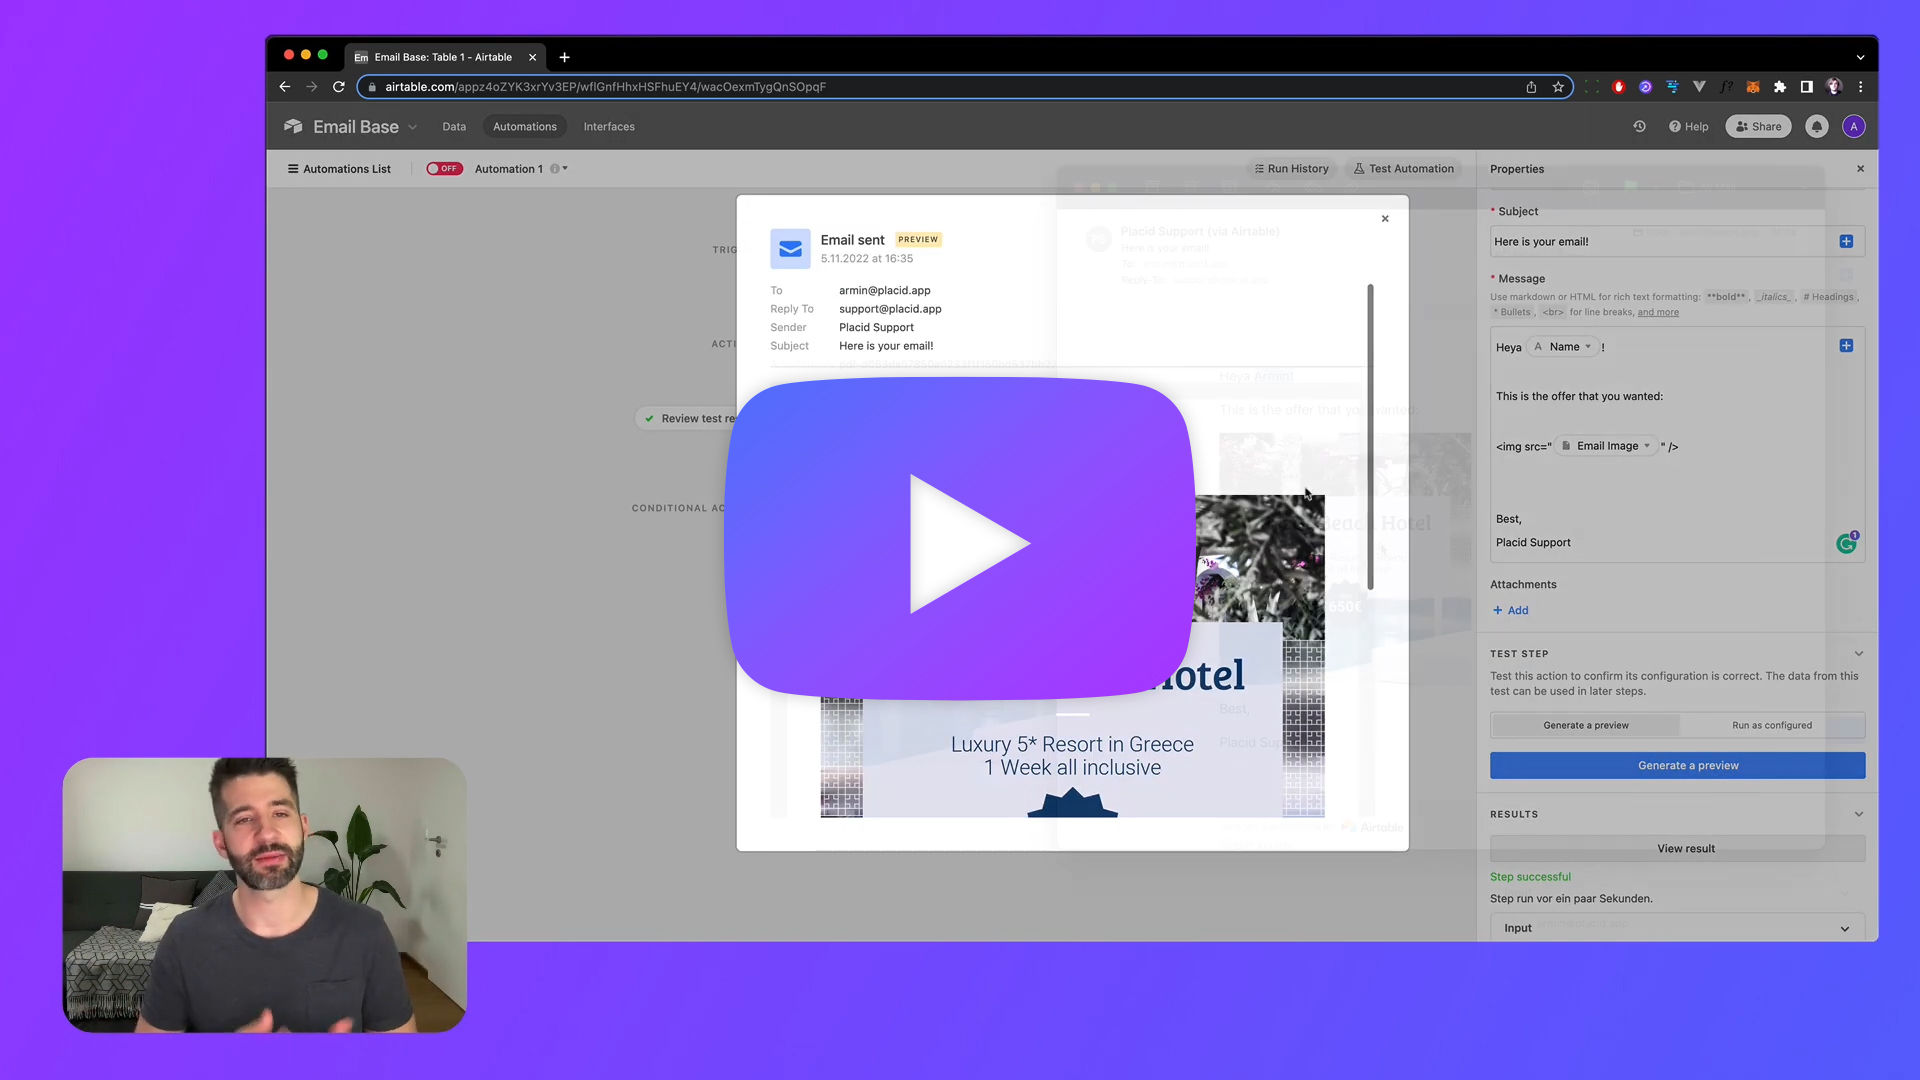
Video Tutorial
Set up your data
First, we'll have to make sure we have our data ready to be used for our email automation. For this tutorial, I have prepared a table with these fields:
Name(text) of the recipientEmail(email) address of the recipientEmail image(attachment), containing a (personalized) image we will include in the mailEmail attachment(attachment), containing a PDF we will send attached to our email

This is enough to show you the different options for personalizing our email with data from our table. I auto-generated the personalized creatives (image & PDF) via Placid, but you can of course use any files you want.
To test the workflow, I made sure I have one row with data containing my own email address (so test emails will land in my inbox).
Create your automation
Switch to the Automations tab in Airtable and add a trigger event. I used a When a record matches conditions trigger and configured it to trigger When Name is not empty. This means that our automation would send emails to all recipients in our Airtable, as soon as we specified their name.
This is probably not be what you want to do - it's just an example. You could for example set it up to fire when you check a Send checkbox field. There are also a lot of other triggers available in Airtable. You could for example send your emails at a scheduled time, when a form is submitted or when a record is created. What you choose depends on your workflow.

If your configuration is complete, test the step by opening the Test Step menu and choosing a record. Pick the record with your own email address here.
If the step has been successfully tested, you can continue.
Add an Email action
Next, add a Send an email action to your automation workflow. You will now be able to configure the email fields. Choose your From name (e.g. "Company X Support" or your name), the Reply to email address, and a subject line.
I added a very simple message like Heya, this is the offer we talked about. Best, Armin.

Add personalized email content
Now we'll tackle the personalized elements of our email.

Add variables
First, add the Email variable in the To field so your mails will be sent to the addresses in each row of your table. To choose your fields as variables, click the + button in the right corned of the input field.
Then you can decide which data you want to use within your message. You could for example add the name of the recipient in the salutation (Heya Name!).
Add inline images
To go one step further, we will now use the image in our Email image field and embed it inline in our email's body. For this we'll add a HTML image tag: <img src="Email image" />
You can Generate a preview to see how it looks with the data of the test record we chose before.
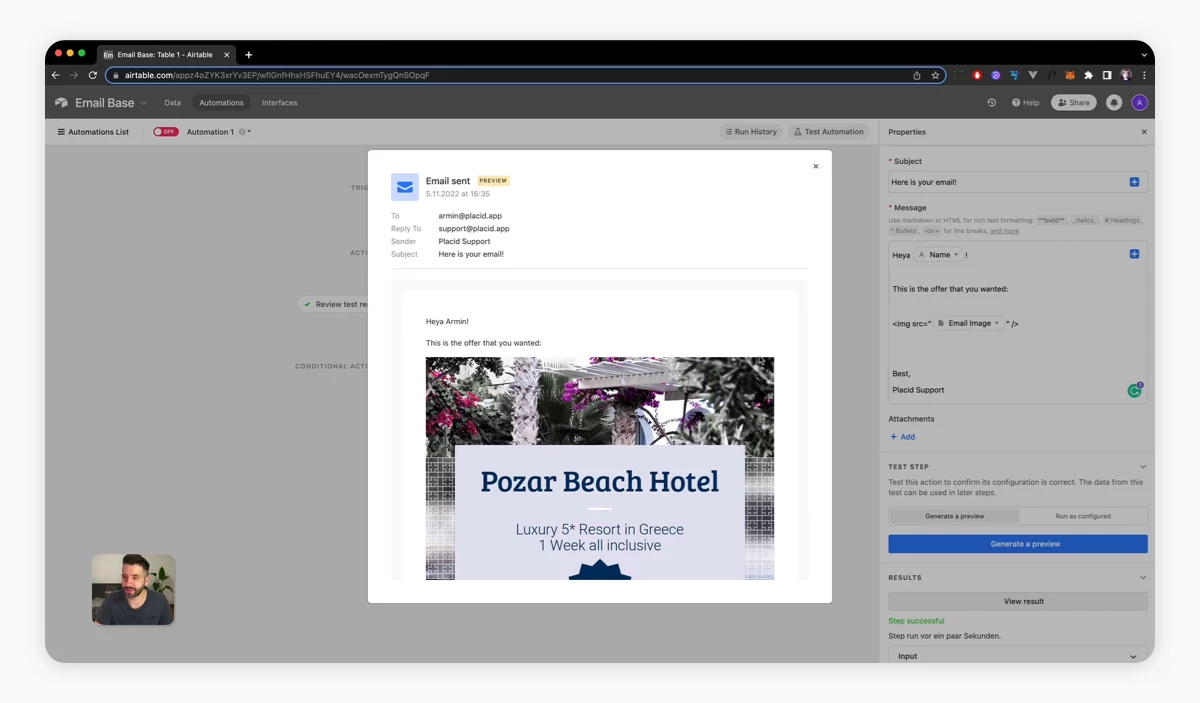
You have the possibility to additionally define the size if you want (<img src="Email image" width=300px />), otherwise it will be full width and responsive.
Add attachments
In the Attachments field, click + Add and choose the field where you stored your attachment / PDF. Airtable will attach it with the same filename as it has in your table.
Test & publish your automation
Now that you have added all content you need, you can generate another preview or click Run test. This will send the test mail to the email address you specified in your test record - so, ideally, your own 😉
Once you're happy, toggle the automation to on to publish it and let it run automatically whenever your trigger event fires.
Caveats of Airtable emails
All emails sent with Airtable automations have a footer containing the info that it's Sent via Automations on Airtable.
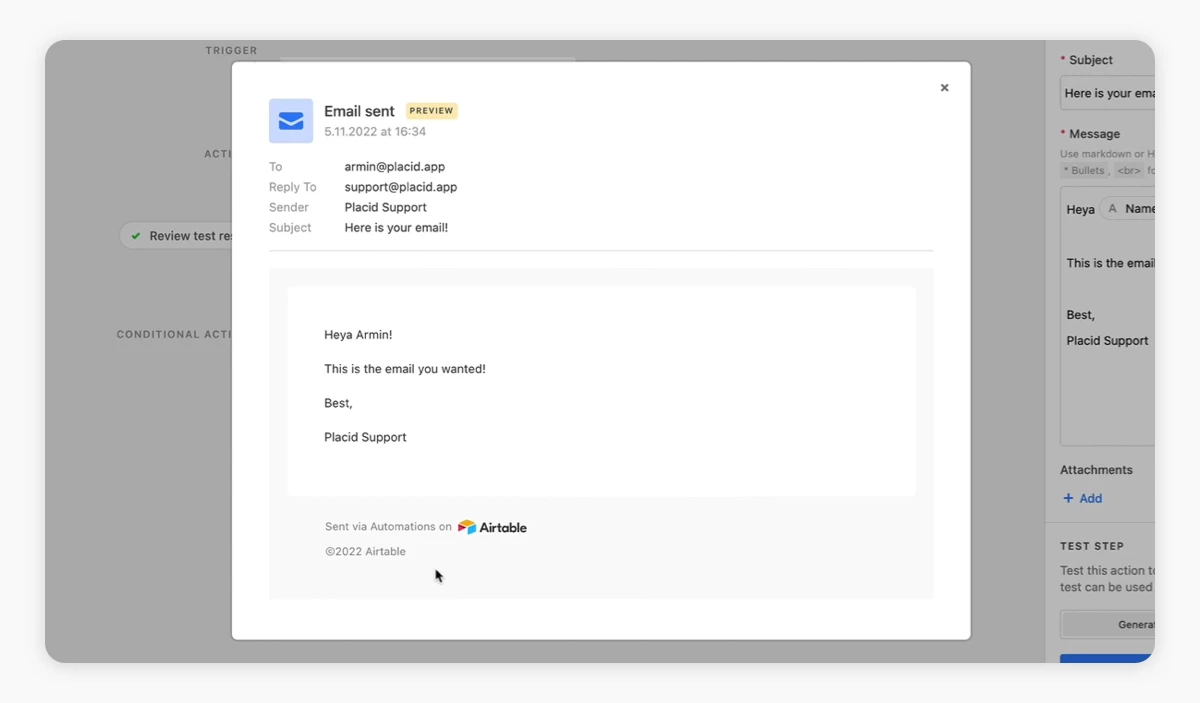
There is currently not a possibility to remove this (that I know of). If you need more branding options, you might want to choose more flexible email option. Here's for example a tutorial how to send personalized emails with the workflow automation tool Make.
What's next?
Sending emails via Airtable automations is a great possibility to keep in mind for building smaller automated workflows around your data.
If you want to start building more multi-step Airtable automations, you can get an overview about what is possible in the Airtable guide on Automations. There you can learn more about available triggers and actions.
I hope I also sparked your interest about generating visuals from your Airtable data? Feel free to check out the Placid Airtable integration ✌️