


Having nice featured images for the posts on your WordPress blog is basically a must-have.
First impressions count: The featured image is probably the first thing your readers will see on your page. Also, featured images are usually displayed in list views and in social media link previews. They are a key element to define the style and brand of your blog!
While some blogs use photographs as featured images, you may want a more graphical design: Many put their logo, the post category and post titles on them for more brand recognition.

If you want to have these kinds of images, you have to create them manually for every post with tools like Canva or Photoshop. Or do you? In this tutorial, I'll show you how to set up the Placid WordPress plugin to generate a featured image for every post from a custom template with just a click.
To follow along you will need access to your WordPress backend and a Placid account (you can sign up for free). No coding knowledge needed!
Video Tutorial
Set up a Placid project & the WordPress plugin
First, you will need to create a Placid project with a WordPress integration. In Placid, click Projects > Add new project, or add the integration in the settings of an existing project.
Install the plugin and connect it to your account. You can follow our WordPress setup guide to do that.
Create a template for your featured image
Now we need a design for your featured image, so we'll add a new template in Placid (Projects > Templates > Create Template).
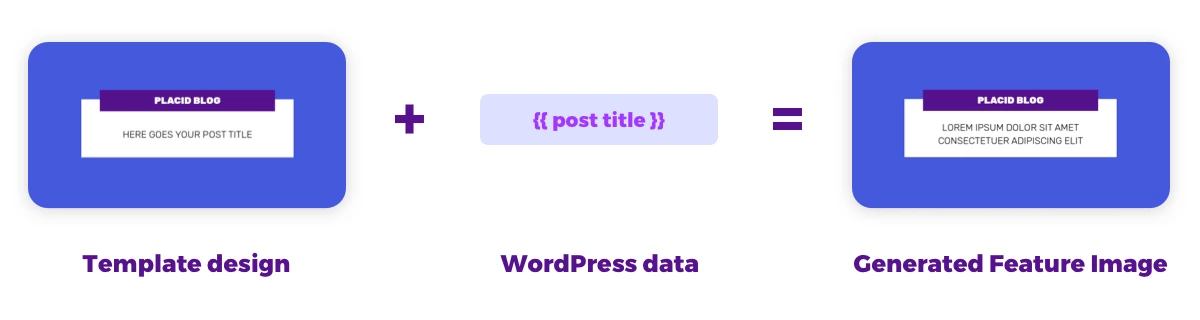
A Placid template has dynamic layers that can automatically be filled with data to generate visuals. We can for example change the text of a text layer to display our post title!
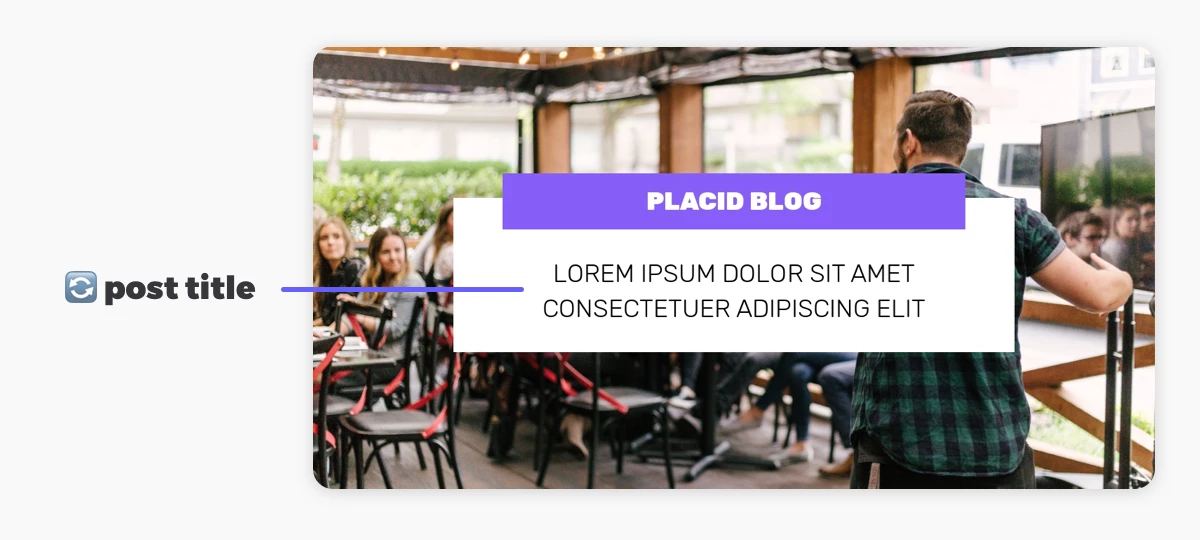
I created a template in the size 1200 x 628, which works for many WordPress themes out-of-the-box, as well as being great for link previews. Depending on your theme, you may have to choose another size.
I chose one of our preset designs for this tutorial, but you can customize them to fit your brand or create a whole new design. If you have used Canva or a similar tool, our drag & drop editor should feel familiar to you.
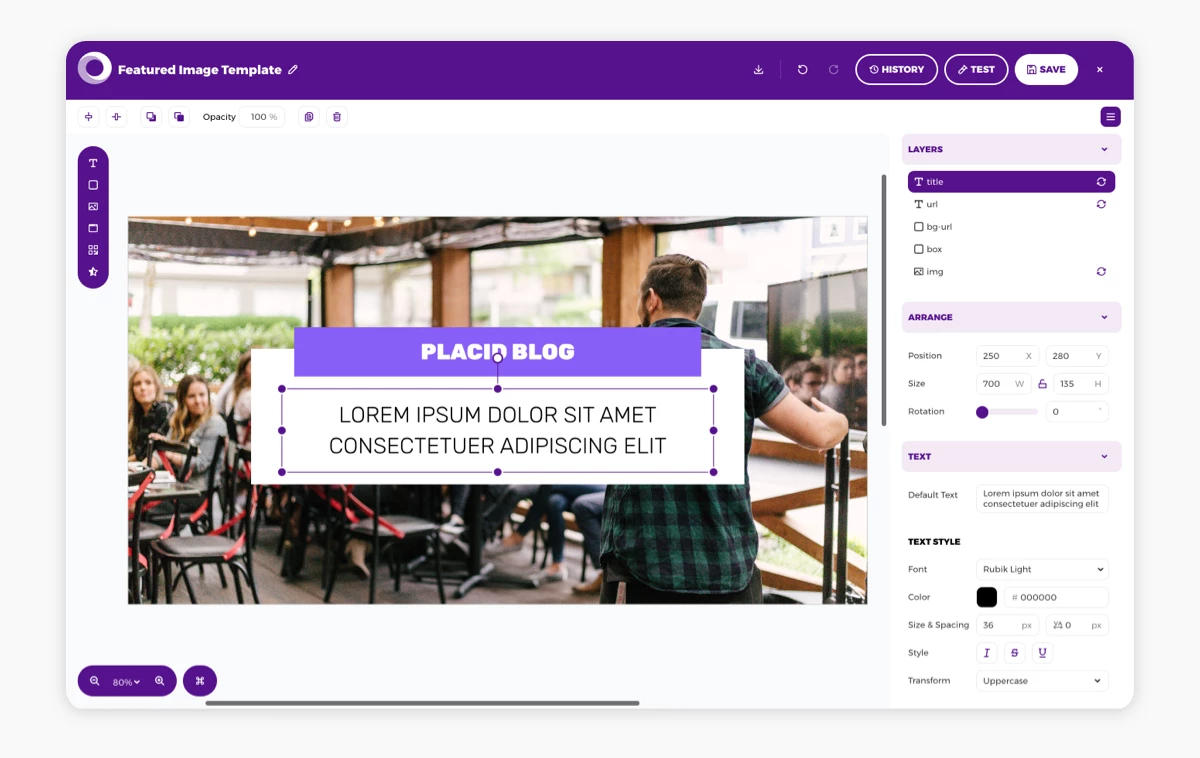
Make sure all layers you want to fill with WordPress data later show the 🔄 dynamic icon in the layer list. Then save your template and exit the editor.
Create a Placid WordPress asset
Now go to your WordPress backend.
To set up our automation, we're going to use Placid assets. An asset is a configuration that maps dynamic layers of your template to WordPress data. This means we can choose a template and decide which WordPress content should be filled into which layer – e.g. filling the post title into our title field and the post category in another text field.
We can then use this asset configuration within our posts to generate a visual for this specific post on-demand.
Let's set this up: In the sidebar, go to Placid > On-demand images > Assets. Click Create Asset.
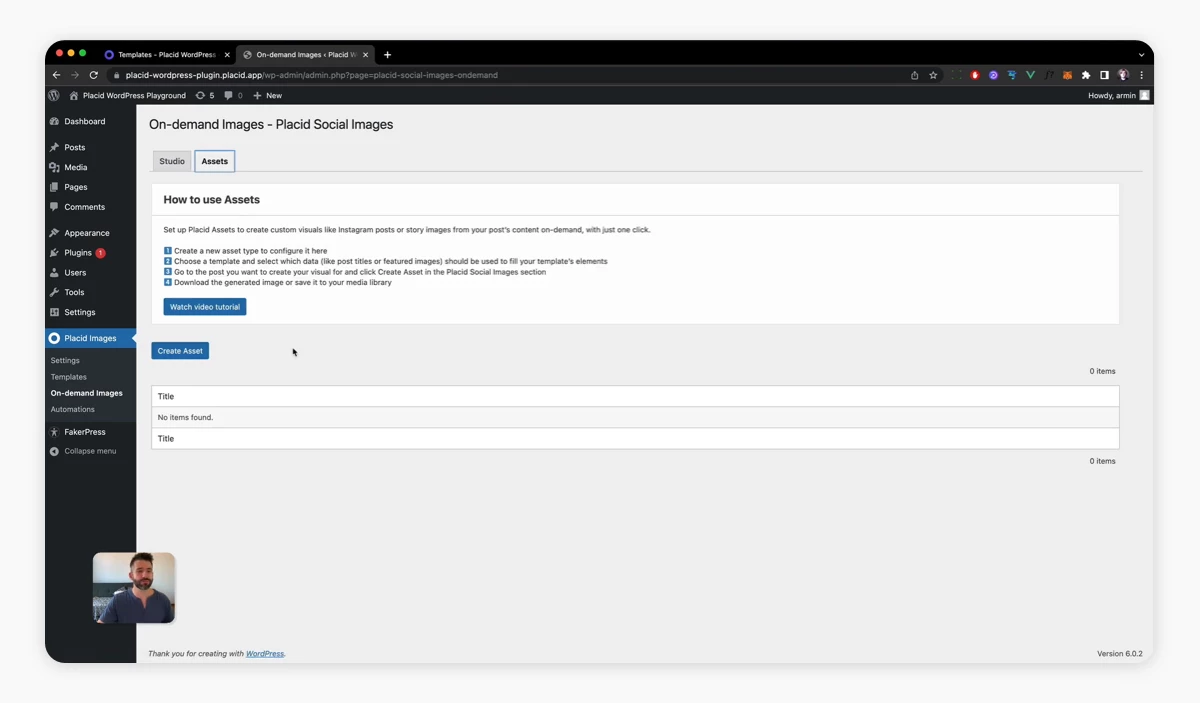
Give your asset a title (I went with "Featured Image"), and choose your template.
You will see a list of all dynamic layers of the template. Choose the kind of WordPress data you want to map to it (Page title, Page category, Author name,..). If you leave the pictures / text on "default", it will use the value that you pre-defined in your template.
For this tutorial, I only mapped the title layer to the Page title.
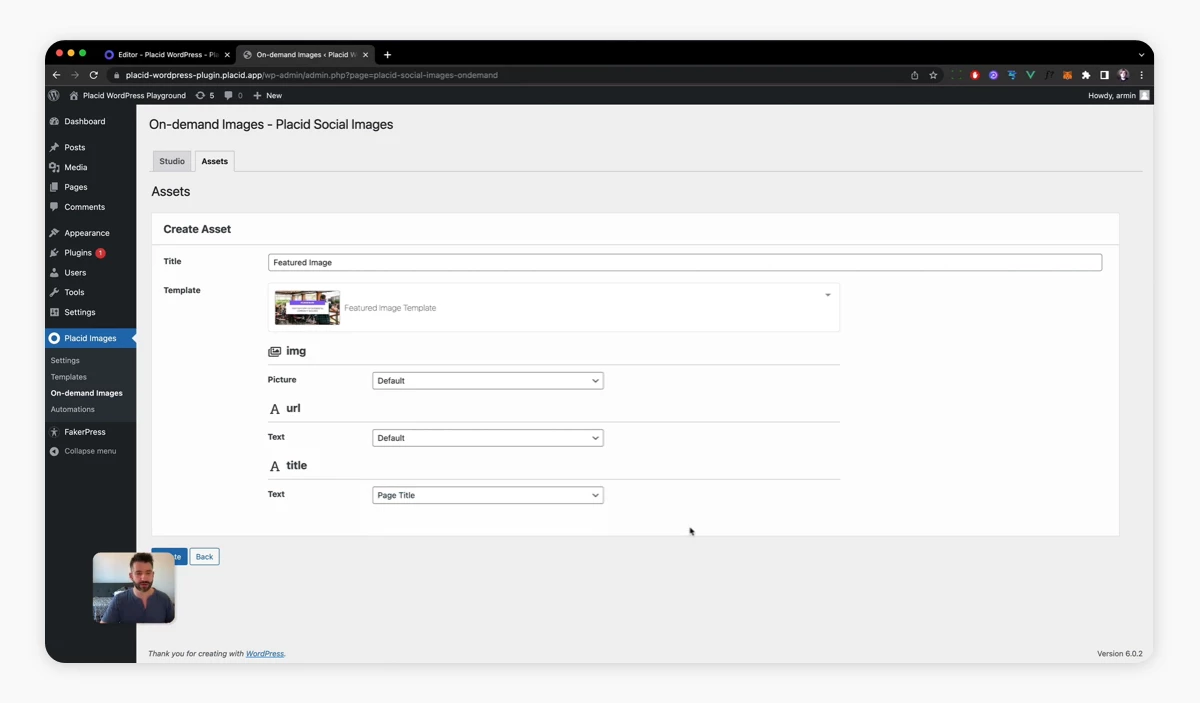
You could for example choose to fill your current featured image into the picture layer in the background as well.
Click Update once you've finished mapping.
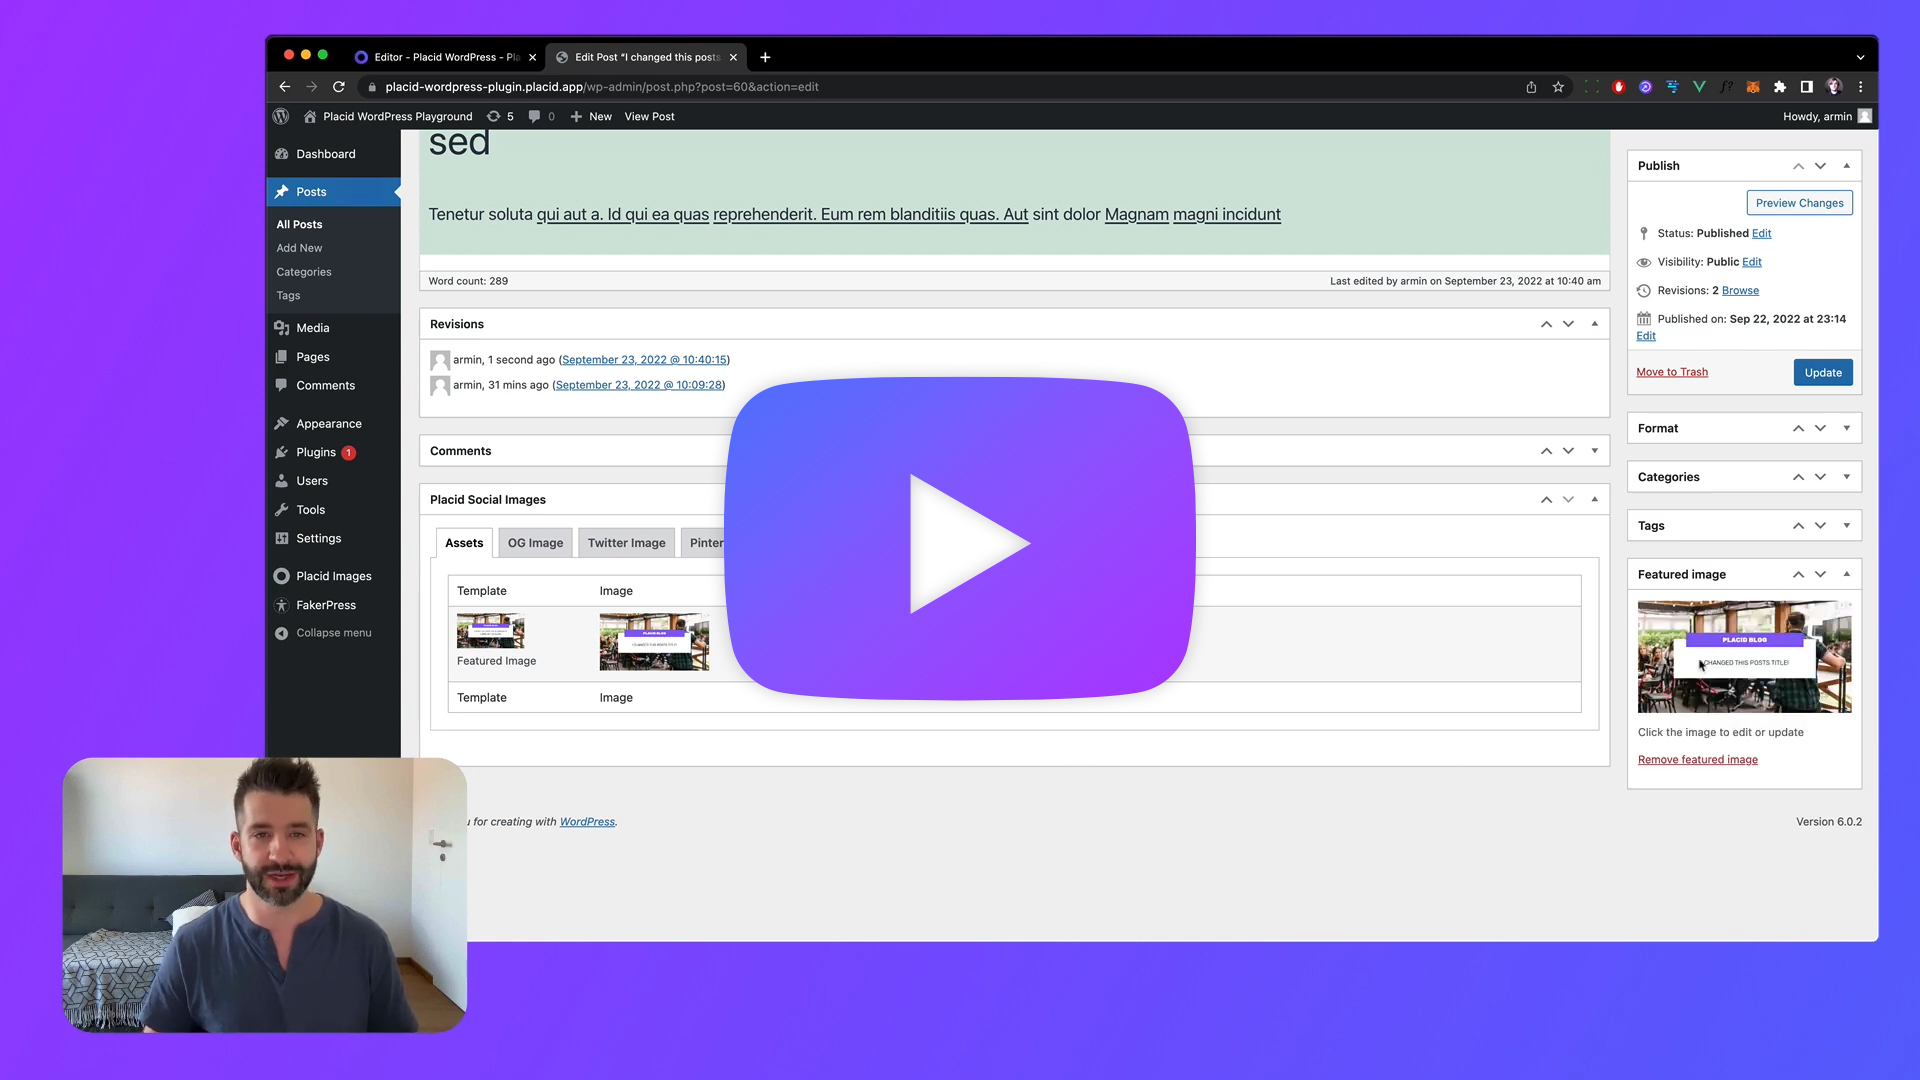
Test image generation within a WordPress post
Our setup is complete and we can now test our image generation workflow.
Go to one of your posts and scroll down. Below your post content there will be a Placid block showing your asset configuration.
By clicking Create Asset, your visual will be generated for this post according to your mapping instructions. It will appear in the list, along with some options.
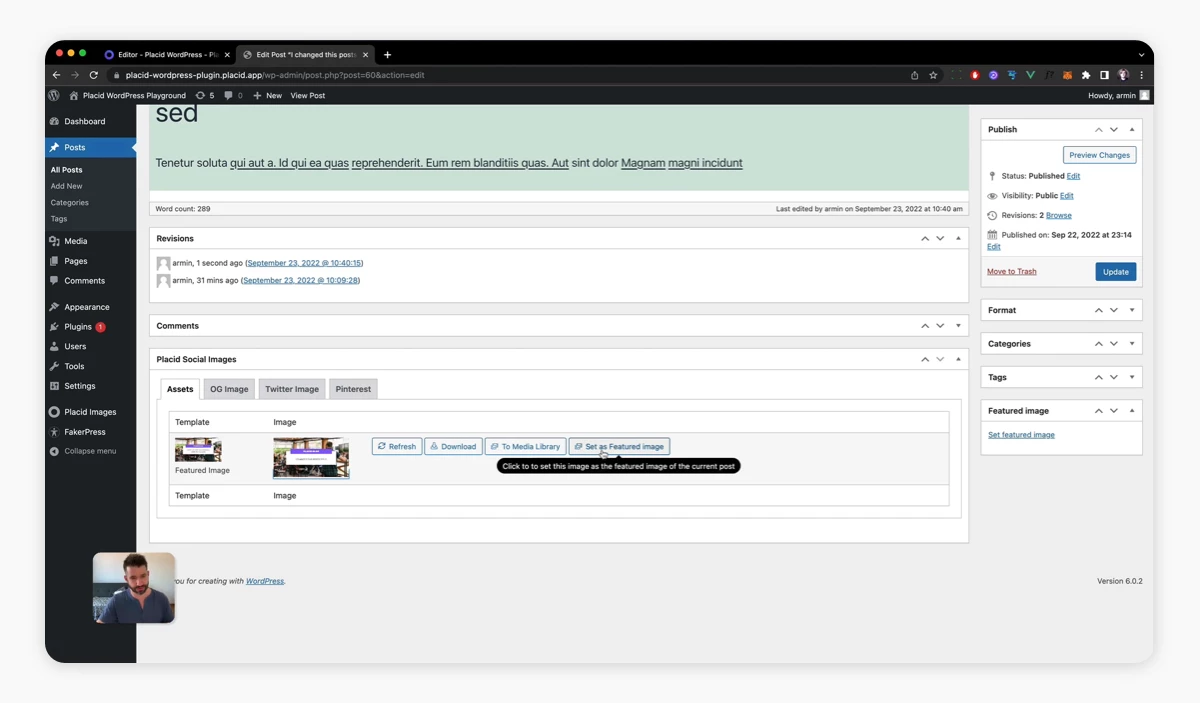
Set your generated image as featured image
Click Set as featured image in the asset's options. You will now find your image in the Featured image block of the post, as well as in your media library!
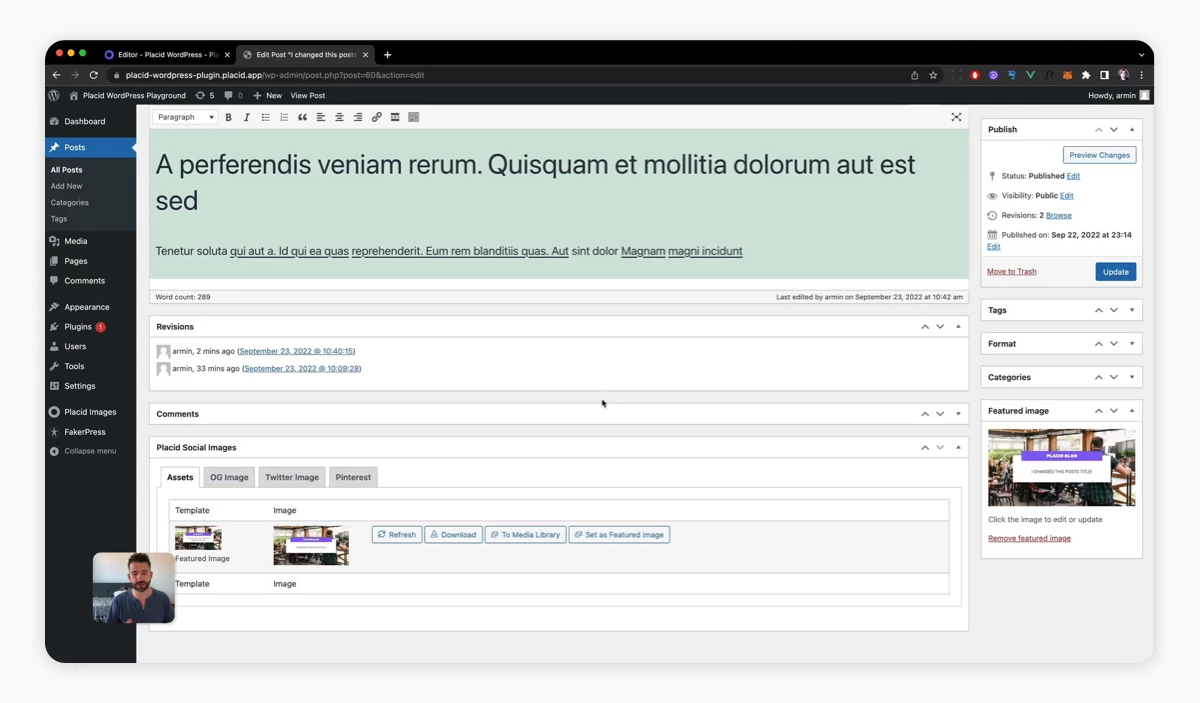
If you ever change your post title, just click regenerate and repeat. New, auto-generated visuals every time 🥳
What's next?
We have successfully set up our WordPress featured image workflow - I hope you enjoy it. While this use case is already pretty handy, there are a lot more things you can do with our plugin:
- Create more templates and assets to auto-generate images for social media postings on any platform, for example Pinterest or Instagram
- Set up custom automations for Open Graph or Twitter Card images
- Use our Studio to generate images or even videos and PDFs on demand just by filling out a form
Please have fun and explore! We're always happy to help if you need some assistance with your creative automations with WordPress 💬