


Integromat helps you move data between apps to automate parts of your business and marketing. Why not use this data for some image automations? In this tutorial we're going to automatically generate images with data from a Google Sheet using a custom image template.
You'll need an Integromat account if you want to follow this guide (a free plan will work!), as well as an account for Placid. If you just want to try it out you can use our free trial. You won't need any coding skills to follow along and you'll be done in a few minutes ✨
Video Tutorial

Create a Placid project and template
In Placid, create a new Integromat project to start your setup.
Within the project, you can create a template. For this tutorial, I used one of our preset designs for feed images. My demo data consists of products from a streetwear shop, and I used this template to make them shareable. I just kept it's default name "Shop Detail".

For your own workflow, you can choose any other preset you want or design a template with text and image layers that fit your use case. All of them can be filled with a custom dataset later. In my case, I'll fill the title, image and price layers with data from a Google sheet.
Prepare your Google Sheet
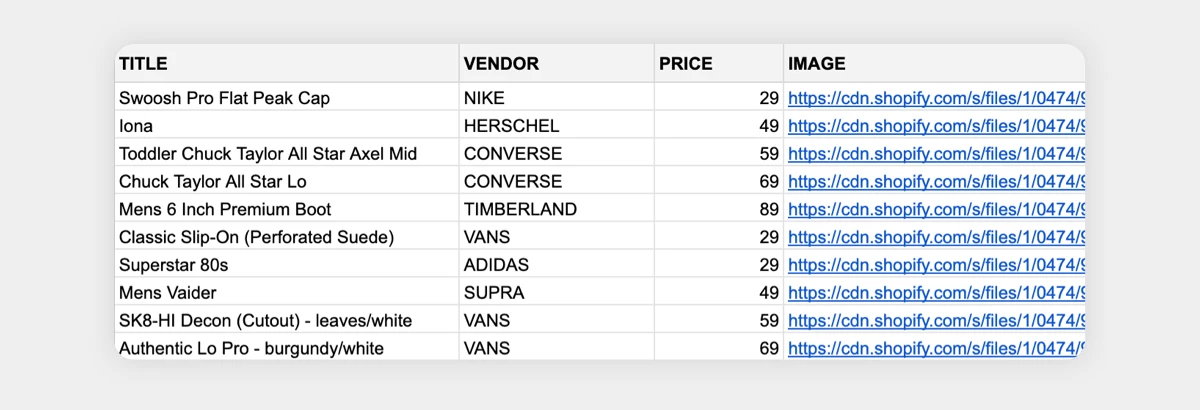
The demo sheet I used contained a list of products with their names, prices and a link to a product shot. It also had a column to show the product's brand, but I didn't use it for my image automation. You can use a custom Google sheet too, as the automation does not depend on a certain structure.
Create an Integromat scenario with your data source
To generate images with Integromat, you will first need to set up your scenario with a module that holds your data. I used a Google Sheet module and connected my spreadsheet with demo products / shop items. It's set up to grab data from all our columns to pass through to the image generation module later.
To do that you'll have to...
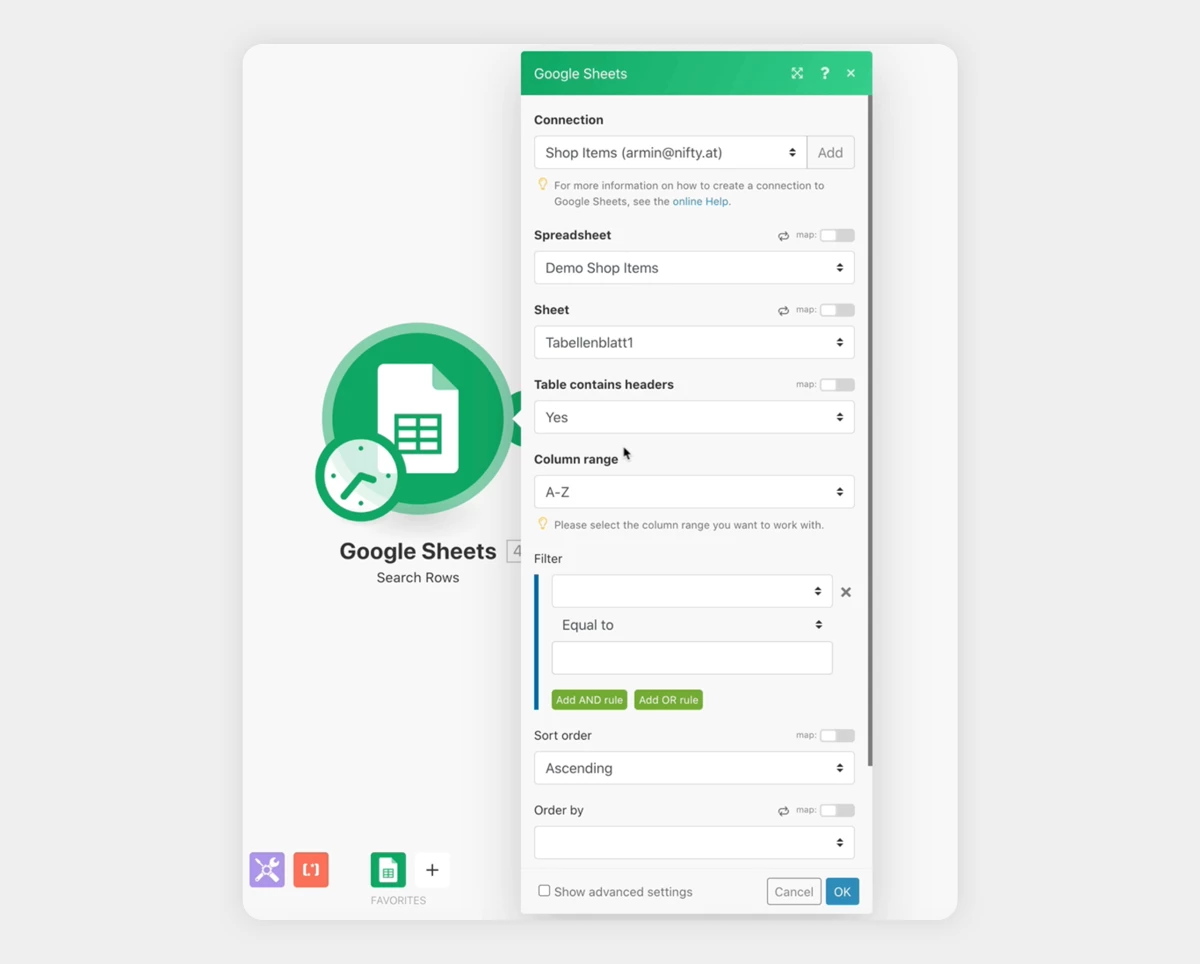
- Add a Google Sheet module with a Search Rows action to your Integromat scenario
- Connect your Google account to your Integromat module
- Choose your spreadsheet (= file) and sheet (= table within the file)
- Choose the column range you want to use (I chose all columns, but you can limit it to the columns containing the data you want to use)
For demo purposes I just generated images from the first three data rows in this tutorial, so I set the "maximum number of returned rows" to 3 – but you don't have to limit this in any way!
Set up a Placid Integromat module
Now that we have our data ready to use, we can add a Placid module to the scenario and select the Create Image action.
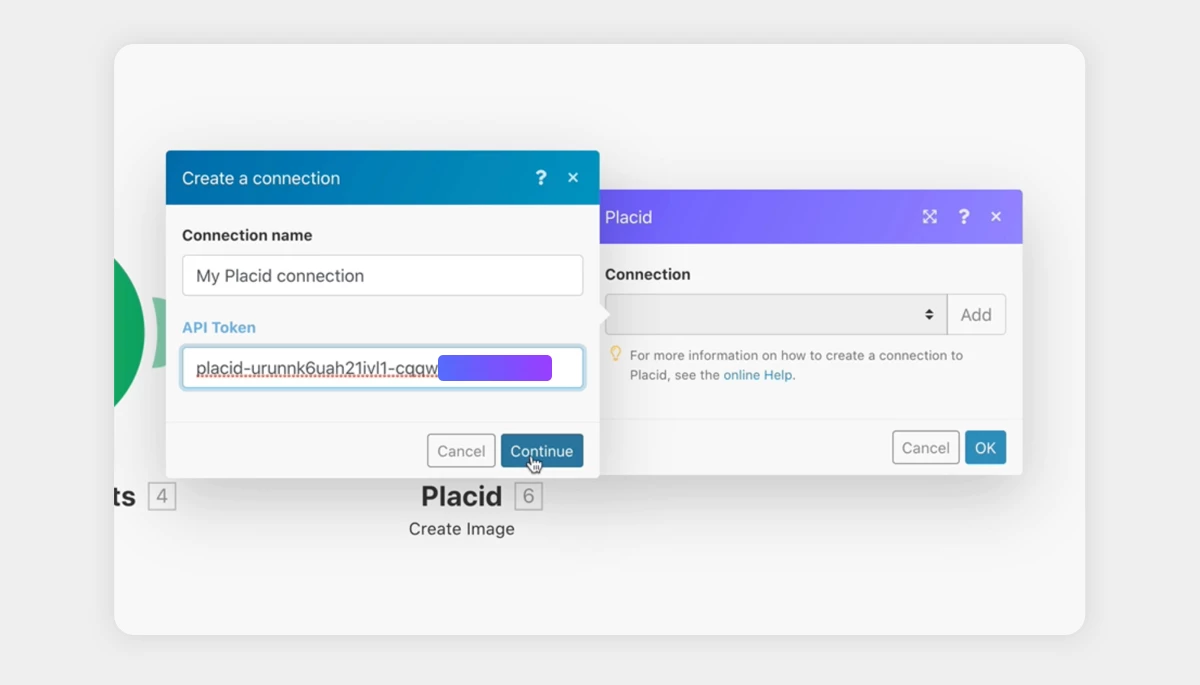
The module will have to be connected to your Placid account via an API token that you can grab from the API Token tab in the left menu of your Integromat project in Placid.
If you successfully entered an API token, you will be able to choose the Placid template you want to use to generate your image. Integromat will give you a list of all template names from your Placid project to chose from. I chose our Shop Detail template from earlier.
Once you chose a template, Integromat will show you a form. There will be one block for each dynamic layer, titled with the layer name defined in the Placid template editor. With this form, you can map your data from your Google Sheet module to the layers of your template. This way, Placid knows what data to take and where to put it.
You can define text and images that will be filled into the layers, but you can also change other properties – f.ex. use Hex-Codes to change the color of a shape or text.
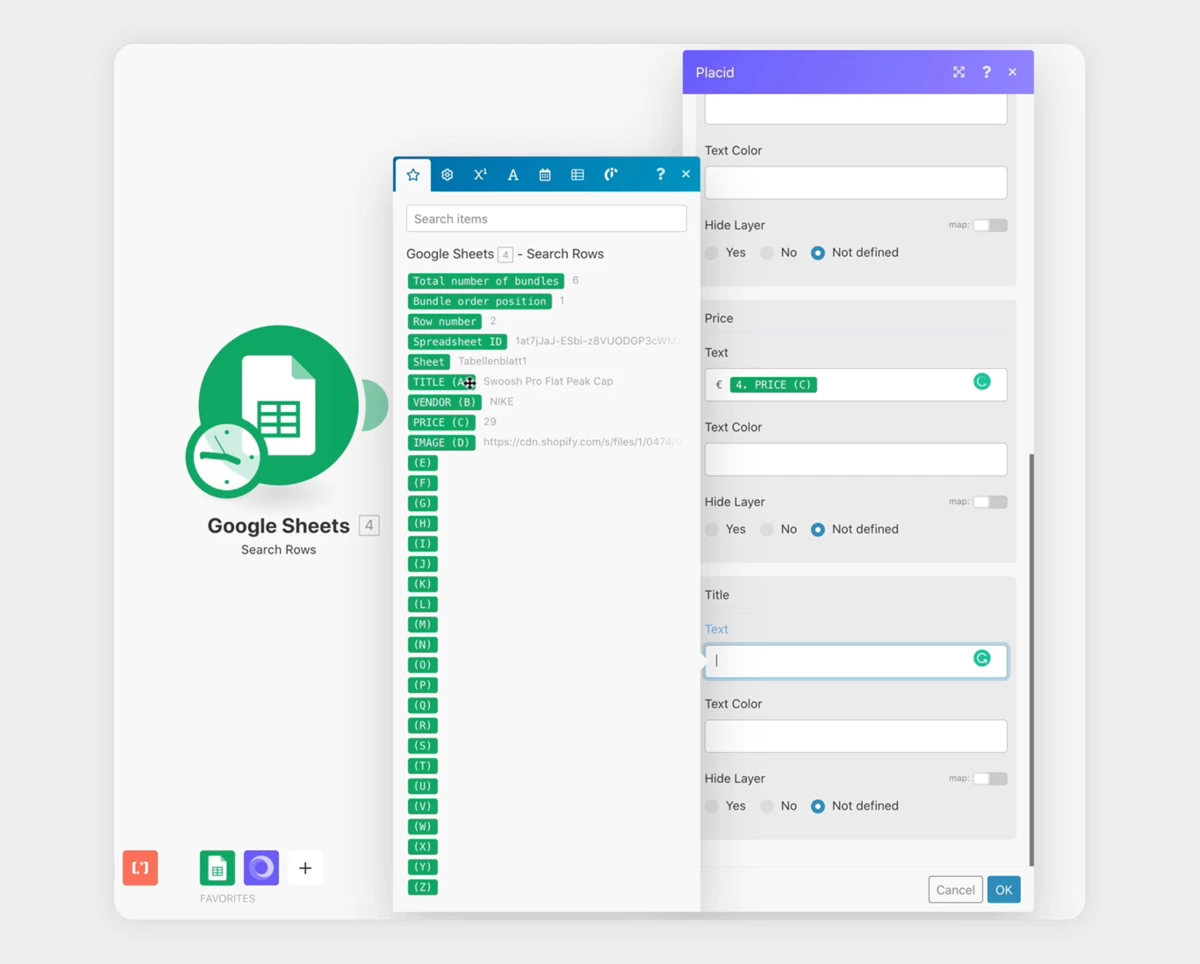
Choose the column names of your sheet to fill the layers – they will be available from your Google Sheets Search Rows module. I used the product image for the image layer, the product name for the title and the price with a currency prefix ("€" + data from my sheet) for the price layer.
Test your workflow
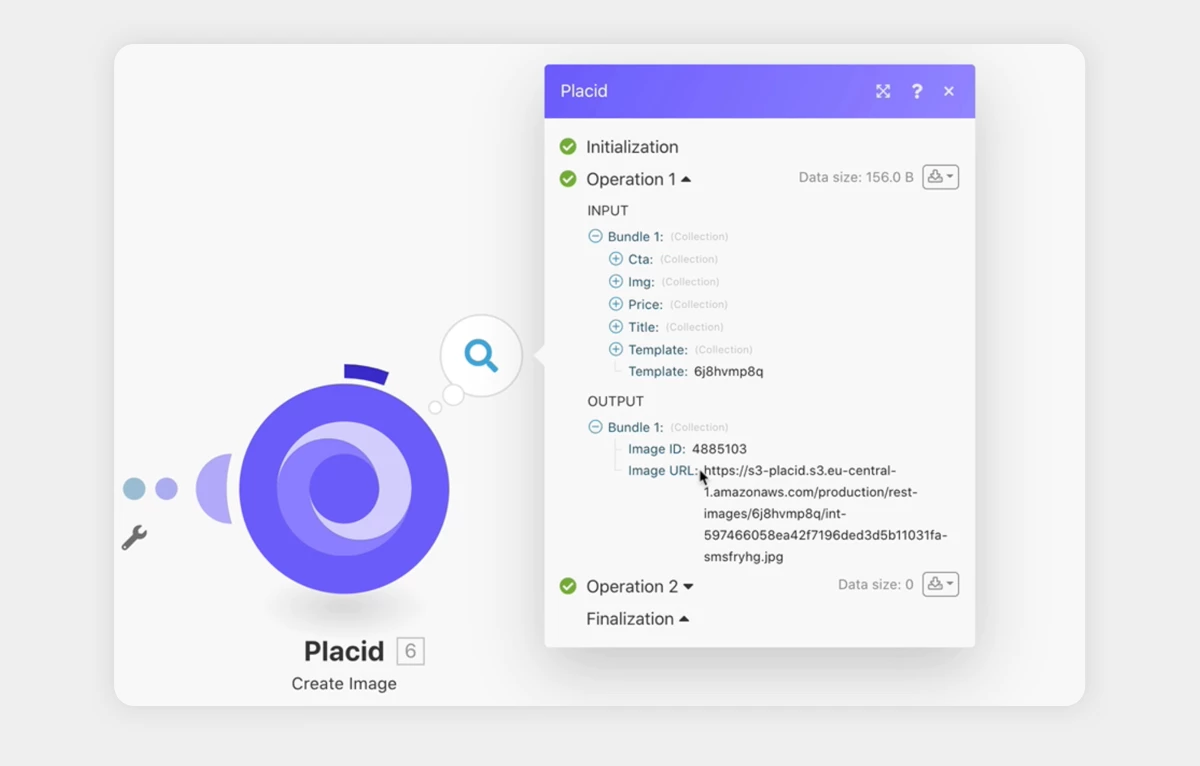
You can now test your Integromat scenario by clicking the "Run once" button. If you take a look at the processed operations of the Placid module, you will see that you get back an image ID and a URL to your generated image.
In Placid, you can also see an overview of the generated images in the Images tab in the left menu of your project.
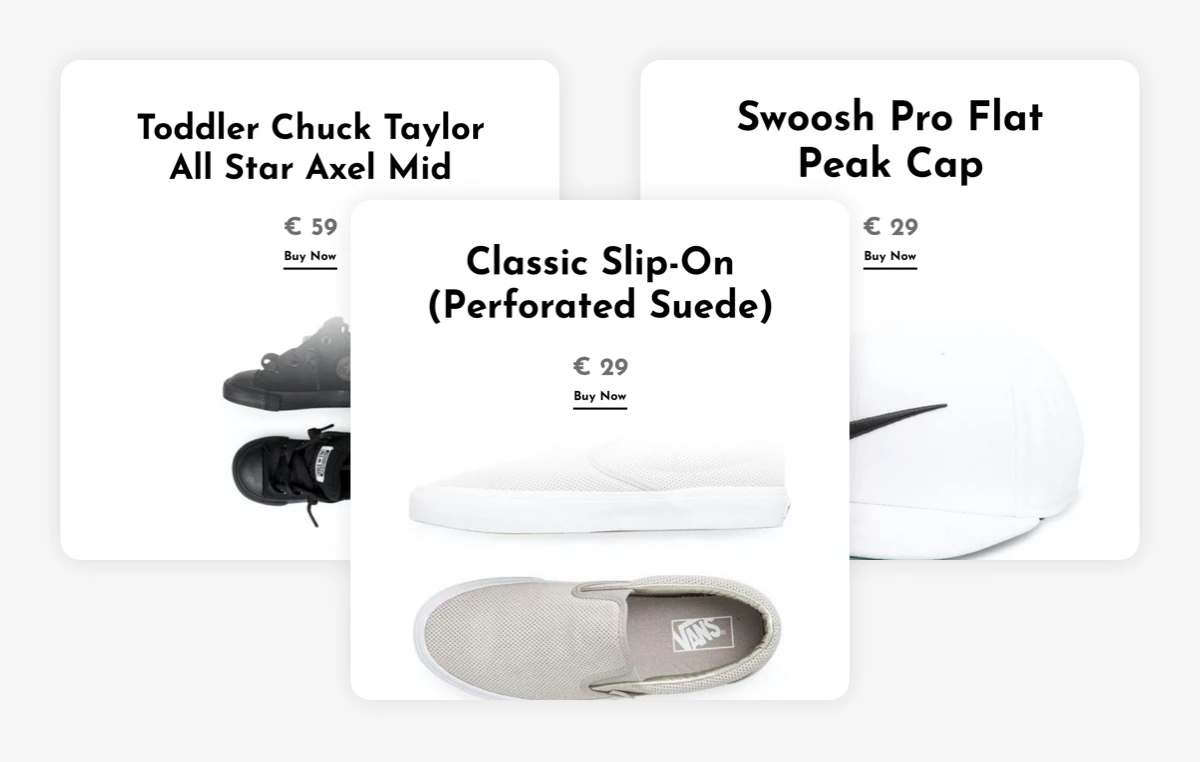
Voilà - we already generated some images from our Google sheet data!
What's next: Use your generated images
Now that you have the URLs to the generated images available in your scenario, you can decide what you want Integromat to do with them: Save them to your Dropbox, post them to social media, store them on your own S3 storage or in your CRM,.. Possibilities are pretty much endless - use a module of your choice to complete your scenario.
If you need some ideas about what's possible with Integromat, you can check their scenario templates or list of app integrations.
If you need help with a specific workflow,