


Hey there 👋 We heard you need some help setting up Placid + Webflow?
Here are all infos and a complete walkthrough to help you get your automation up and running. If you have any troubles you need extra help with,
What can I do with the Placid Webflow integration?
We offer a custom integration that lets you set up creative automations with your Webflow data. With a Placid Webflow action, you can take data from your Webflow fields and fill it into dynamic layers of a Placid template to generate creatives.
As of now, you can generate images with it. Other creative types like generated PDFs and videos might be available in the future.
Add the Webflow integration to your Placid project
First, you will need to set up a Placid project with a Webflow integration. Create a new project in Placid, or add the integration to an existing one in the project settings.
Create a template for your images
Placid templates are a bit like cloze text: You design a basic layout, and decide which elements should be filled dynamically from the content in your Webflow fields. We can e.g. use your post headlines and featured images.
Connect your Webflow site
We need to connect to your Webflow site to access your content and write your images back into your fields.
In the settings, click on Connect to Webflow. Connect your account and choose the site you’re creating images for.
Create an automation action
Actions are the actual automation processes. You will have to set up one action per collection and template you want to use.
After choosing your collection, you can map your Webflow fields to your template’s elements. This defines which content we will use to generate your images.
You can also define the field we’ll send your image to, and the interval in which we will repeat the action. Choose between manual or repeated actions that create images for every new content piece.
Run your automation
After creating your action, you can run it to generate images for all your collection items.
Per default, running an action will only send images to empty fields, so we won’t overwrite existing images. But you can manually choose the option Run & Overwrite to force Placid to delete your old images.
Test run: A test run shows you what exactly would happen if you run it, but it won’t send images to Webflow.
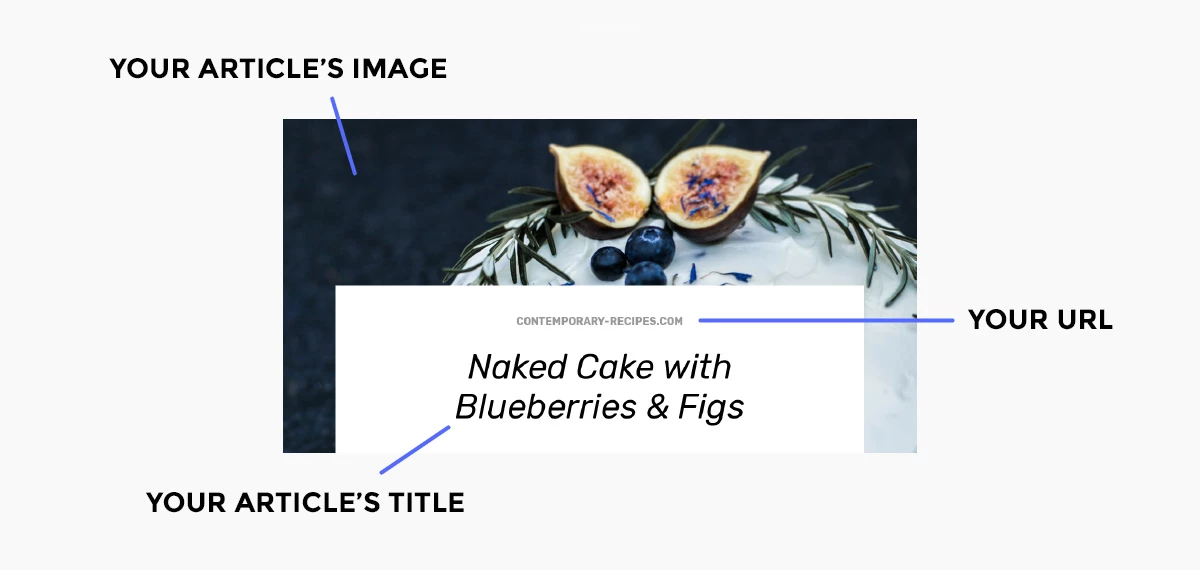
Optional: Set your images as Open Graph images in Webflow
If you're creating Open Graph images with Placid, you can make Webflow set them easily so Facebook, LinkedIn & Co will pick them up.
You can set them under Pages > „Collection Name“ Template Settings > Open Graph Settings
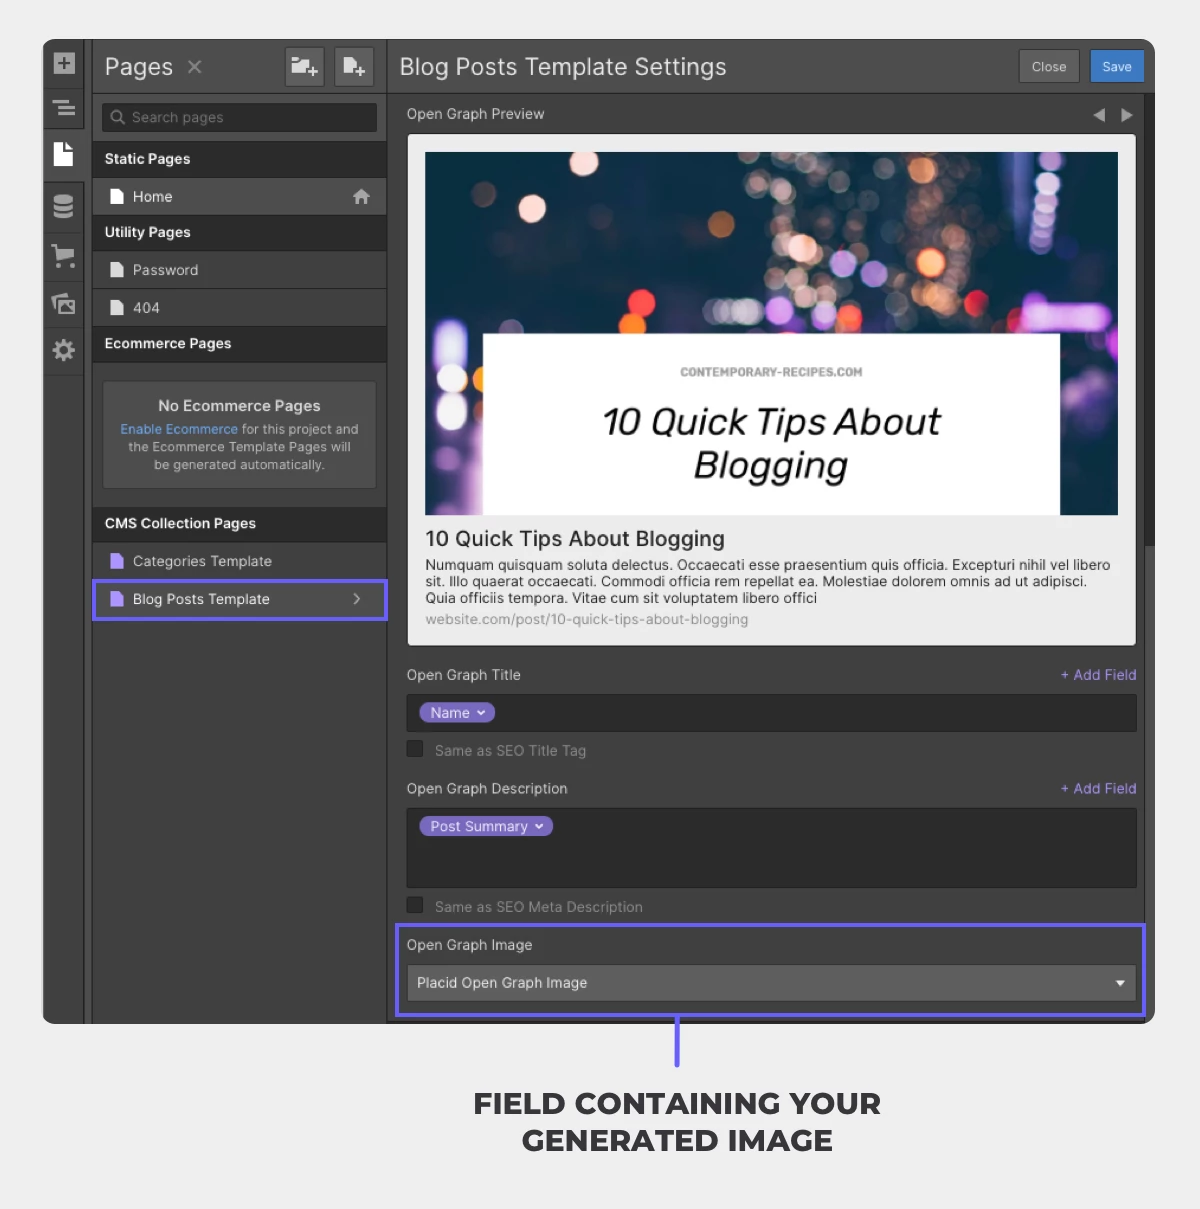
Choose the field you’re sending your generated images to as your Open Graph Image.
Your image automation should be ready now 🙌 If you continue to have troubles with the setup, please