


We recorded a short video tutorial on how to set up a workflow that automatically tweets generated images to Twitter every time you publish an article on your Webflow site.
It will take your postings from your RSS feed, let Placid create an image for you and tweet it out.

Watch the video, or read the short summary of steps below.
Placid: Setup your project
To make an image automatically, you need to setup a template in Placid first. We'll not go into detail about that right now, but imagine it being an image full of placeholders for photos and texts that you can fill in dynamically via our API. Like a Photoshop template, but built for your automation workflows.
We used a template from our preset designs for the tutorial 👇

Zapier: Create a Zap and select your trigger event (from 01:17)
To automate all the goodness, create a new Zap in Zapier.
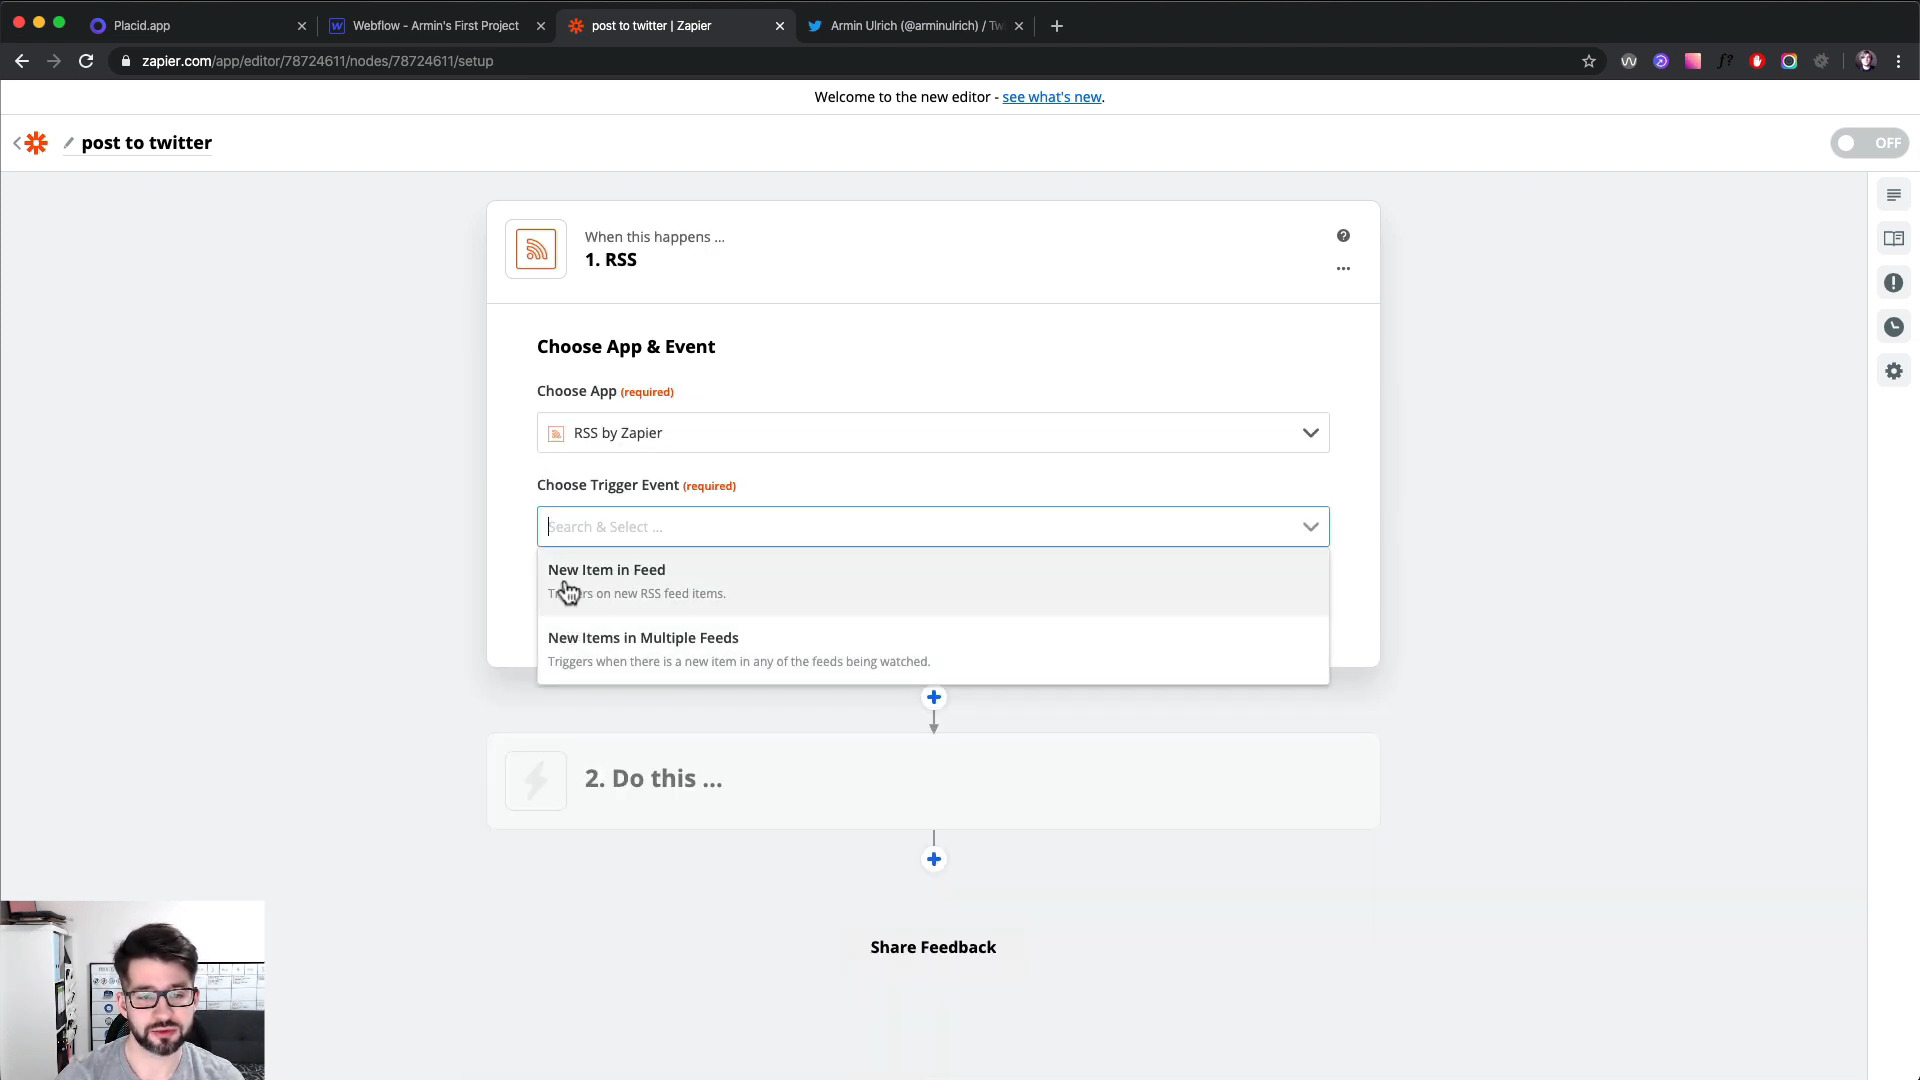
While setting up your trigger, choose RSS as your app to have them grab your RSS feed. As your trigger event, choose New Item in Feed. This makes this workflow fire every time you publish a new post.
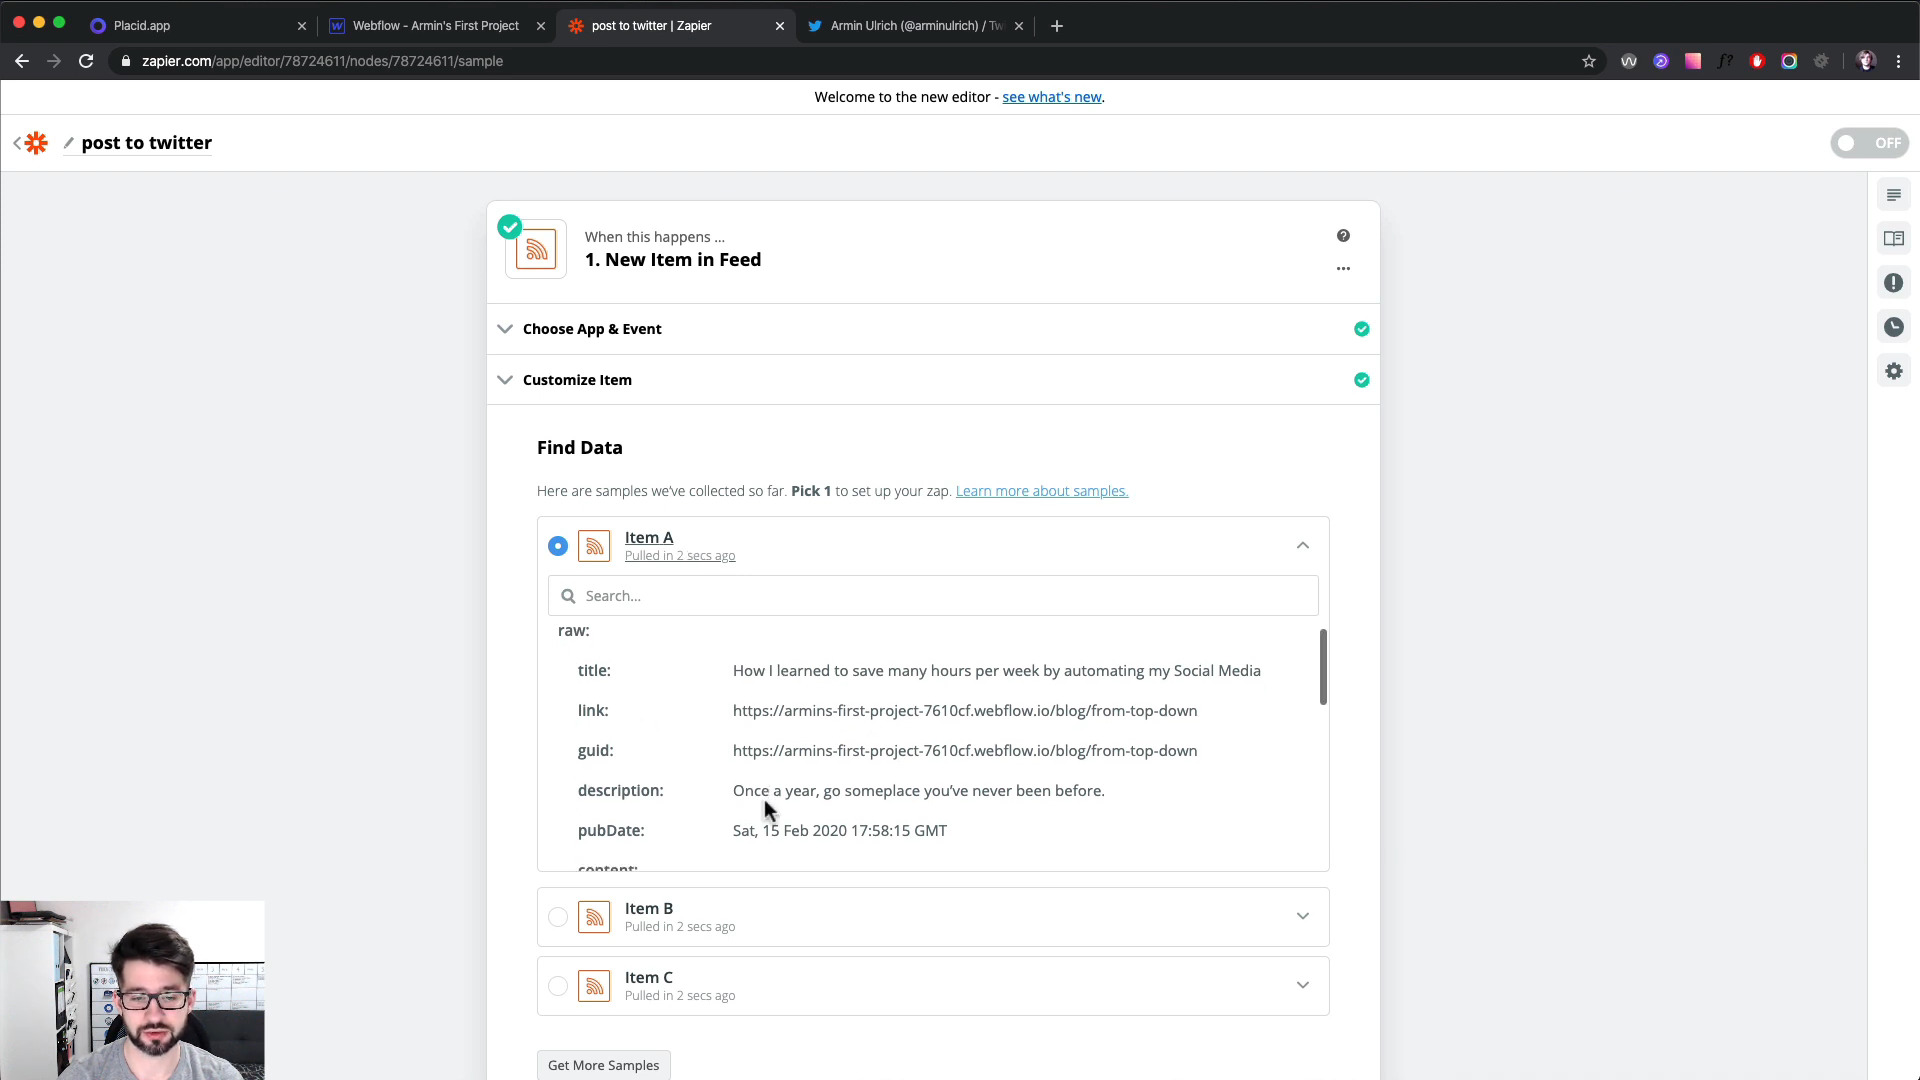
Then enter the feed URL from your Webflow page. You can find it in the settings of your collection – you might have to enable your RSS feed first, and define which elements it should contain. For this tutorial, we'll need the post title and the thumbnail.
Here's what the data looks like when you do a test run:
Zapier: Configure the Placid Image Action (at 02:20)
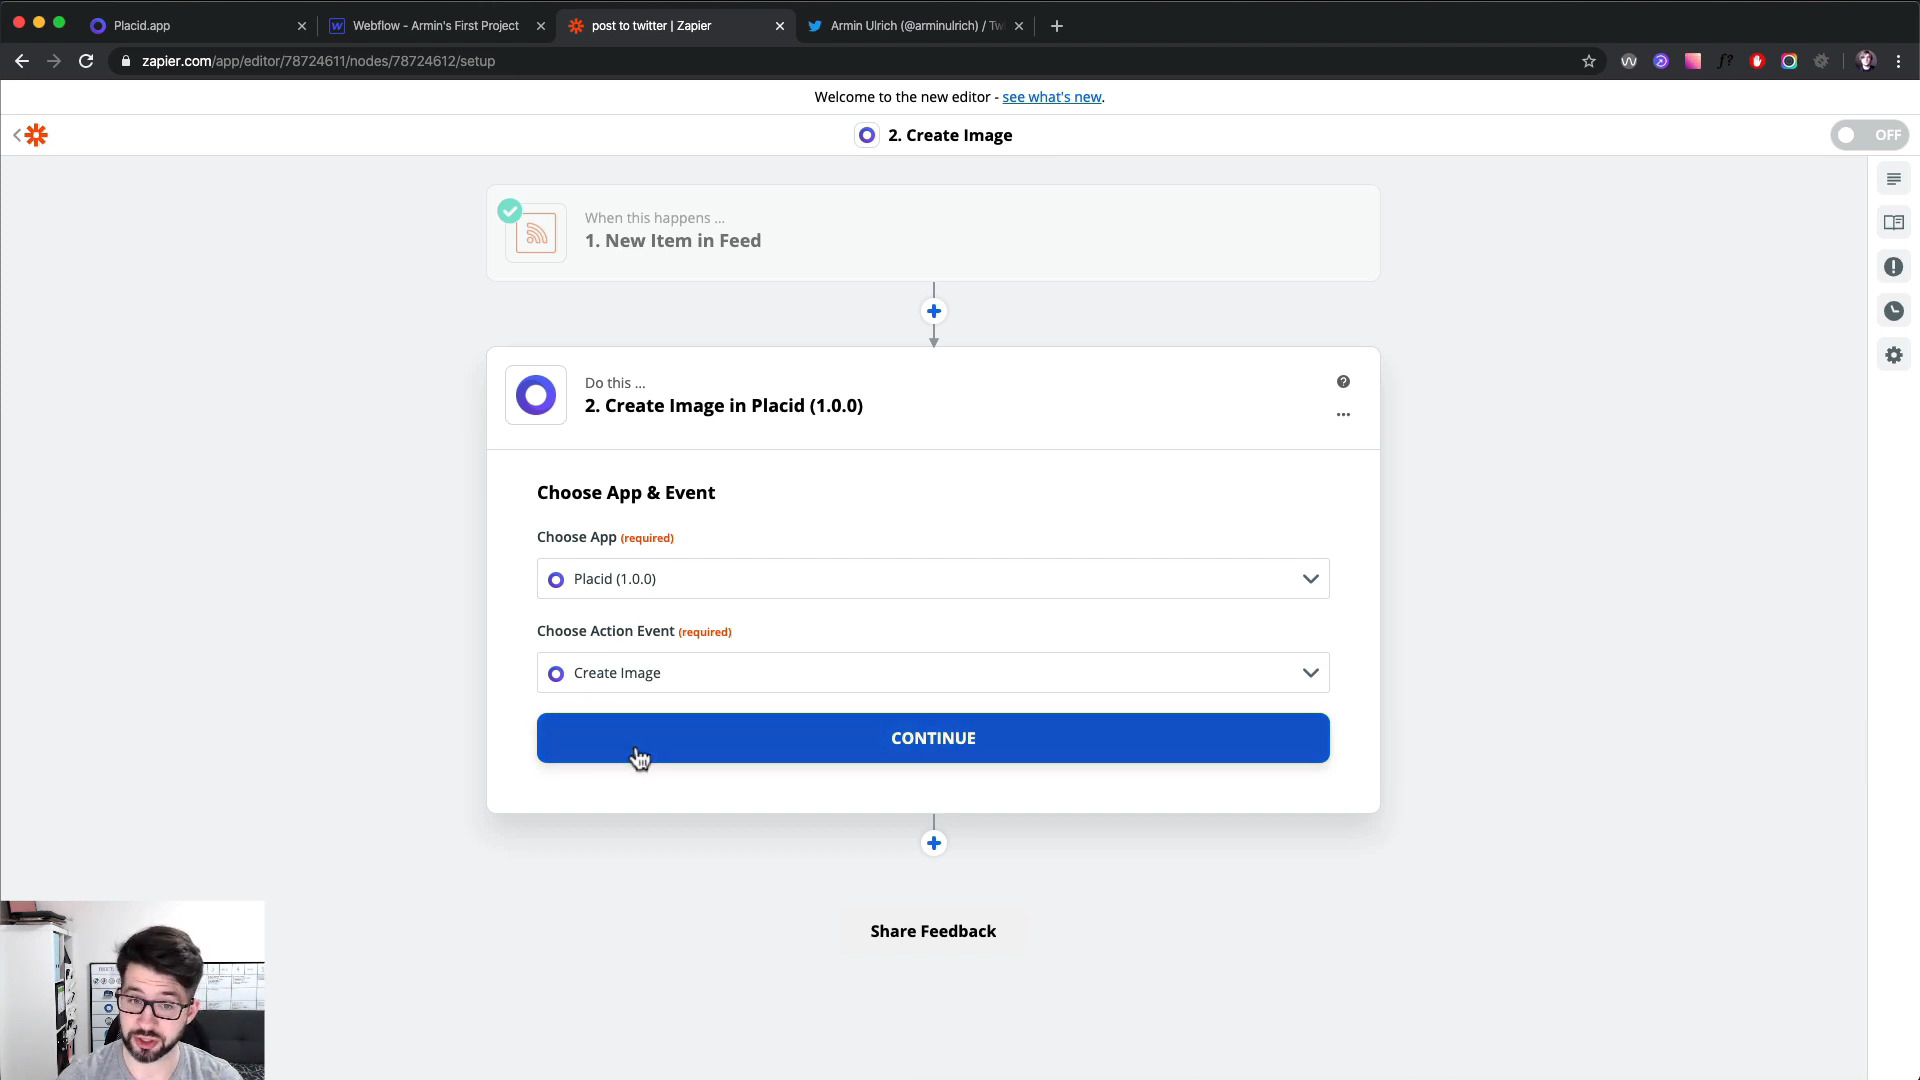
When you're done editing your trigger, add a new action to the workflow. Choose Placid as your app, and select the Create Image Action. (At the moment, our Zapier integration is only available in beta! Give us a shout if you want to get an invite.) Then, select your template.
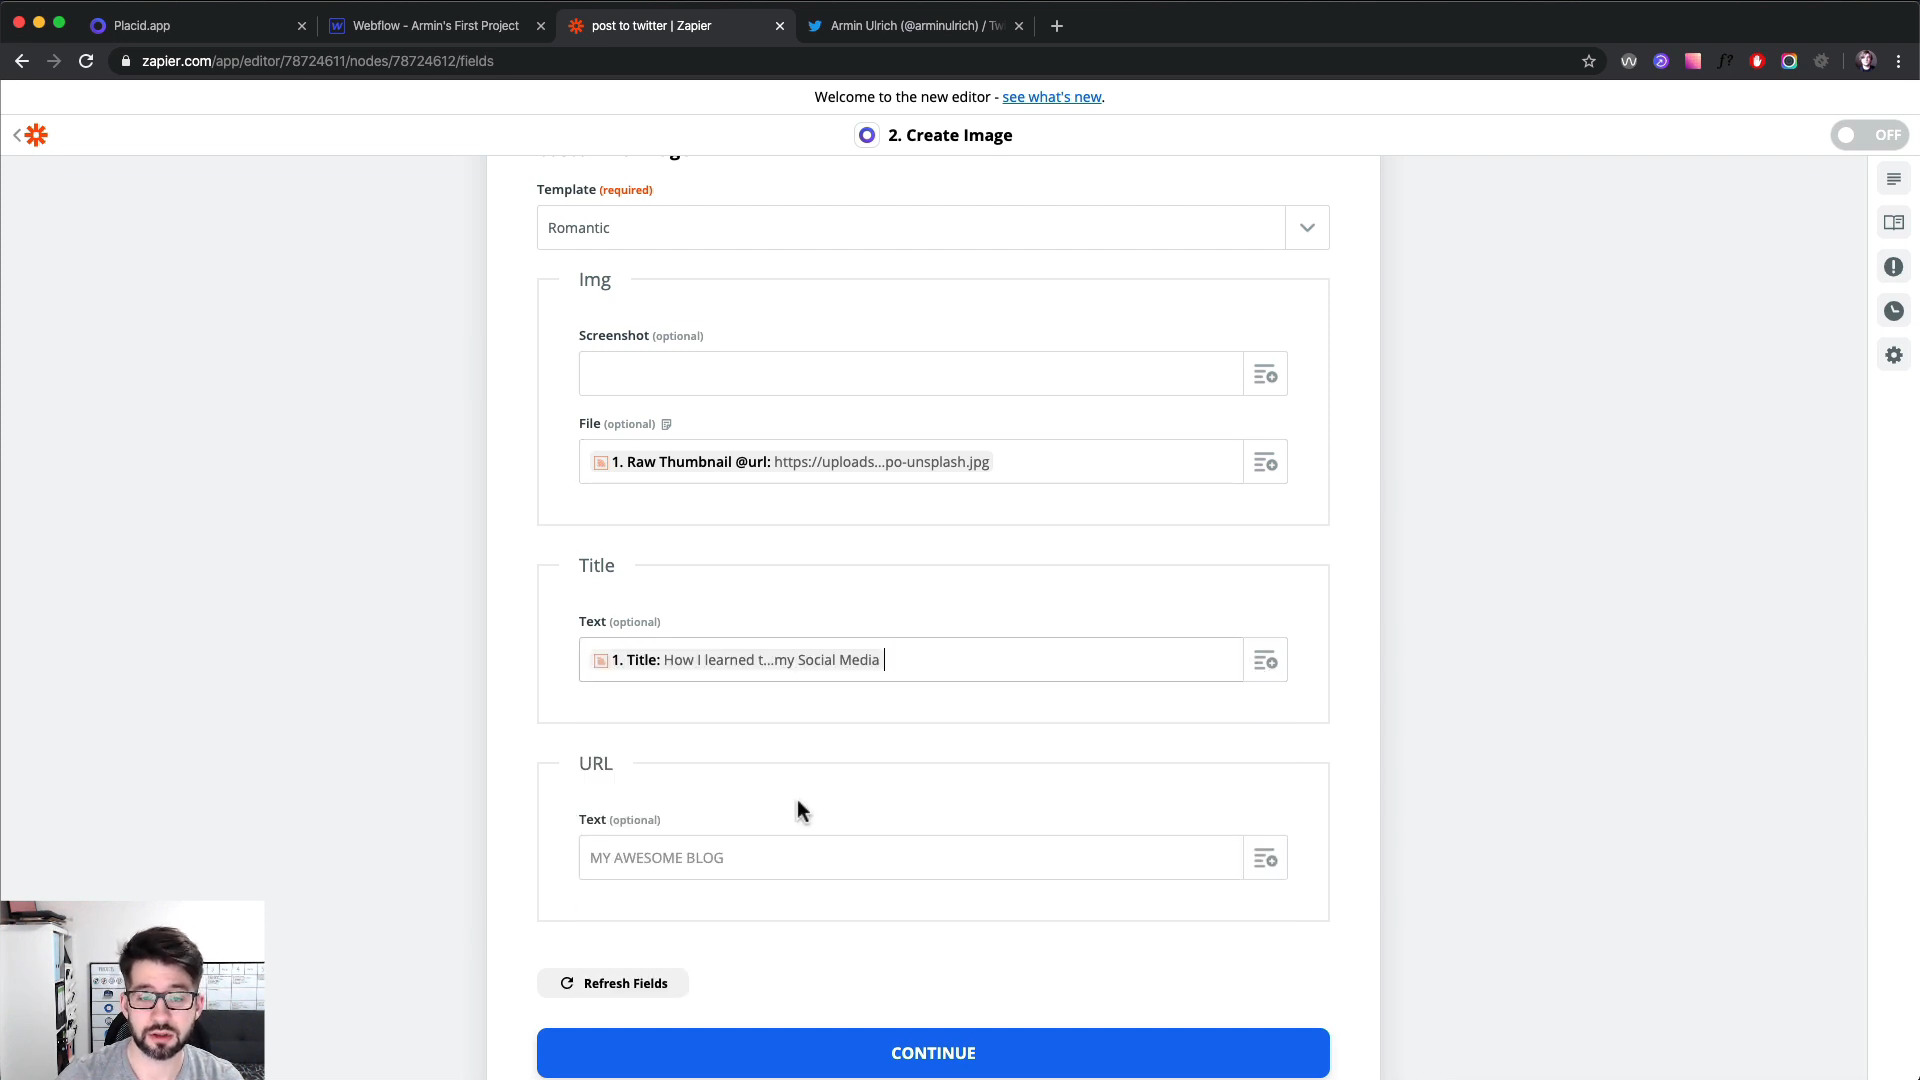
You will see all of the dynamic fields of your template now. You can fill them with the data that Zapier gets from your RSS feed – the title and the thumbnail image that we configured to be included previously!
Zapier: Setup your automated Twitter posts (at 03:45)
If you configured the step to generate the image, we now want to add another that posts it to Twitter automatically.
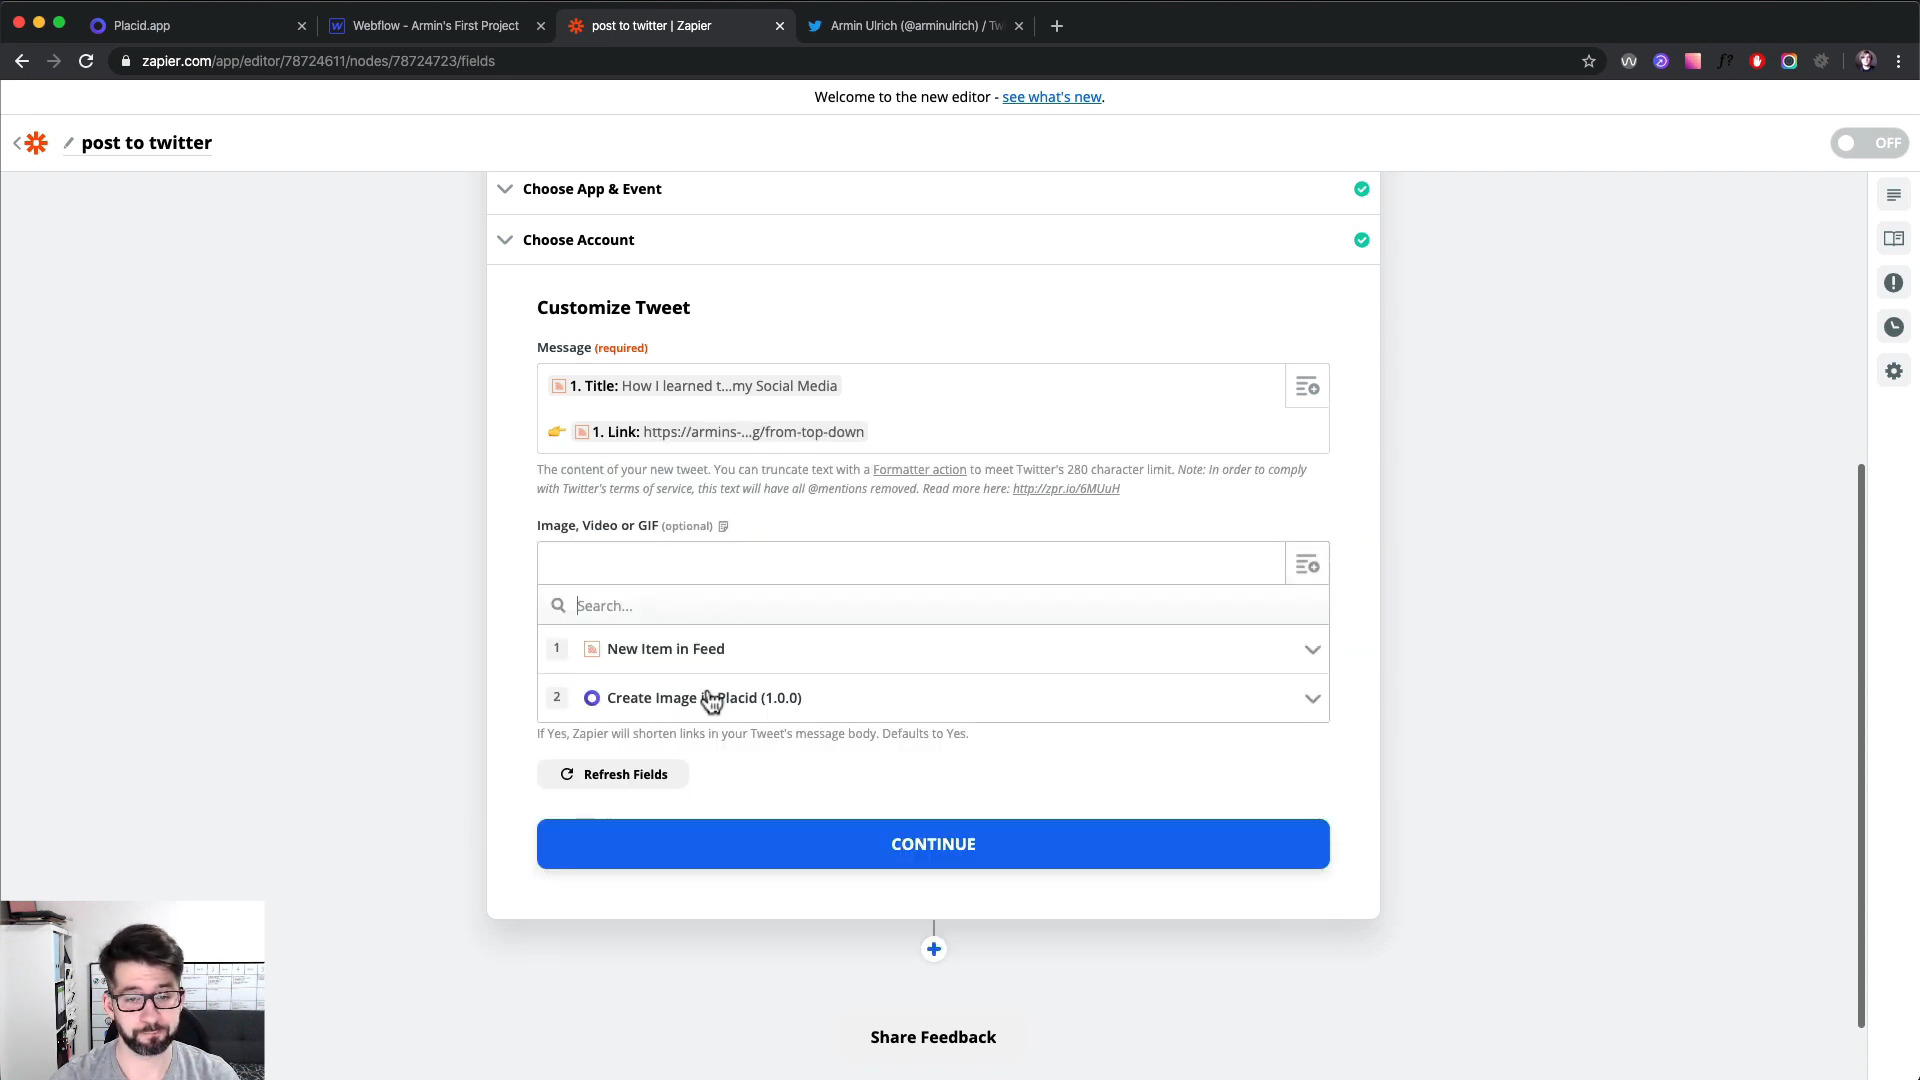
Choose the Twitter app and the Create Tweet action for your next workflow step, and select the account it should be posted to. You can set up the skeleton of the message you want to tweet. We just went with "[Title of the blog post] 👉 [URL]". You can then attach the image Placid generated in the first step to the tweet.
Aaaand we're done! The workflow can now automatically tweet your new posts 😄
If you want to set up this workflow or create your own, you can test Placid (and Zapier) for free. We're always happy to talk about your ideas and help you get set up.