


Email is a tried and trusted tool in every marketer's toolbox. If you're automating a campaign, you might want to start sending emails with personalized elements.
You could do that with email marketing tools like Mailchimp, but they get pricy pretty fast. As a cheaper and more flexible alternative, you could set up your campaign with a nocode workflow automation tool. The main advantage in my opinion is that you can use data from any source for your workflow - e.g. a Typeform submission or Airtable.
Our customers often connect our creative automation toolkit with Zapier to create personalized visuales like images or PDF. I have helped a lot of them set up an email workflow with their data, so I wanted to share what I know with you here!
Video Tutorial

Set up your data
First, you have to know where your data is coming from: Where do you store the recipient's email address, their name and other personalized elements? You will need to have them available in your Zapier workflow.
Here are some ideas:
- You could run your zap every time someone submits a Typescript form
- You could get your data from your CRM (e.g. Pipedrive or Hubspot), filtering for a certain target group
- You could manage your data in an Airtable
- You could send out emails to newly registered attendees of your Eventbrite event
- You could generate personalized images or PDFs with a Placid action in your zap
I chose an Airtable as my database, as it's easy to set up for a tutorial. I used a table with just 4 fields:
Name(text) - our recipient's nameEmail(email) - their email addressEmail Image(attachment) - an image we will show in the body of our emailEmail Attachment(attachment) - a PDF file we will send attached to our email

Create a Zap
Now we can start building our automation. Create a new Zap in Zapier and choose a trigger event. What type of trigger you choose will depend on your workflow: Choose the app and action that will trigger the event - e.g. to start running the Zap every time you receive an email, or a Typeform is submitted.
For Airtable, you could choose when a new record is created or added to a view.
Make sure your Zap has a dataset available for testing. I added my own email address to my test record in my Airtable so I can review the emails we're sending while setting up our automation. Be extra careful with real user data so you don't send them test emails by accident 😉
Add your email action
There are multiple options to send emails from within a Zap. Choose between these actions and add one to your workflow:
- Send Outbound Email in Email by Zapier: You won't need an SMTP server or external service, but your mails will be sent from a Zapier email address, and contain a generated footer with unsubscribe links by Zapier
- Send Email in SMTP by Zapier: Use your own SMTP server or inbox (works e.g. with a Google email address) to send emails directly from your account. That's not really suitable if you're sending a lot of emails, though.
- Send Email in SendGrid / Mailgun / Mandrill: Choose an external service to send emails if you have one. They're usually the most professional option, but cost extra

The setup of these actions is pretty similar. In my tutorial I sent my mails directly with Zapier, so you can see how such an email looks like.
Basic Setup
Now we'll configure the contents of our email, using the data from our trigger event or previous steps in the Zap.
- Click in the To field and choose the
Emailfield in the Insert data dropdown (in my case this comes from my Airtable step, so it looks like that:Fields Email: armin@placid.app) - Enter a Subject
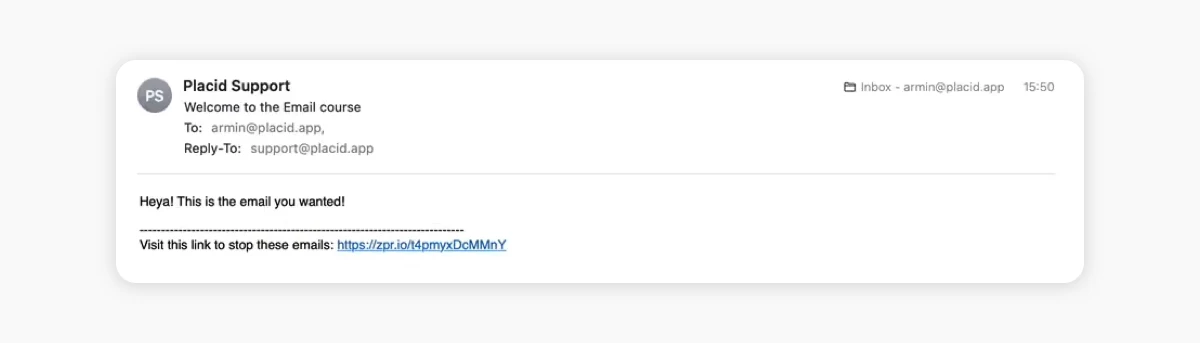
- Write your email's text in the Body field. I used a test message like "Heya! This is the email you wanted."
- Add a From name (your display name, I chose Placid Support) and a Reply to email address

You could already test that step, getting you a result like this:
Optional: HTML email layout
For an advanced email layout, you have also the option to use an HTML template that contains your logo, colours and styles. You'll have to be comfortable with creating / editing and handling plain HTML for this.
You will need to create a template and HTML email first outside of Zapier. If you don't already have a template handy, you could look into the email framework mjml and their responsive email templates that you can use for free.
I used a super simple minimalist example that I adapted from our newsletter template.
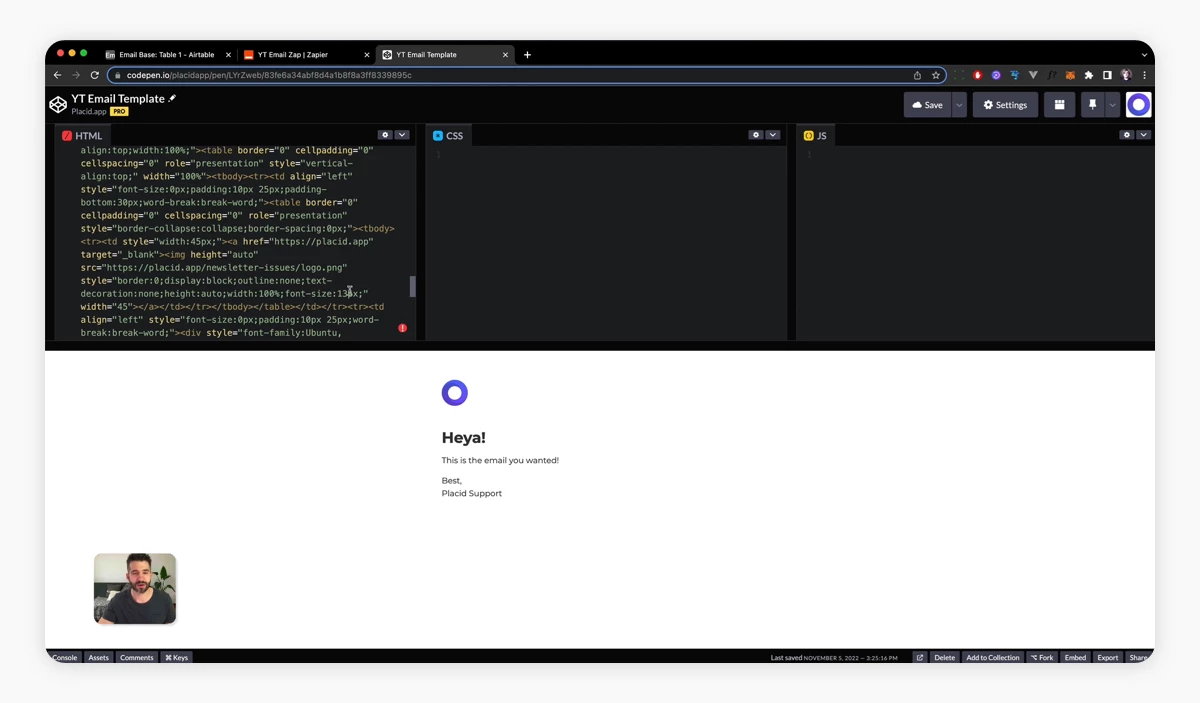
Grab the HTML and add your content (text, logos, links) in an (online) code editor. Make sure all your images like your logo are hosted somewhere reliable. If you don't mind the extra cost to be sure how your email will look like in all clients, you can use tools like Email on Acid to help you with testing.
Paste your HTML as one big blob into the Body field of your email action.

Add personalized email content
Now we'll look at the different ways to use the data from our trigger event or previous steps in the Zap to personalize our email.
Add dynamic text
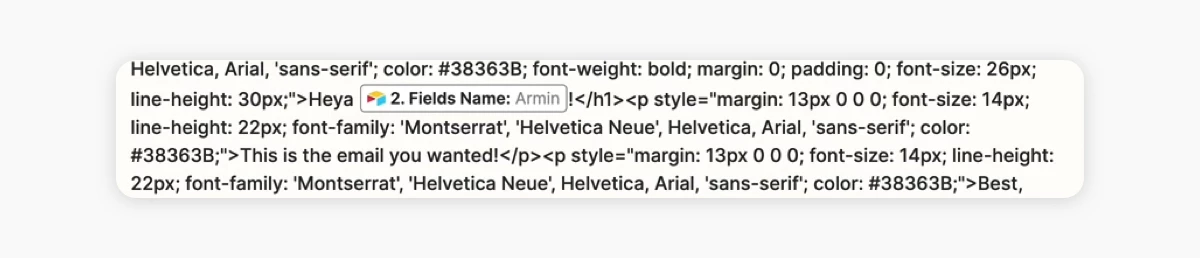
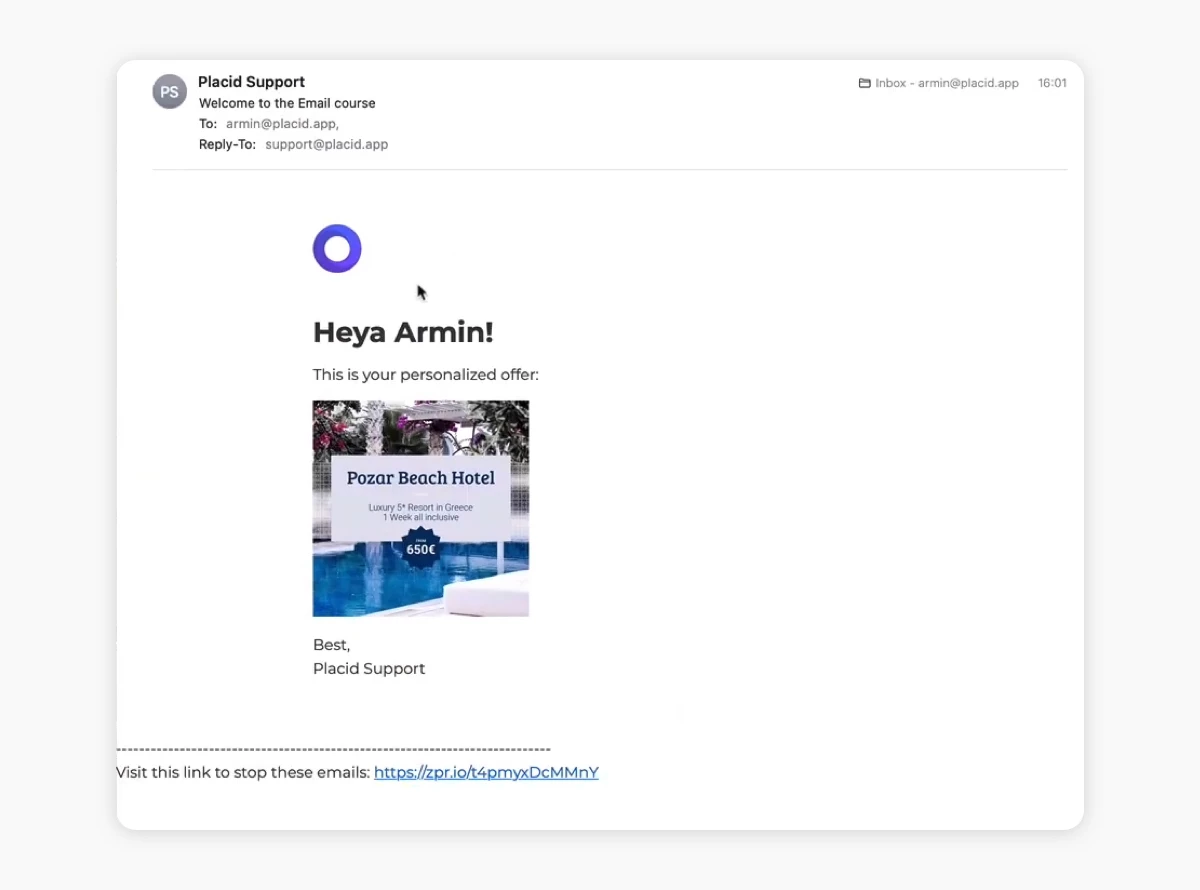
To add e.g. a personalized salutation, go to the section in your email where you want to add it. I wanted to greet the reader with "Heya {name}!".
Zapier offers you to search through the data within your zap with their Insert data popup. I chose the Name field from my Airtable step.
You could use any text variables from your data - what about the days left until an event or a personalized monthly statistic? I bet you can come up with a lot of creative ideas for your business.
Add dynamic images
If we are sending an HTML email, we can also add personalized images. This is what a lot of our customers do, as Placid can auto-generate creatives based on dynamic templates.
Use the image URL from your data as a variable for the src attribute of your <img> tag! I used the large Thumbnail image URL from Airtable.

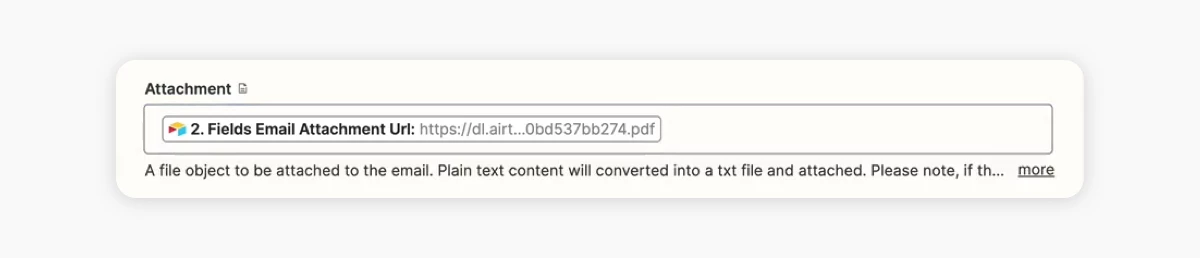
Add dynamic attachments
The last option for personalized elements in emails would be attachments. Zapier lets you flexibly choose data from your previous steps as data to attach to your email.
Once you have added all personalized elements, you can test your workflow (again).
In our example you can see that the Zapier footer kind of ruins the nice layout 🤷 If it bugs you, you should probably go with a different option for sending your mails.
You have now added personalized emails to your Zapier toolbox! It's just such a useful automation step for quickly creating marketing campaigns. Using the data sources you already have makes it easy to set up without needing (much) coding knowledge. HTML emails are not exactly enjoyable to use within Zapier, but it's a fair price to pay for the flexibility you get.
Have fun throwing together your next automated campaign!