As a creator or brand, there are a million great ways to manage your social media content with Notion: You can capture and organize content ideas with post templates, plan your posts with a content calendar and track your campaign timelines. (Here are some Notion templates for (content) marketing!)
Many social media managers use a Notion workspace as their homebase, customizing it to their workflows. In this tutorial, I want to offer an idea so you can do even more inside of it: Add a Placid Notion widget that lets you generate your social media visuals – without any graphic software like Photoshop or Canva.
If you want to follow along and don't have a Placid account yet, you can sign up for free.
What does the widget do?
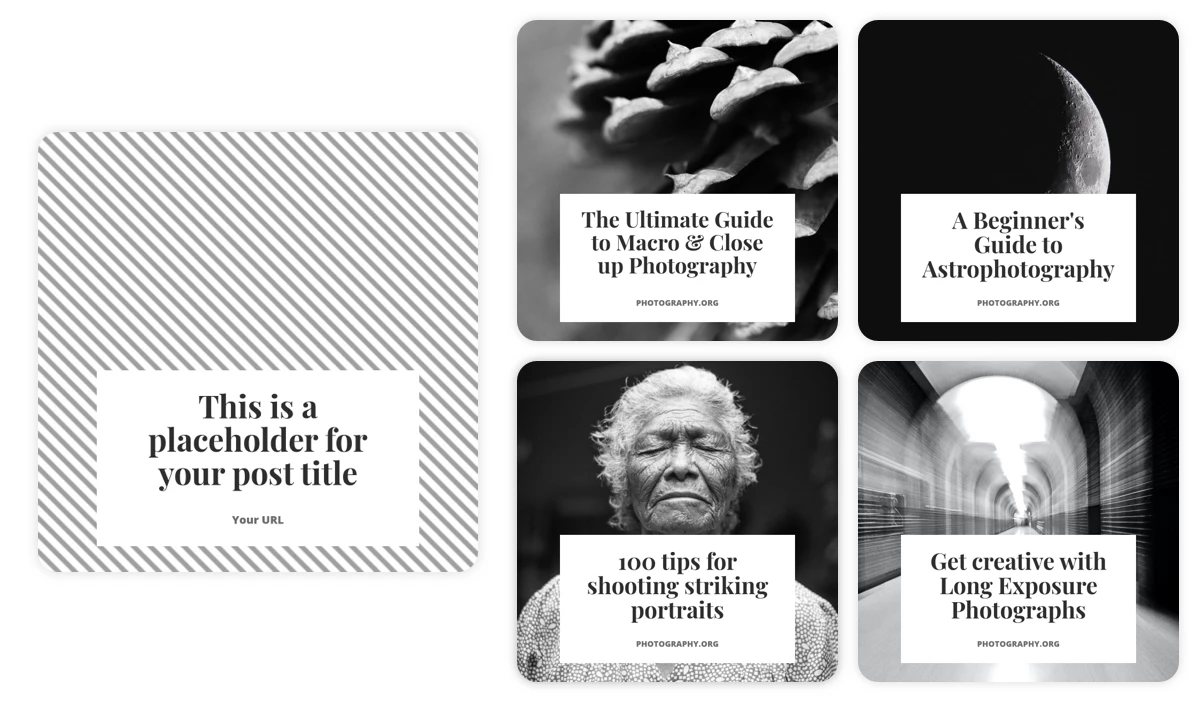
We're going to use and embed a Placid Studio in our Notion workspace. With Placid, you can generate images, videos and PDFs from custom templates. You design your visuals once, and then create variations by filling your content (text, images, videos,..) into placeholders.
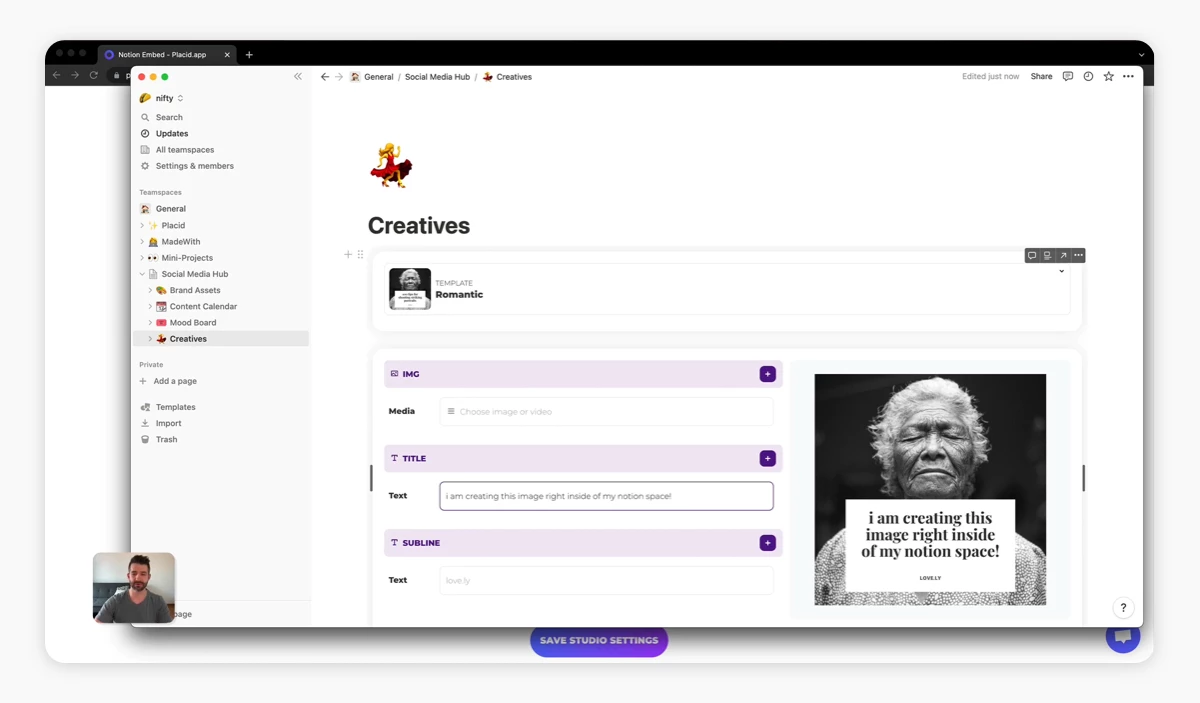
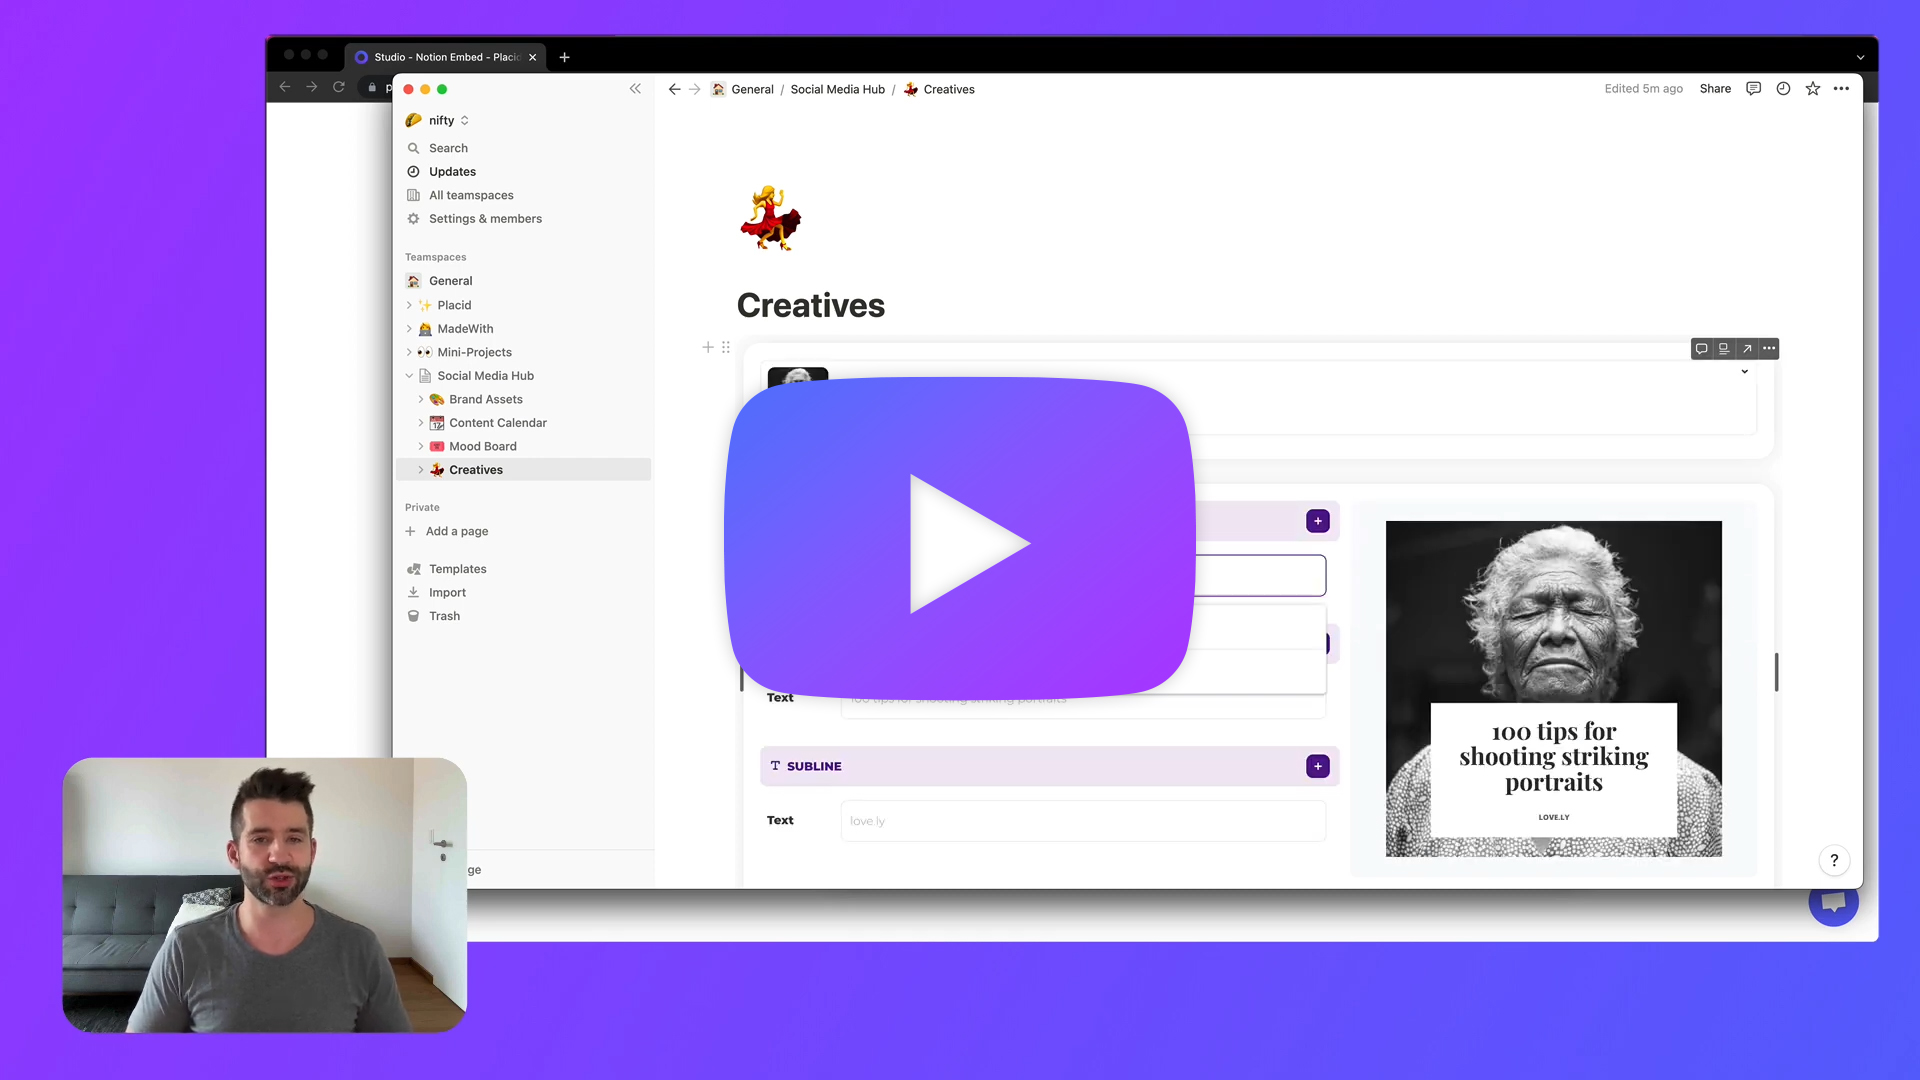
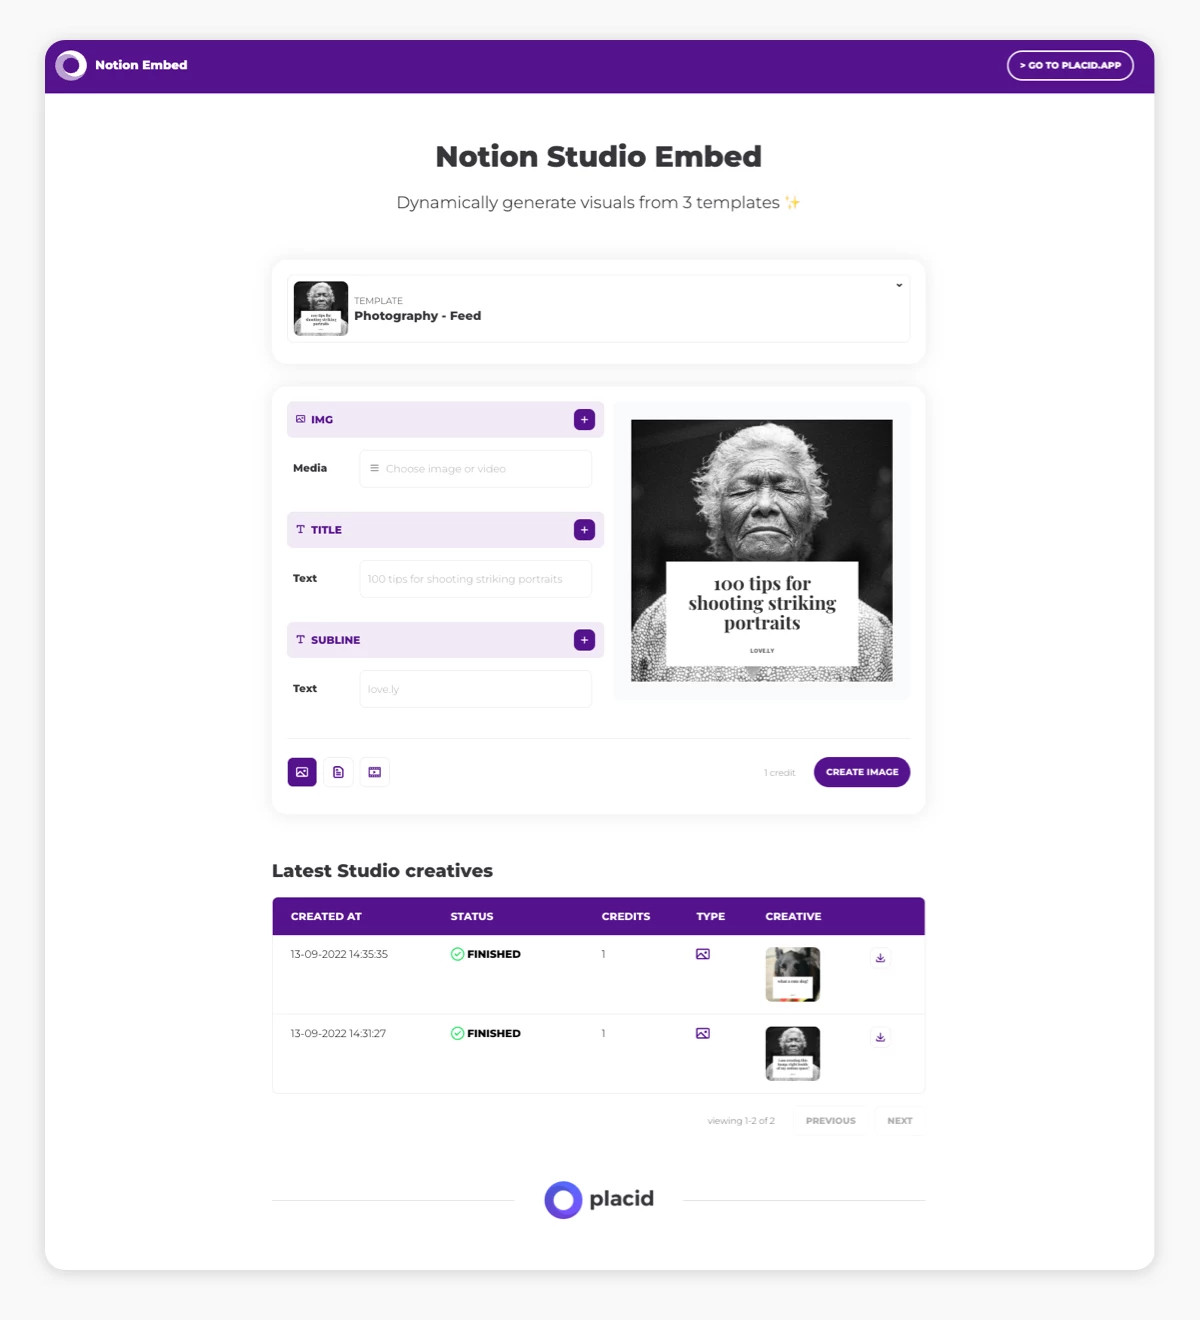
The Studio widget will live on a page in your Notion workspace. There you can choose one of your templates and add the content of your new posts via a simple form. You'll get a preview of how the creative will look like before downloading and sharing it.
Video Tutorial
Set up a Placid project
First, we'll set up a project on placid.app.
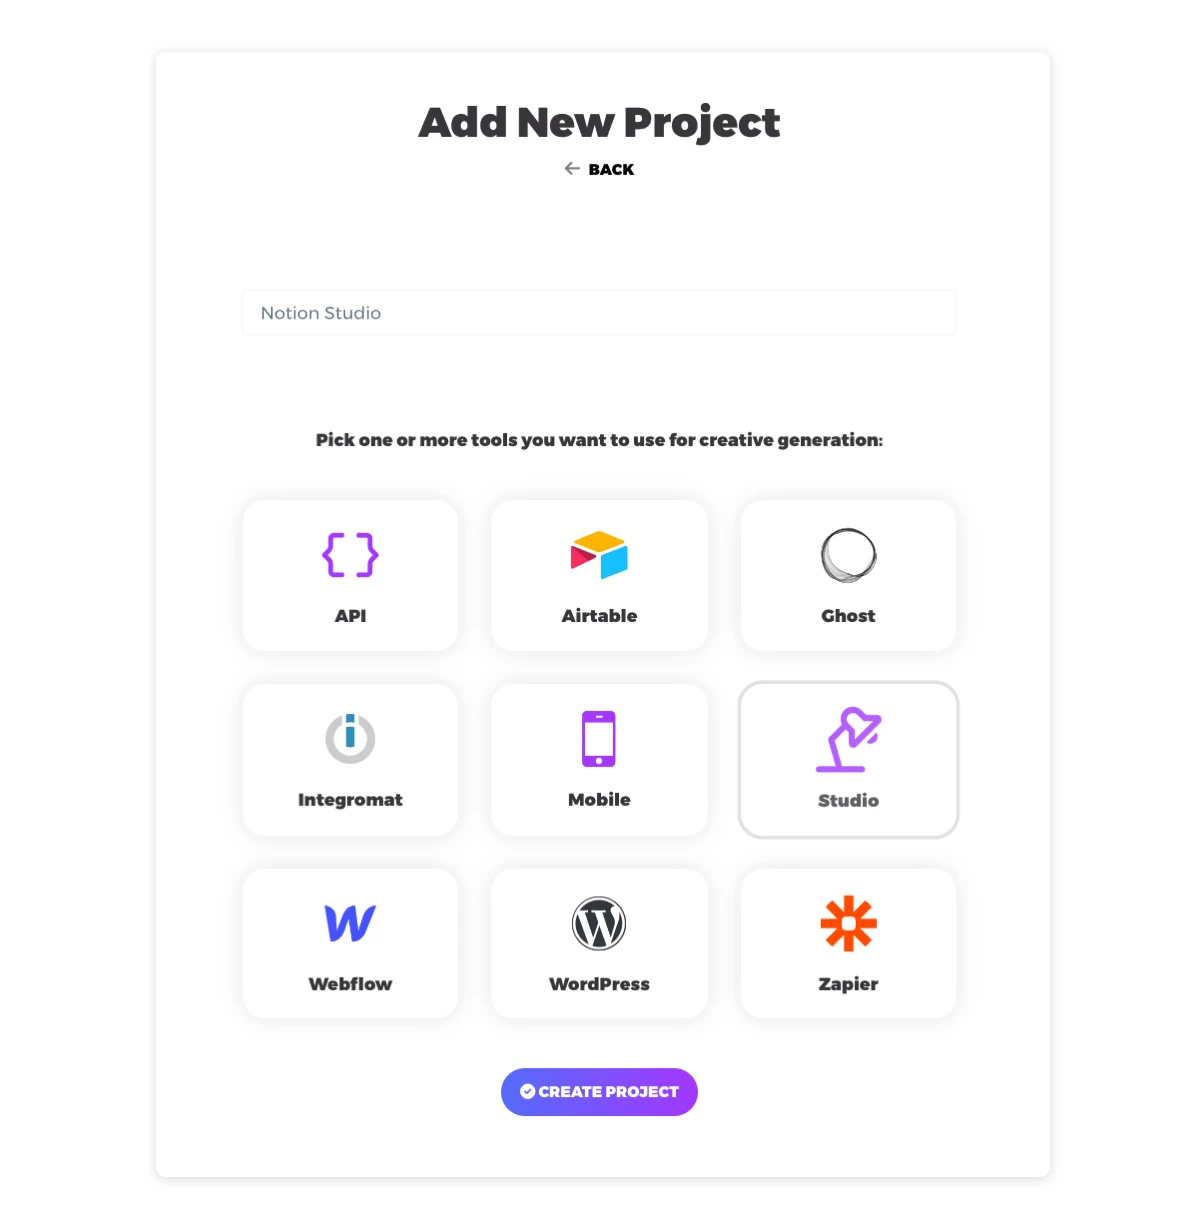
You can use an existing Placid project or create a new one under Projects > Add new project. We only need the Placid Studio integration for this tutorial, which is active in every project by default.
Create your templates
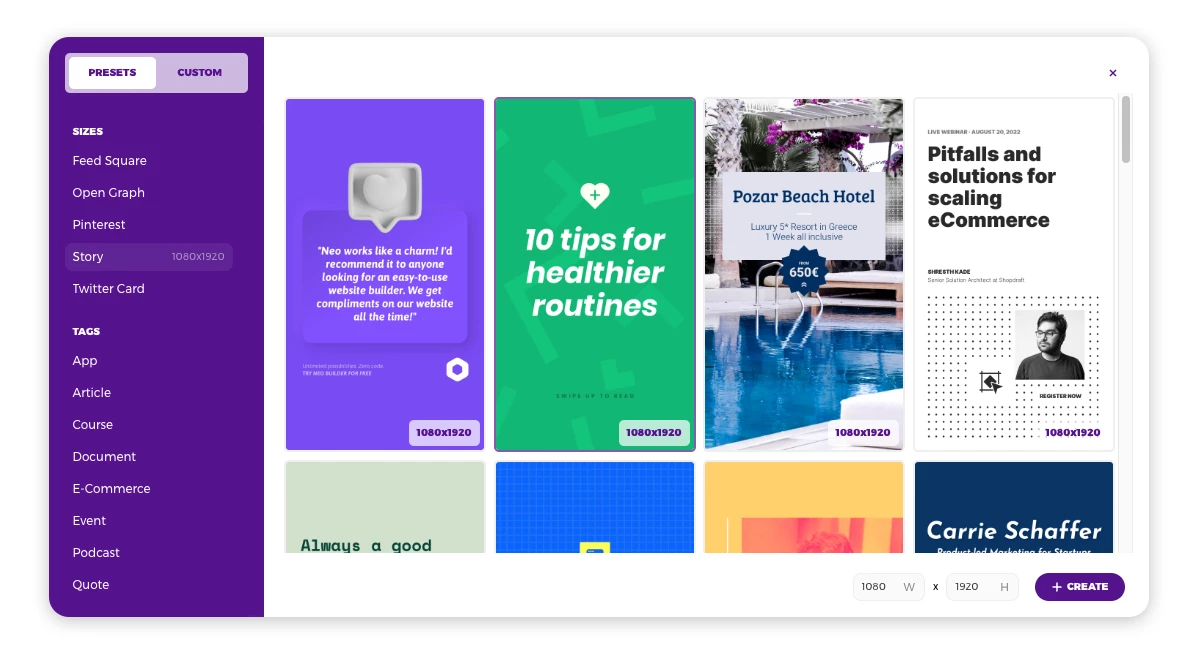
In your project, you will need to create at least one template. In the Templates menu, choose Create Template. You can choose and customize one of our preset designs, or you can start with a blank canvas.
After you created a new template, you will see our drag & drop editor. It's pretty similar to Canva, so we hope you'll feel right at home when creating your designs.
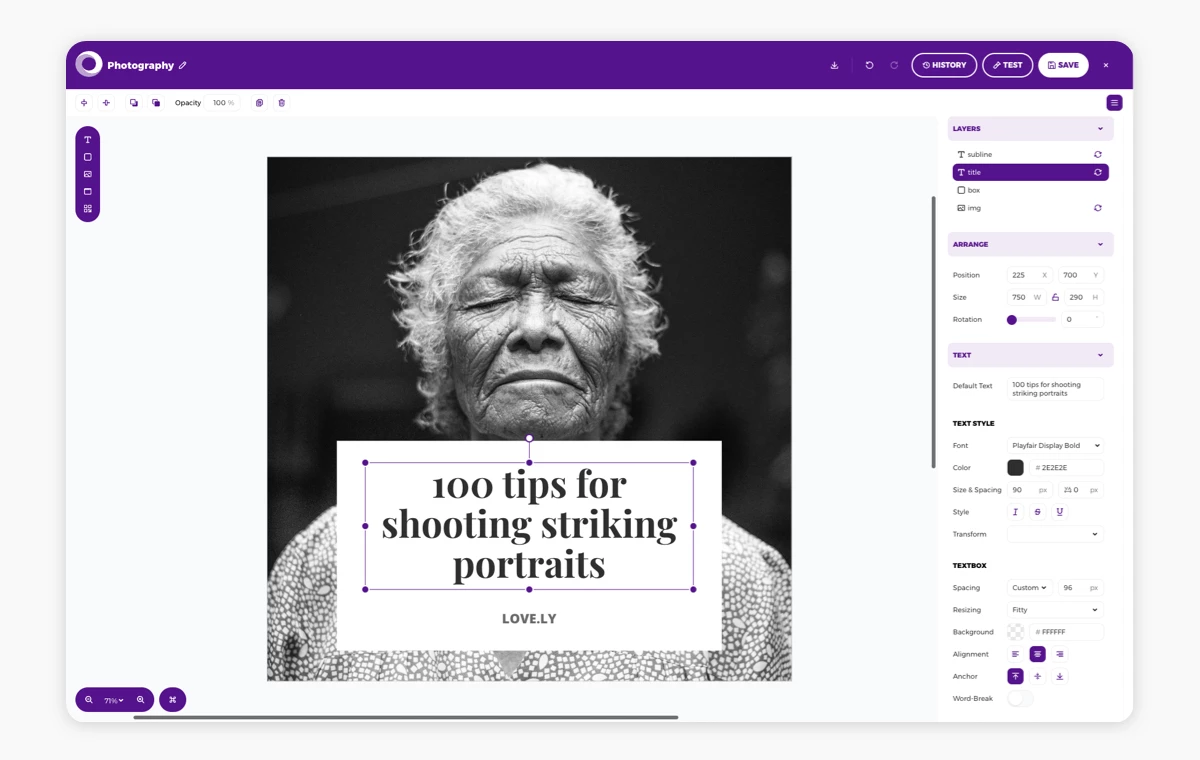
What makes a Placid template special are its dynamic layers: You can see a dynamic 🔄 symbol besides them in the layer list. These are the layers we can easily change the content of later in our widget – e.g. uploading a different photo and entering a different title.
In this template, the title, subline (used for the URL) and photo are just our placeholders.
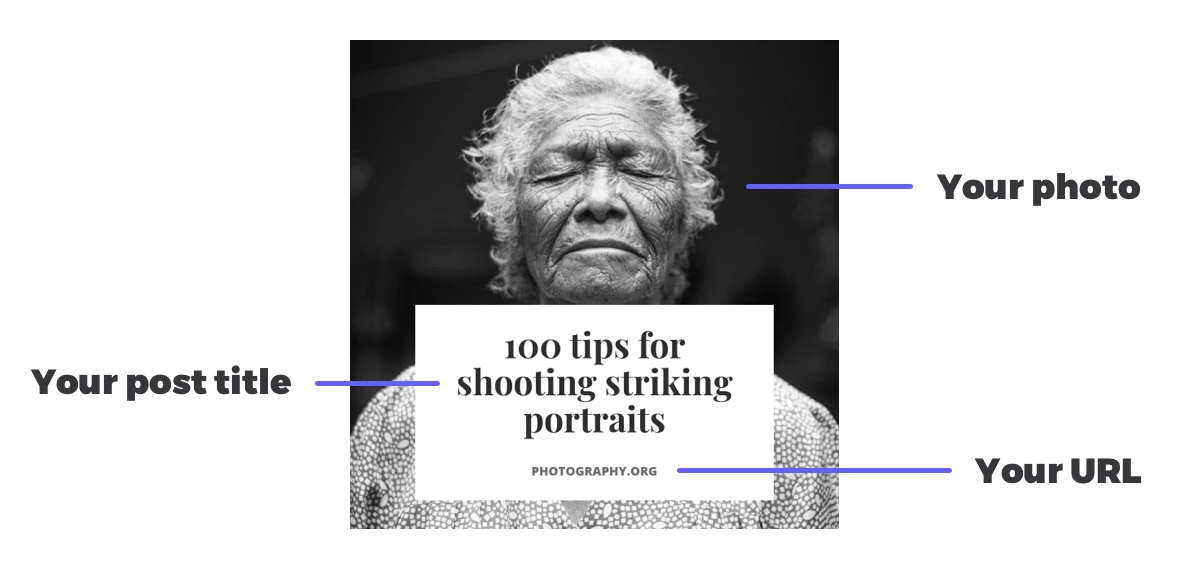
Once you're happy with your template, save and exit the editor. You can create more templates in different sizes, or continue with the next step.
Set up your Placid Studio
Now that we have our template(s), we can go to the Studio tab in the menu. Here, you will see a ready-to-use form that you can use to change the content in your templates. Try to enter some different texts or upload different photos or videos to see what happens!
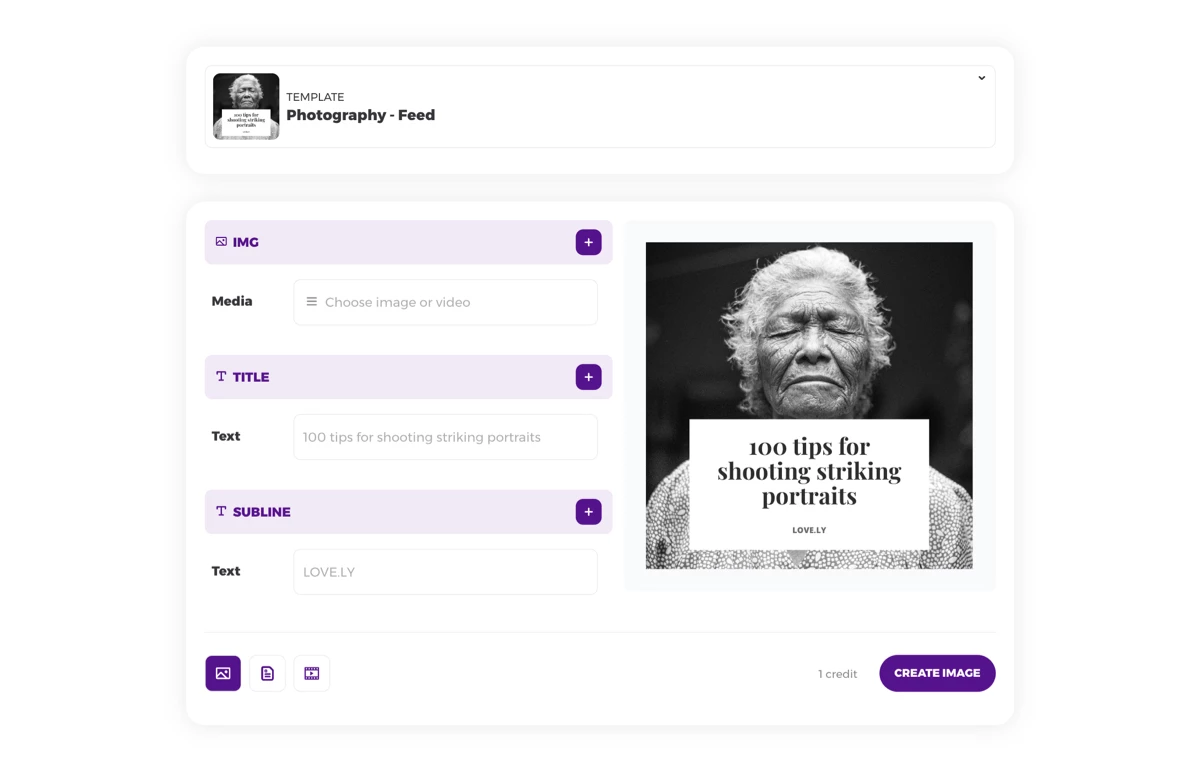
We now want to take this form and embed it into our Notion workspace, so we don't have to go to placid.app to use it. Here's how:
Create a new Studio
- Opening the dropdown in the top right, choose the option Create custom Studio.
- In the Basic Settings, enter a name for your Studio - e.g. Notion Studio Embed
- Select the templates you want to use in your Notion Studio, or leave the All templates option to include all templates of this Placid project
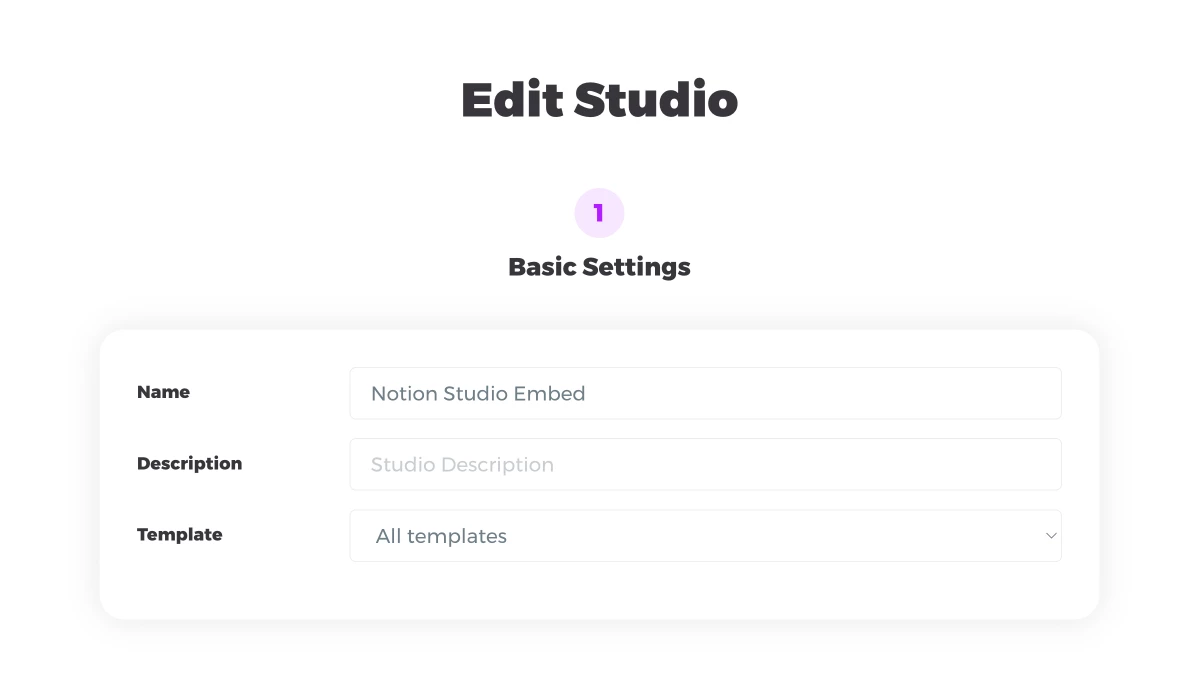
Options for Sharing
- Enable public sharing in the Share Settings
- Copy the code found in the iFrame tab of the embed code section
- Optional: Add a password to only allow usage for select team members
- Also optional: Add a limit of maximum Placid credits (used for the generation of your visuals) for this Studio
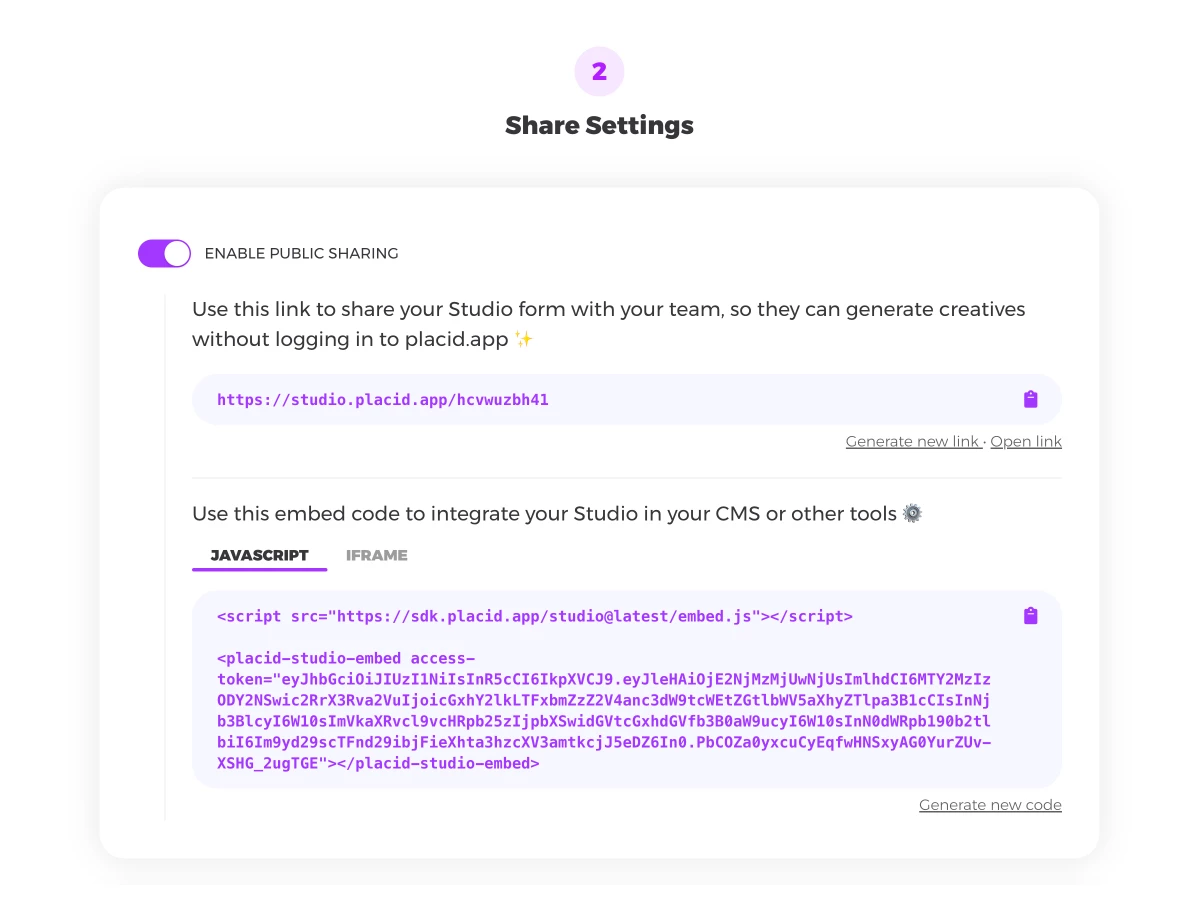
Save the settings to go back to the Studio overview.
Embed your Placid Studio in Notion
Almost done! Change to Notion now and add a new page where you want your widget to live. I added it in our Social Media Hub where the content calendar and brand assets live.
On your new empty page, type /embed to add an Embed block. You will be prompted to enter an embed link, where you can paste the Placid embed code you copied before. Click embed code - and the Studio will appear ✨
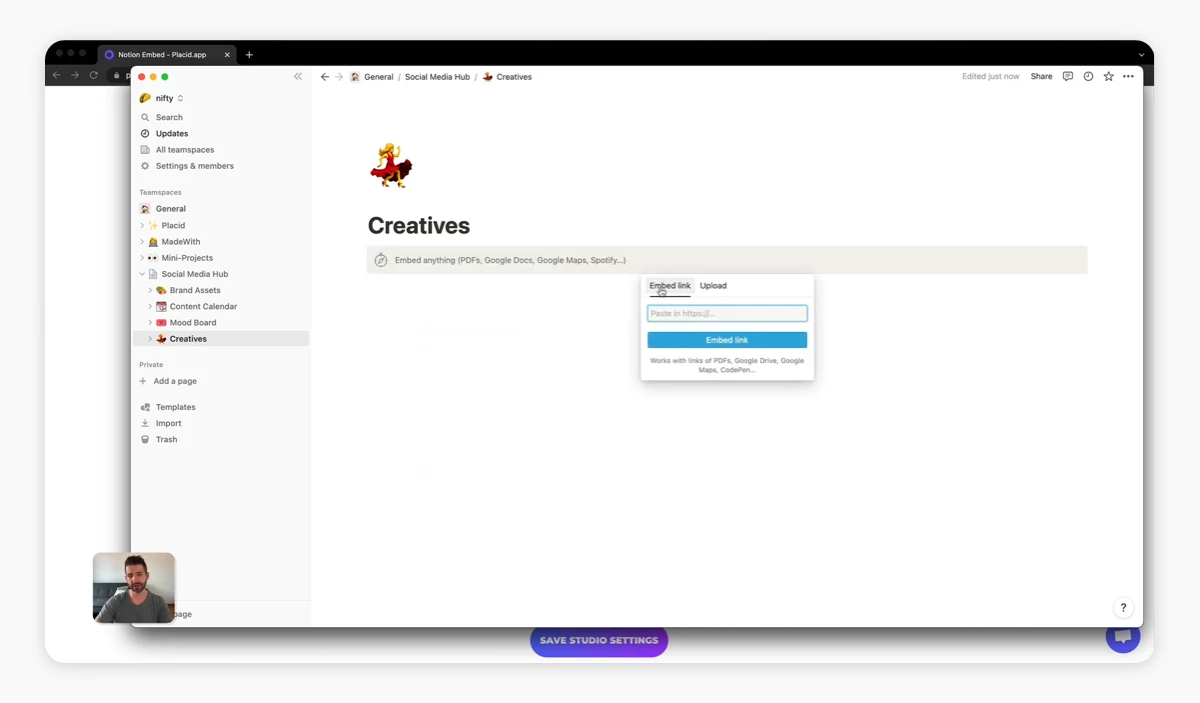
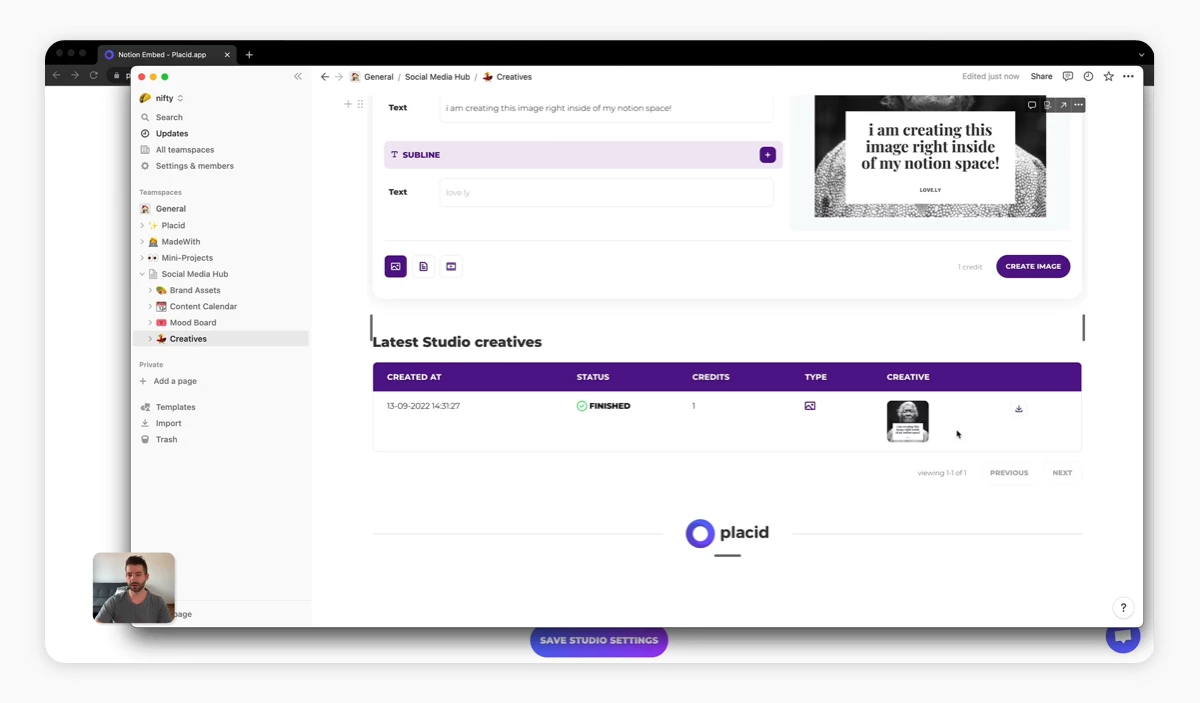
We have now embedded our little visual generation machine in our workspace! You may need to adjust the size of the block a bit so you can see all elements. All the creatives you generate will be available to download in a table below the form.
What's next?
I hope this widget comes in handy for you and helps take social media management in Notion to the next level.
If you want to share it with team members outside of Notion too, you can use the share link (Studio > 🔗 Share Menu > Open Share URL) – a custom, public page with your Studio form.
We love flexible solutions that make workflows more efficient. That's why we also offer a lot of ways how to completely automate the production of your visuals with nocode tools like Zapier or Make, or via an API if you're into coding.
You could automatically generate social media visuals for your blog posts directly in your CMS, for example. The possibilities are pretty much endless! I hope sparked your curiousity to explore them 😊

