


Using microservices, we can break large apps down into smaller, independent processes. A microservice provides one simple functionality and can be called from different parts of your app.
In this tutorial, we're going to build a nocode microservice with a workflow that generates a certificate PDF with a specific name and date and automatically sends it out via email. This workflow will run every time we call a webhook, passing on our data (name, date and e-mail address). This makes our microservice very flexible: It can be used in bigger nocode workflows or implemented directly in your apps, CMS & more.

This is a nocode tutorial, but the end result is meant to be connected with other workflows that call the webhook that triggers the process.
You'll need an account for Make (ex Integromat) and Placid (sign up for free here to follow along.
Why build this with nocode tools?
The creation of documents is a great example for an independent process within an app, so it makes a lot of sense to create a reusable microservice that handles it. We're free to build these services with whatever technology is suitable best and we're not necessarily limited by our app's tech stack, or the capabilities of our CMS for example.
I'm a full-stack engineer focusing on backend development, so creating business logic and functionalities like PDF generation is what I do.
I have even implemented this tutorial's exact workflow using code before. Let me tell you: It has been a lot of work. It took me about two weeks of work ten years ago. Today, it only takes us a few minutes using nocode platforms and tools.
- Nocode makes it possible for virtually anyone to automate workflows that are part of their business
- Using nocode, I can build plug & play workflows quickly - they can be triggered from anywhere and reused easily
- I don't need to handle any files or emails myself
- I can quickly add more steps or data to my workflow
- Using creative automation with Placid, we don't have to code the layout of our PDF - it can be designed quickly with a drag & drop template editor.
Nocode is not only for nocoders. I'm constantly impressed by what I can do with it as a developer!
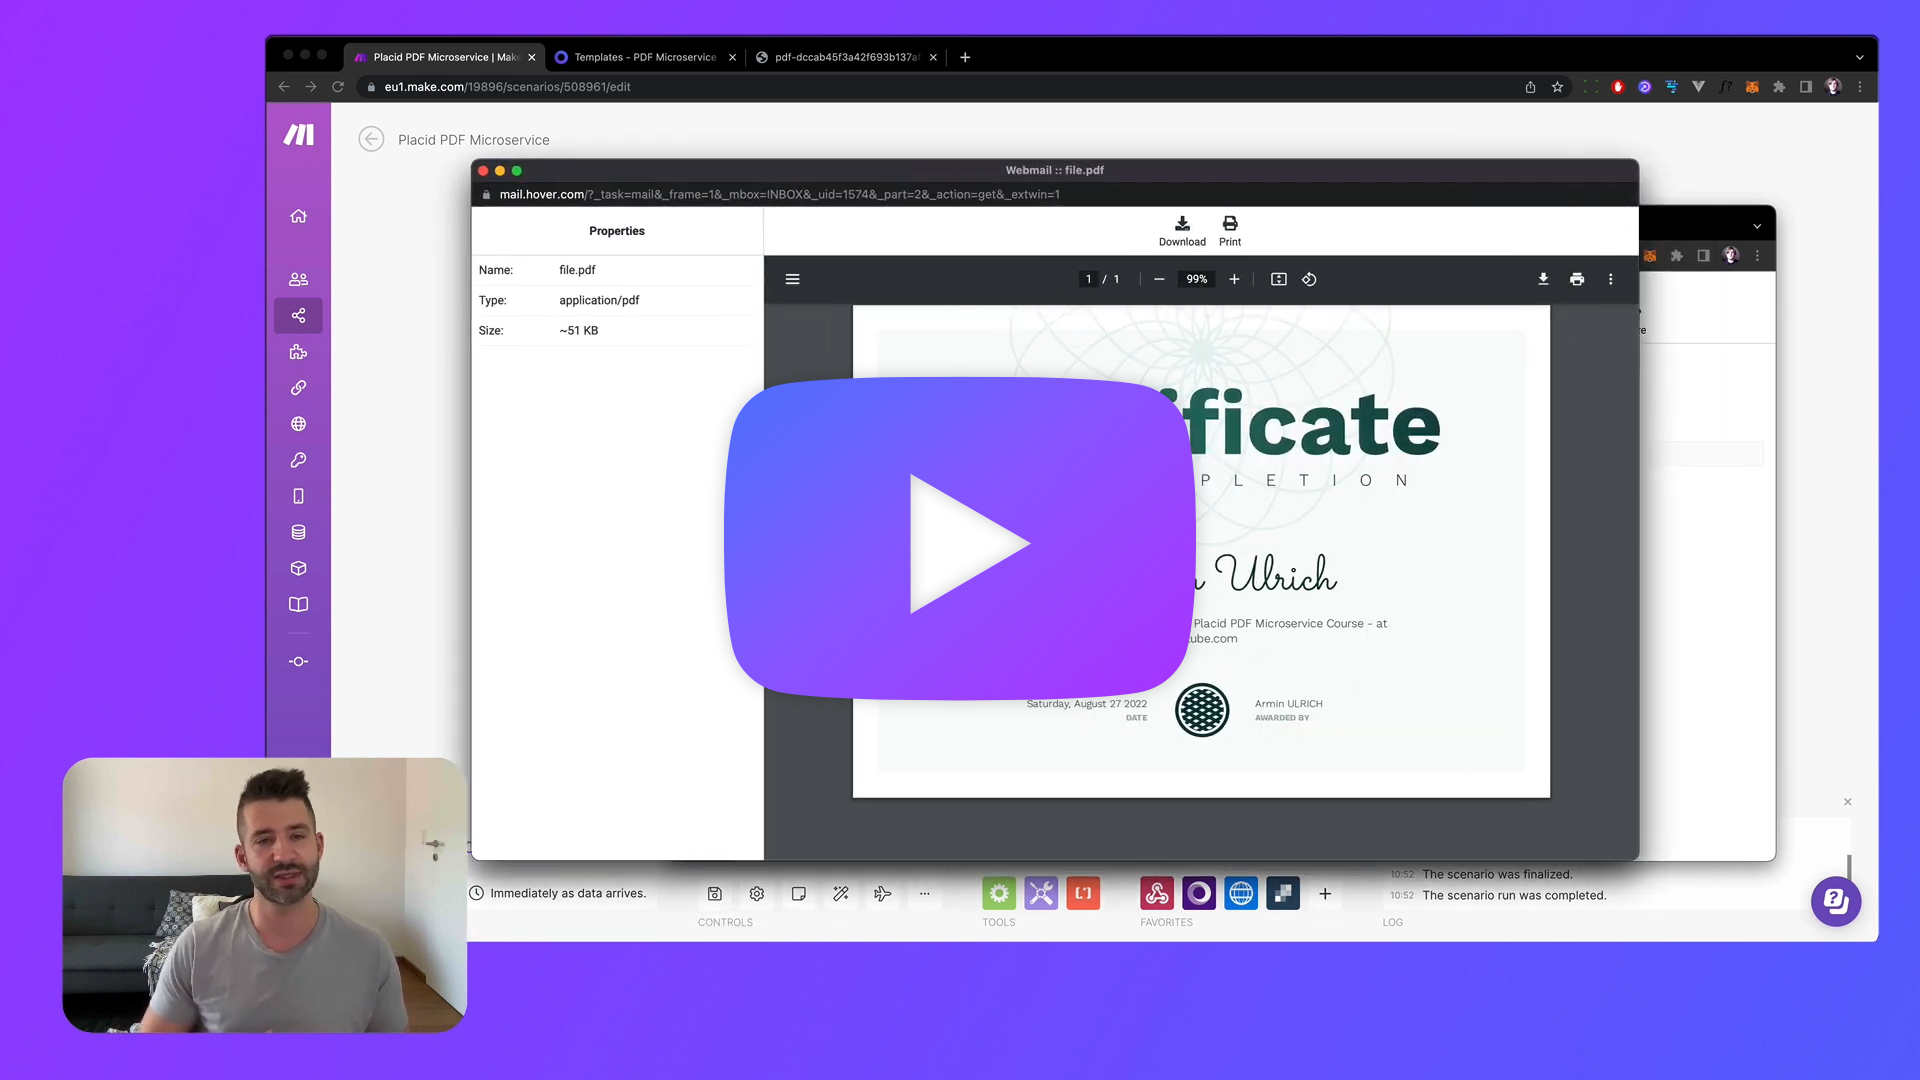
Video Tutorial
Set up a Placid project
To start, you'll need a Placid project with a Make integration. You can create a new project (Projects > Add new project) or add the integration in an existing project (in the project settings or the Add integration function in the sidebar).

Create a Placid template
In the Templates tab in your Placid project, you can now create a template for your certificate. Using this template, we can later generate our PDF files.
We offer certificate presets that you can use, or you can design a custom template with our drag & drop template editor.
We're using an A4 landscape format.
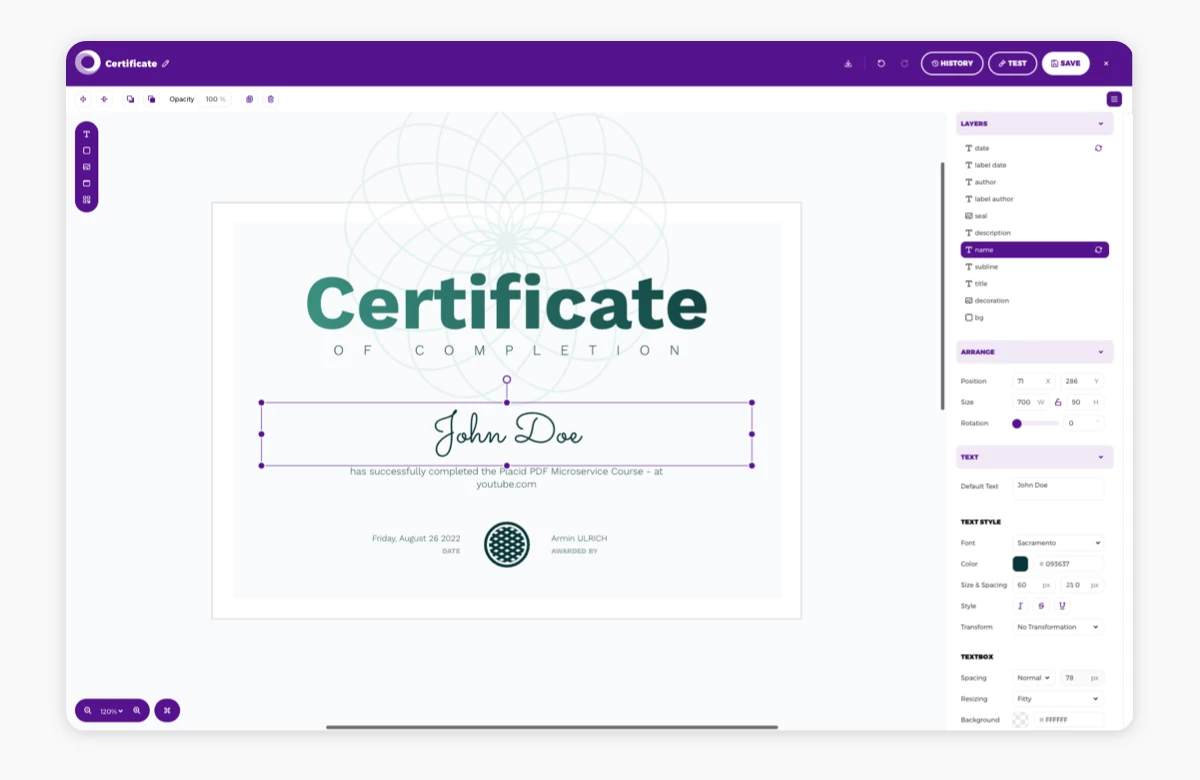
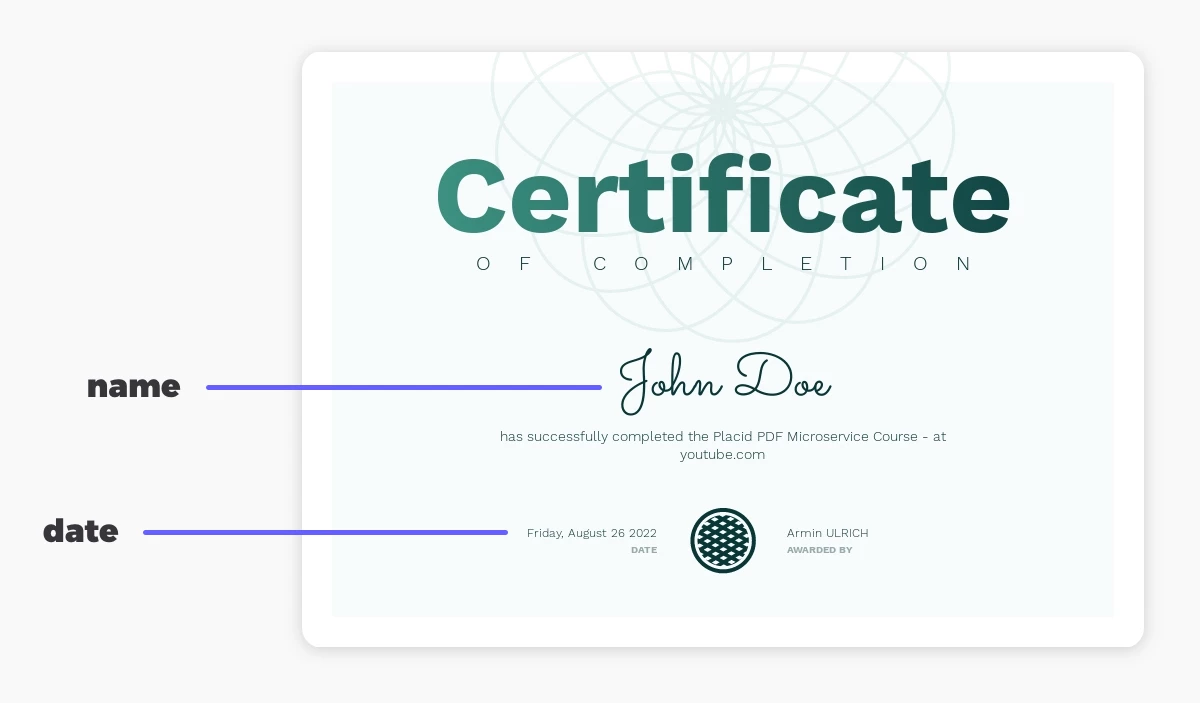
The text layers of my certificate containing the recipient's name and the date are set to dynamic. This means they can be filled with data during our workflow later to create personalized variations of this design.
I named these dynamic layers name and date.
Set up PDF generation with Make
Let's see how that works right away! We're now creating a new scenario in Make:
Add a Webhook module
First, we're adding a webhook module to our scenario, choosing to create a Custom webhook. I named it Placid PDF Microservice.
At this point you can also add IP restrictions, so the webhook only reacts to calls from specific IP addresses. This would add an extra layer of security.

Define a data structure
Using the advanced settings, I additionally defined a data structure. We want to make sure our webhook only accepts calls following the specification we define. This makes it less likely to run into errors while connecting our microservice to other parts of our tools & apps later.

Click add data structure. I named it Certificate Structure. Add 3 new items to your specification: email, name, and date. For all of them I chose the specification type text, and I set them to required. (You could choose a more strict specification for the formatting of the date item, but I didn't bother with that.)

Set the data structure to strict and save the configuration. The data of this webhook can now be used in the next steps of our workflow 👇️
Add a Placid module
Next, we're adding a Placid module to our scenario, choosing a Create PDF action.

Connect your Placid account: I called the connection PDF Microservice first. Then, I copied the API key of my Placid project. Find it by clicking Integrate button on your template in the Templates menu.

Then you will be able to choose a template from your list. Pick your certificate design, and you'll get a list of all the fields that are set to dynamic in your template. In our case this should be the name and date fields.
You can customize the content and appearance of those fields. Today, we're going to fill in the data from our webhook:
- Click into the Text fields of these layers. You'll see a list of the three parameters we'll get via the webhook call (name, date & email).
- Choose the name data for the name layer, and the date data for the date layer (obviously 😅).

Automatically send your documents via email with Make
Now we'll work on sending out our generated PDFs!
Add an HTTP module
Add an HTTP module choosing the Get a file action. Choose the PDF URL field from the Placid module as the URL. This way we can attach the actual PDF file to our email later (instead of only having an RL).

Add an email module
Next, add a module handling the sending of emails. I used a SendGrid module, because this is the email service we use. Here's a step-by-step instruction how to connect your SendGrid account to Make, if you want to use this as well.
Alternatively, you could add an Email module by Make to hook up your own email account. You can choose e.g. your Gmail account or even send it via your own SMTP server. Be careful, though: This is not advised for sending out a large amount of emails. But if you're just planning to send certificates to cohorts of 15 course participants - go ahead!
The configuration for sending emails is pretty similar for all mailer services:
- I configured the From name & email address ("Armin from Placid Certificates" and my email address 😊)
- For the Send to data, I chose the email and name parameters from our webhook
- As subject, I chose "Your course certificate"
- As content of the mail, I just entered plaintext – something like "Heya, here's your certificate - thank you!"
- As attachment, I chose the file from the HTTP - Get a file module.

Test your microservice
It's time to test our whole workflow 👀
Click the Run once button in your scenario, so the webhook listens for a request.
Now we'll create the request containing our test data. I used an API testing tool for Mac called Paw to do this, but you can also use an online tool like Hoppscotch.
Set your testing tool to a POST request. In your webhook module in Make, copy the webhook address (Copy address to clipboard) and paste it into the address field of your tool.
Then add 3 parameters, which will be the same three fields as in our Certificate data structure: The name and date we'll put on the certificate and the email we're going to send it to. Enter your own data (name and email address) and today's date as the values of these parameters.

If you have entered your three parameters to your testing tool, send the call. You can watch the workflow run in Make's UI. Once it's finished, you should find an email in your own inbox, containing the finished PDF certificate 🎉
We just automatically generated a well-designed, personalized PDF and sent it via email - that's pretty cool!
What's next?
Now that we know our microservice is functional, we can connect it to our tools, CMS or apps – using code or nocode.
You could for example ...
- Set up a button in your Airtable that calls your microservice using data from your tables (using Airtable scripts).
- Send a call to the webhook any time the "course completed" checkbox has been set for a course participant in your CMS / CRM (using code).
- Call the webhook every time someone submits a Typeform survey at the end of your course (using another Make scenario).
If you need help with a specific setup,